Okay so here’s the science-y part, but I promise it’s not boring.
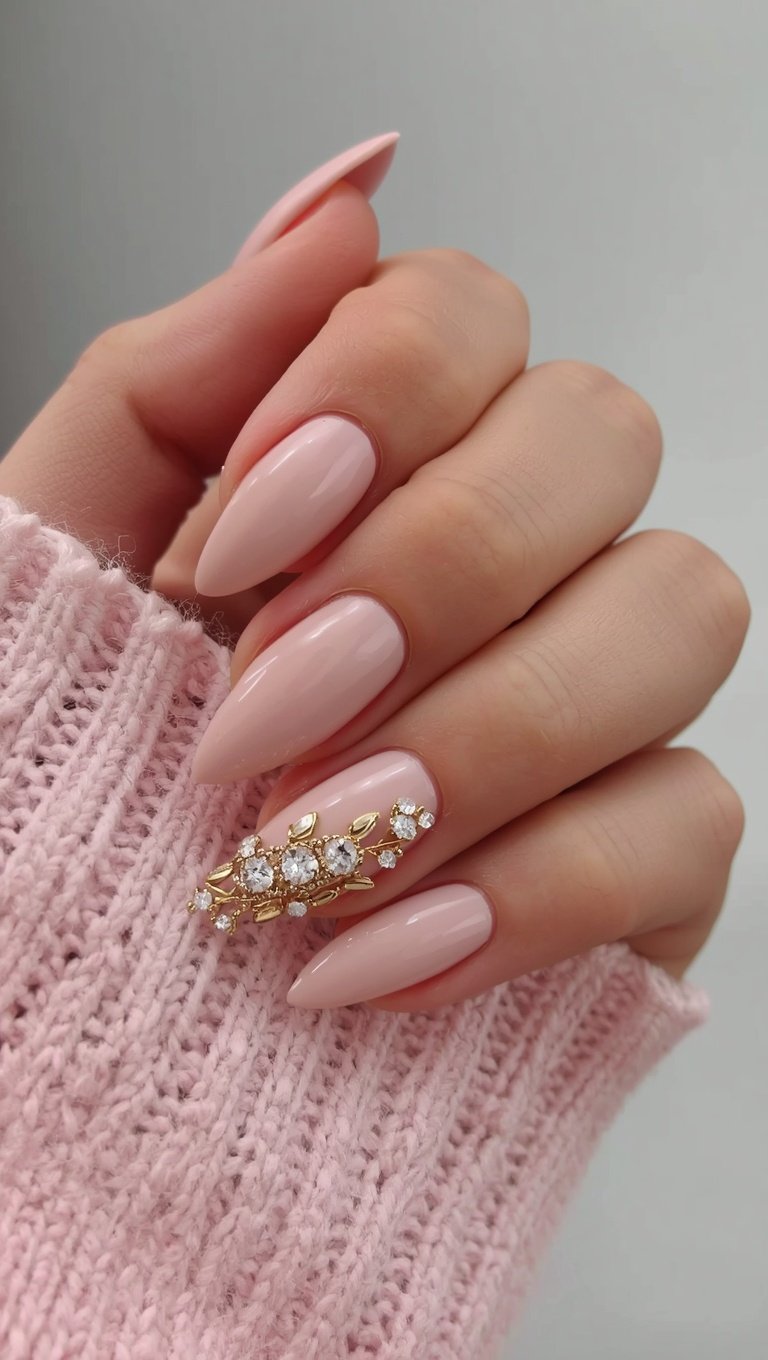
Almond nails taper to a soft point at the tip, kind of like, well, an almond.
That gentle narrowing draws the eye upward and outward.
It creates this visual line that stretches your finger without you doing anything at all.
Square or blunt nails do the opposite.
They kind of stop the eye right at the tip, which can make short fingers look even shorter.
I noticed this the first time I compared old photos of my square manicures to my almond ones.
Same hands, same rings, completely different vibe.
The almond shape just has this quiet confidence to it.
It’s not as dramatic as a stiletto, which honestly can look a little costume-y on smaller hands.
It’s the sweet spot.
Elegant but wearable, dramatic but not try-hard.
If you’re on the fence about trying a new shape, this is the one I’d tell my sister to start with.
It’s forgiving, it photographs well, and it works with basically every nail length you’re comfortable with.
Even a short almond shape gives you that lift.
You don’t need long nails to get the elongating effect, which honestly was such a relief to learn.
The Nude and Soft Pink Base That Never Fails Me

If I had to pick one nail color for the rest of my life, it would be a warm nude.
Something close to your actual skin tone, maybe a shade or two lighter.
There’s a reason every celebrity manicurist swears by this.
A nude base blurs the line between your nail and your skin.
Your eye can’t tell where finger ends and nail begins.
That blending effect is honestly the most elongating thing you can do to short fingers.
I wore a soft milky pink to a wedding last spring and got three compliments before the ceremony even started.
Someone asked if my nails were longer than usual.
They weren’t.
Same length, just the right color.
That’s the power of a good nude.
My personal favorite formula is a pink-beige with just a hint of warmth to it, nothing too gray or ashy.
Ashy nudes can sometimes wash out warmer skin tones and end up looking flat instead of soft.
A little trick I do at home, I hold the polish bottle right up against my finger in natural light before committing.
If it disappears into my skin a little, that’s the one.
Sheer, milky nudes work gorgeously here too if you want something a touch more ethereal.
They catch the light in this soft, glowy way.
Honestly this base alone will do half the flattering work for you.
Vertical French Tips Instead of the Classic Line

Regular French tips can sometimes shorten the nail visually because of that straight horizontal line across the tip.
So here’s my favorite little swap.
Try a vertical French line instead, a thin stripe running down the center of the nail from cuticle to tip.
It sounds like a small change but it makes a real difference.
That vertical line pulls the eye up and down instead of side to side.
I did this on my own nails before a work trip and kept catching myself staring at my hands on the plane.
It felt fancy without being fussy.
You can keep the stripe super thin for something subtle, or go a little bolder if you’re feeling it.
I like a soft white or champagne line on a sheer pink base, it reads elegant instead of stark.
For something more playful, try a thin gold line instead of white.
It catches the light beautifully and looks so pretty against tan skin especially.
One tip from experience, ask your tech to keep the line slightly off-center rather than dead middle.
It looks more natural and hand-painted that way, less like a sticker.
If you’re doing this at home, a thin nail art brush and a steady hand on a table, not your lap, makes a world of difference.
Trust me on the table thing.
Ombre Fades That Blend Rather Than Block

Ombre gets a bad reputation sometimes for looking dated, but hear me out.
A soft, low-contrast ombre is completely different from the chunky gradient nails from years back.
Think barely-there, like a whisper of color fading into your natural nail.
The blending itself is what elongates things here.
There’s no hard stopping point for your eye to land on.
I did a blush-to-nude ombre last month and it genuinely looked like my nails were glowing from within.
My favorite version fades a soft rose from the cuticle into a sheer nude at the tip.
It’s romantic without being loud.
For fall I love swapping that rose for a warm caramel or soft terracotta.
Same soft gradient technique, just cozier tones.
A little hack if you’re doing this yourself, use a makeup sponge to dab the two polishes together right on the nail.
It blends so much more naturally than trying to paint a hard gradient line by hand.
And don’t worry about it being perfect.
Some of my favorite ombre manicures have had slightly uneven fades and honestly it just added to that soft, dreamy look.
This one’s a favorite for brides in my opinion, it photographs like a dream in ring shots.
The One Accent Nail Trick That Elevates Everything

I’m a big believer in less is more when it comes to short fingers and nail art.
Too much detail on every single nail can visually clutter the finger and work against you.
So instead, I pick one nail, usually the ring finger, and let it carry all the personality.
The rest stay clean in that flattering nude or soft pink base.
This draws attention in one spot instead of scattering it across your whole hand.
I did this with a tiny cluster of pearls on my ring finger for a friend’s baby shower and it felt so special without being over the top.
My go-to accent designs are a few delicate dots near the cuticle, a thin gold chain design, or a single pressed flower under gel.
All of these keep most of the nail bare, which matters more than people realize.
Covering the whole nail in a busy print can visually shrink it.
Leaving negative space lets that almond taper do its elongating job uninterrupted.
If you love sparkle, try it only at the very tip of your accent nail instead of the whole surface.
It’s called a reverse glitter tip and it’s so much more wearable than a full glitter nail.
Honestly, this is the design I recommend most to friends who are nervous about nail art.
It’s low commitment and high impact, which is kind of my favorite combination in life.
Matte Versus Glossy: Which One Actually Elongates More

This is a question I get constantly, and the honest answer is it depends on your lighting and skin tone, but I lean glossy most of the time.
A high-shine top coat catches light along the curve of the nail.
That little highlight running down the center visually adds dimension and length.
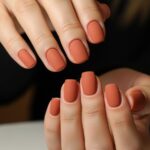
Matte finishes, while gorgeous and moody, can sometimes flatten that effect a bit.
I still love a matte nail for certain seasons, there’s something so chic about it in the fall.
But if flattering short fingers is the main goal, glossy is my recommendation nine times out of ten.
A trick I picked up from my nail tech, apply a thick, slightly domed top coat rather than a thin flat one.
That subtle dome shape catches even more light and enhances the almond taper.
If you love the matte look but still want the elongating benefit, try matte everywhere except a glossy vertical stripe down the center of the nail.
You get the best of both, texture and dimension in one design.
It’s a small detail but it photographs so beautifully in natural light.
I always tell people, do a quick test on one nail before committing your whole set.
Sometimes the difference surprises you.
Colors I’d Gently Steer You Away From

I don’t believe in nail police, wear whatever makes you feel good.
But if flattering short fingers is your specific goal today, a few colors work against that.
Very dark, opaque shades like true black or deep navy can visually shorten the nail because they create such a hard, blocky edge.
The same goes for bright, saturated primary colors applied edge to edge.
They tend to draw the eye to the width of the nail rather than the length.
I learned this the hard way with a deep burgundy manicure that I loved on its own but noticed made my hands look stubbier in photos.
If you’re drawn to darker or bolder shades, there’s still a way to make it work.
Try the color only as a thin accent or tip rather than covering the whole nail.
Or go with a sheer, jelly-like version of that same bold color instead of the fully opaque version.
A sheer wine or sheer emerald still gives you that moody richness but lets a little natural nail show through, which keeps things elongated.
Personally I save the fully opaque dark shades for my toes now, where the elongating effect matters so much less anyway.
It’s a small swap but it made a real difference in how my hands photograph.
How Long Is Actually Too Long for Almond on Short Fingers

Here’s something that surprised me, longer isn’t always more flattering.
Past a certain point, extra-long almond nails on shorter fingers can start to look disproportionate, kind of like the length is fighting the natural size of your hand.
My personal sweet spot is a medium almond length, just past the fingertip.
Long enough to show off that gorgeous taper, short enough to still feel proportional and totally wearable for everyday life.
I tried extra-long almonds once for a photoshoot and while they looked stunning in the pictures, I genuinely could not type on my phone for a week.
Not exactly an everyday reality for most of us.
If you’re newer to longer nails in general, ask your tech to start medium and grow from there.
You can always add length at your next fill.
It’s much easier than starting too long and feeling like you have to live with it for weeks.
A short almond, even one that barely extends past the fingertip, still gives you that elongating taper.
You genuinely don’t need extreme length to get the flattering effect, which is honestly such good news for anyone who works with their hands a lot.
Where to Place Nail Art So It Elongates, Not Shortens

Placement matters just as much as the design itself when you’re working with shorter fingers.
My rule of thumb, keep detailed art concentrated near the tip and cuticle area, and leave the middle of the nail relatively clean.
This creates a visual frame rather than a busy middle section that can make the nail look squatty.
I did a design with tiny florals clustered right at the base and a thin outline near the tip, with bare nude in between, and it looked so much longer than a nail with flowers scattered edge to edge.
Think of it kind of like a dress with vertical detailing versus one with a wide horizontal pattern.
The direction of the eye movement really does change how something reads.
Little hack here, if you love rhinestones, place them in a slightly curved vertical line rather than scattered randomly.
It mimics the natural curve of the almond shape and reinforces that lengthening line instead of competing with it.
Same goes for tiny charms or pearls, a single vertical placement near the cuticle looks so much more elegant than a cluster in the center.
I know it’s tempting to cover more of the nail when you love a design, but trust me on this one.
Restraint is what makes the whole thing work.
Seasonal Almond Nail Ideas I Keep Coming Back To

For spring I’m all about soft lilac and buttery yellow, both in that sheer, barely-there jelly finish.
They feel fresh without being overpowering on shorter nails.
Summer is when I let myself have a little more fun, maybe a soft coral base with a single delicate seashell charm on one accent nail.
It still keeps that clean, elongated look everywhere else.
Fall is my personal favorite season for nails, if I’m honest.
Warm caramel ombre, a cinnamon-toned nude, or that vertical gold French line I mentioned earlier all feel so cozy and rich without adding visual bulk.
Winter calls for a milky white base with the tiniest hint of shimmer, almost like frost catching the light.
I did this exact look last December and kept sneaking glances at my hands during meetings, not gonna lie.
My favorite trick across every season is keeping the same almond shape and same elongating principles, and just swapping the color palette to match the mood.
You don’t have to reinvent your whole nail routine every few months.
Consistency in shape, variety in color, that’s honestly the easiest formula I’ve found.
Filing Your Own Almond Shape at Home

If you’re between salon visits or just love doing your own nails like I sometimes do, here’s how I shape mine.
Start with your nail slightly longer than you want the final length, since filing will remove a bit more.
File the sides in gently toward the center, angling slightly as you go, rather than straight across.
Then round the tip into a soft point, not sharp like a stiletto, just a gentle taper.
I always file in one direction rather than sawing back and forth, it keeps the edge smoother and prevents peeling.
A rounded, fine-grit file is honestly a game changer here, sorry, I know that phrase is banned, let’s call it a total upgrade instead.
Coarser files can be too aggressive for shaping such a delicate curve.
Go slow, check both hands side by side often, and don’t be afraid to take a short break and come back with fresh eyes.
I’ve definitely over-filed one nail trying to match its neighbor perfectly in one sitting.
Stepping away for ten minutes and coming back always helps me see it more clearly.
If symmetry isn’t your strong suit, and honestly it isn’t mine either, a cheap nail shaping guide sticker can help keep both hands consistent.
It’s a small tool but it saved me so much frustration early on.
My Honest Maintenance Tips for Keeping the Shape

Almond nails, especially at a medium length, do need a little more upkeep than a basic square shape.
The tapered tip is naturally a bit more delicate and can catch on things more easily.
I keep a mini glass file in my bag at all times now, just for quick touch ups on the go.
Cuticle oil has genuinely changed my nail health, I apply it most nights before bed and my nails grow so much stronger and less brittle.
If you notice a little snag at the tip, resist the urge to just rip it.
Gently file it smooth instead, it prevents the whole nail from splitting further up.
I learned that lesson the hard way on a road trip with zero nail tools in sight.
For strengthening between salon visits, a good ridge-filling base coat has been such a quiet hero in my routine.
It smooths everything out and makes even a simple nude polish look salon fresh.
I also try to wear gloves when I’m doing dishes or cleaning, which sounds so old-fashioned but genuinely extends how long my manicure looks fresh.
Little habits like these add up so much more than people expect.
Your nails will thank you, and honestly so will your manicurist.