Running late again?
Your hair doesn’t have to suffer just because your alarm clock failed you this morning.
These versatile hairstyles will transform your look in minutes, taking you seamlessly from Monday meetings to weekend adventures without breaking a sweat.
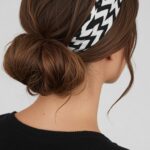
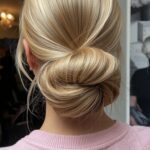
The Effortlessly Chic Messy Bun

Your hair is having a mind of its own today, but that’s exactly what makes this style perfect.
The messy bun thrives on imperfection, turning your worst hair days into your most enviable looks.
Start by gathering your hair into a high ponytail, but don’t worry about catching every single strand – those face-framing pieces will add character.
Twist the ponytail loosely and wrap it around the base, securing with bobby pins as you go.
The magic happens when you gently tug at sections of the bun to create volume and texture.
Pull out a few strands around your hairline and let them fall naturally for that “I woke up like this” vibe.
This style works brilliantly for second or third-day hair when your natural oils give you that coveted lived-in texture.
For extra hold, spritz some texturizing spray before you start, and finish with a light mist of hairspray.
The beauty of this look lies in its versatility – dress it up with statement earrings for dinner dates or keep it casual with your favorite hoodie for coffee runs.
You can even sleep in this bun and wake up with gorgeous waves the next morning.
If your hair is on the shorter side, don’t worry – the messier, the better.
Use small clear elastics to secure sections that won’t stay put, and embrace the wispy bits that escape.
For fine hair, backcomb gently at the crown before creating your bun to add essential volume.
Thick hair benefits from being slightly damp when styling, making it more manageable to twist and pin.
The messy bun pairs perfectly with everything from athleisure to cocktail dresses, making it your ultimate go-to style.
Remember, the goal isn’t perfection – it’s that effortless cool-girl aesthetic that looks like you didn’t try at all.
The Sleek Low Ponytail


Forget everything you thought you knew about basic ponytails – this isn’t your middle school gym class hair.
The sleek low ponytail is sophisticated minimalism at its finest, proving that sometimes less really is more.
Begin with clean, dry hair and apply a smoothing serum from mid-length to ends to eliminate any frizz or flyaways.
Use a fine-tooth comb to create a razor-sharp center or side part, depending on your face shape and personal preference.
Brush all your hair straight back, positioning the ponytail at the nape of your neck for that elegant, elongated look.
Secure with a clear elastic, then take a small section of hair from the underside of the ponytail and wrap it around the elastic to hide it.
Pin the wrapped section underneath with a bobby pin that matches your hair color for a seamless finish.
The key to this style’s success is in the details – every hair should be in place, creating a glass-like smoothness.
For extra shine, run a few drops of hair oil through the length of your ponytail, but avoid the roots to prevent greasiness.
This look translates beautifully from office presentations to evening events, especially when paired with bold makeup or statement jewelry.
If you’re dealing with stubborn cowlicks or baby hairs, use a small amount of gel on a clean mascara wand to smooth them down.
For added sophistication, try positioning the ponytail slightly off-center rather than directly in the middle of your neck.
Fine hair benefits from a volumizing mousse at the roots before styling, while thick hair might need a strong-hold gel to maintain that sleek finish.
The sleek low ponytail also works wonderfully as a base for other styles – you can easily twist it into a low chignon or braid it for variety.
This timeless style proves that classic elegance never goes out of fashion.
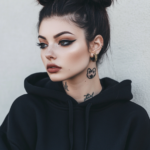
The Half-Up Top Knot

This hybrid style gives you the best of both worlds – the sophistication of an updo with the relaxed vibe of wearing your hair down.
The half-up top knot is perfect for those days when you want to look put-together but still feel like yourself.
Start by sectioning off the top portion of your hair, from about ear to ear, creating a horizontal part around your head.
Brush this top section straight up and secure it with an elastic at the very crown of your head – the higher, the more modern and edgy it looks.
Twist the ponytail and wrap it around the base to create a small, tight bun, securing with bobby pins as needed.
The remaining hair should fall naturally around your shoulders, creating a beautiful contrast between the structured top and flowing bottom sections.
For added texture, lightly curl the loose hair with a curling iron or add some waves with a flat iron using the bend-and-pull method.
This style works exceptionally well for medium to long hair, but shorter lengths can still achieve the look with some creative pinning.
Add volume to the crown area by gently backcombing before creating your top knot for extra height and drama.
The half-up top knot is incredibly versatile – wear it sleek for professional settings or textured and messy for casual weekend vibes.
For special occasions, try incorporating small braids into the side sections before gathering the top hair into the knot.
This style also works beautifully with hair accessories – try delicate bobby pins, small barrettes, or even a subtle headband below the knot.
If your hair tends to fall flat, use some texturizing spray throughout for grip and hold.
The beauty of this look is that it keeps hair out of your face while still showcasing length and movement in the back sections.
Perfect for everything from brunch dates to board meetings, this style adapts to any occasion with ease.
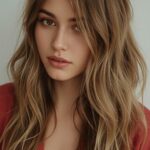
Textured Beach Waves

Channel that coveted surfer-girl aesthetic without ever setting foot near the ocean.
These effortless waves look like you spent hours perfecting them, when in reality they take just minutes to create.
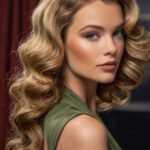
Start with damp hair and apply a sea salt spray from mid-length to ends, scrunching as you go to encourage natural texture.
Divide your hair into four to six sections, depending on thickness, and twist each section away from your face.
Use a diffuser attachment on your blow dryer to dry each twisted section, or let them air dry if you have more time.
Once completely dry, gently separate the twists with your fingers, avoiding brushes which will destroy the wave pattern.
For more defined waves, wrap random sections around a curling iron for just a few seconds, then immediately scrunch with your hands.
The goal is to create movement and texture rather than perfect, uniform curls.
Finish with a texturizing spray and scrunch once more to enhance the tousled, beachy effect.
This style works beautifully on all hair lengths, from shoulder-length bobs to long layers.
For fine hair, use a volumizing mousse before the salt spray to create fuller-looking waves.
Thick hair benefits from being styled in smaller sections to ensure even wave distribution throughout.
The beach wave look pairs perfectly with everything from flowing sundresses to leather jackets and jeans.
For a more polished version, smooth the top section with a flat iron while leaving the mid-lengths and ends wavy.
You can sleep with braids in damp hair and wake up with gorgeous waves, or use foam rollers for a heat-free option.
This carefree style embodies that effortless California cool that never goes out of style.
The Slicked-Back Look


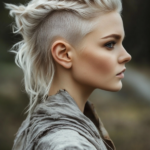
Embrace your inner fashion icon with this bold, editorial-inspired style that commands attention.
The slicked-back look is fearless femininity at its finest, perfect for making a statement wherever you go.
Begin with clean, damp hair and apply a strong-hold gel or pomade from roots to ends, ensuring even distribution.
Use a fine-tooth comb to sweep all your hair straight back from your forehead, creating a smooth, uninterrupted line.
For a softer approach, use your hands instead of a comb, allowing for slight texture and movement.
The key is to eliminate any bumps or irregularities, creating a sleek surface that catches light beautifully.
Secure longer hair at the nape with bobby pins or let it flow freely for a more dramatic effect.
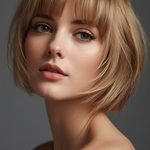
This look works particularly well on shorter hair, creating sharp, geometric lines that complement strong jawlines and cheekbones.
For added shine and hold, finish with a glossy hairspray or hair oil applied sparingly to avoid weighing down the style.
The slicked-back look pairs beautifully with bold makeup – think winged eyeliner, red lips, or dramatic contouring.
If your hair is naturally curly or wavy, straighten it first to achieve the smoothest possible finish.
Fine hair benefits from a volumizing product at the roots before applying the styling gel to prevent flatness.
This avant-garde style translates perfectly from high-fashion events to creative workplace environments.
For a modern twist, try slicking back just the front sections while leaving the sides and back in their natural texture.
You can also experiment with deep side parts or zigzag parts before slicking back for added visual interest.
This powerful look proves that sometimes the most striking styles are also the simplest to achieve.
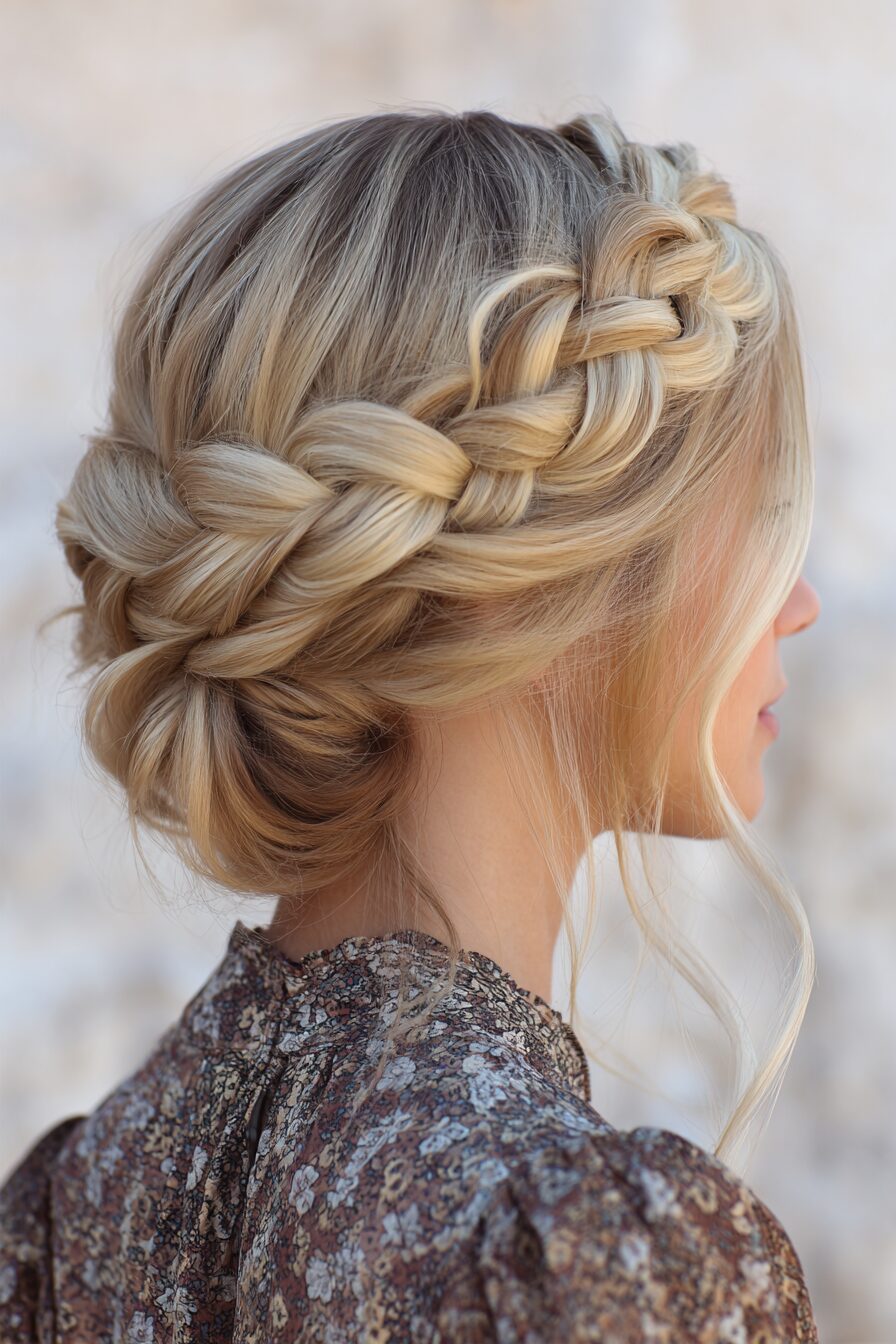
The Braided Crown

Transform yourself into modern-day royalty with this romantic, ethereal style that’s surprisingly simple to master.
The braided crown creates a soft, feminine frame around your face while keeping hair elegantly contained.
Start by parting your hair deeply to one side, then begin a loose Dutch braid along your hairline starting from the deeper side.
Braid along the edge of your face, incorporating small sections of hair as you work your way around toward the opposite ear.
The key is to keep the braid loose and romantic rather than tight and severe – gentle tugging at each section creates beautiful texture.
Once you reach behind your ear, secure the braid with a small clear elastic and repeat the process on the other side.
For a full crown effect, connect the two braids at the back of your head, tucking the ends under and securing with bobby pins.
If your hair is shorter, you can create the crown effect with just one braid wrapped around your head like a headband.
Gently pull at the braid to create volume and a more relaxed, bohemian feel – perfection isn’t the goal here.
This style works beautifully for weddings, festivals, or any time you want to feel like a fairytale princess.
For added glamour, weave small flowers, ribbons, or delicate hair accessories throughout the braid.
Fine hair benefits from texturizing spray before braiding to create grip and prevent slippage.
Thick hair should be braided slightly tighter initially, as it will naturally loosen throughout the day.
The braided crown looks stunning with loose waves in the remaining hair or paired with an elegant low bun.
This timeless style channels bohemian romance while remaining practical for active days.
Perfect for outdoor events, this look stays put through wind and movement while maintaining its ethereal beauty.
Space Buns

Channel your inner festival goddess with this playful, edgy style that’s equal parts cute and cool.
Space buns bring out your fun-loving side while keeping your hair completely out of the way for dancing, working, or playing.
Create a sharp center part from your forehead to the nape of your neck, dividing your hair into two equal sections.
Brush each section up high on the sides of your head, positioning the ponytails just above your ears for the most flattering placement.
Secure each ponytail with strong elastics, making sure they’re tight enough to hold but not so tight they cause headaches.
Twist each ponytail and wrap it around the base to form compact, round buns, securing with bobby pins as you go.
For a messier, more textured look, gently tug at sections of each bun to create volume and asymmetry.
The beauty of space buns lies in their imperfection – embrace the flyaways and irregular shapes for authentic charm.
This style works particularly well on medium-length hair, but longer lengths can achieve the look by wrapping the buns multiple times.
For shorter hair, tease each section before creating the buns to add essential volume and fullness.
Space buns pair perfectly with colorful hair accessories, glitter, or even temporary hair chalk for festival vibes.
Try varying the height of each bun for an intentionally asymmetrical, modern twist on the classic style.
This look complements everything from athletic wear to vintage band tees and platform boots.
For a more polished version, smooth the hair with serum before styling and keep the buns tight and symmetrical.
Fine hair benefits from texturizing spray and gentle backcombing to create the illusion of thicker, fuller buns.
Space buns prove that sometimes the most fun hairstyles are also the most practical for busy, active days.
The Twisted Side Sweep

Elevate your basic side part with this elegant twist that adds sophistication to any outfit.
The twisted side sweep is perfect for those moments when you want to look polished but don’t have time for complicated styling.
Create a deep side part, favoring whichever side flatters your face shape best – typically opposite your natural cowlick.
Take a two-inch section of hair from the heavy side of your part, starting right at the hairline.
Begin twisting this section back away from your face, adding small pieces of hair as you work your way along your hairline.
Continue the twist until you reach just behind your ear, then secure with bobby pins that match your hair color.
The remaining hair should cascade naturally over your shoulder, creating a beautiful asymmetrical silhouette.
For added volume, gently tug at the twisted section to loosen it slightly and create more dramatic height.
This style works beautifully on all hair lengths and textures, adapting to your natural hair’s personality.
Fine hair benefits from a light texturizing spray before twisting to create grip and prevent the style from falling flat.
Thick or coarse hair might need a small amount of smoothing cream to tame flyaways and create a sleeker finish.
The twisted side sweep looks stunning with both straight and wavy hair textures, showcasing your hair’s natural beauty.
For special occasions, try incorporating small pearl pins or delicate barrettes along the twisted section.
This versatile style transitions seamlessly from professional meetings to romantic dinners with just a change of lipstick.
Pair it with statement earrings to draw attention to the elegant neckline this style creates.
The twisted side sweep proves that sometimes the most beautiful styles are born from the simplest techniques.
The Bubble Ponytail

Add instant fun and dimension to your basic ponytail with this trendy, Instagram-worthy style.
The bubble ponytail transforms a simple look into something playful and eye-catching that works for any age.
Start by creating a high ponytail at the crown of your head, securing it tightly with a strong elastic.
Smooth any bumps or flyaways with a brush, then apply a light-hold hairspray to tame any frizz.
Measure about three inches down from your first elastic and add another clear elastic, creating your first “bubble.”
Gently tug at the hair between the two elastics, pulling it apart slightly to create volume and roundness.
Continue adding elastics every three to four inches down the length of your ponytail, depending on your hair length.
Each section should be teased and fluffed to create distinct, voluminous bubbles that stand apart from each other.
For extra texture and hold, use texturizing spray between each section before adding the next elastic.
This style works best on medium to long hair, but shorter lengths can still achieve a few bubbles for a cute effect.
Fine hair benefits from gentle backcombing at each section to create the illusion of thicker, fuller bubbles.
Thick hair should be styled with smaller sections to ensure the elastics can hold the weight properly.
The bubble ponytail looks amazing with colorful hair ties if you want to embrace a more playful, youthful vibe.
For a more sophisticated version, use clear elastics and keep the bubbles more subtle and uniform.
This fun style pairs perfectly with athletic wear, casual weekend outfits, or even festival fashion.
The bubble ponytail proves that creativity and personality can transform even the most basic hairstyles.
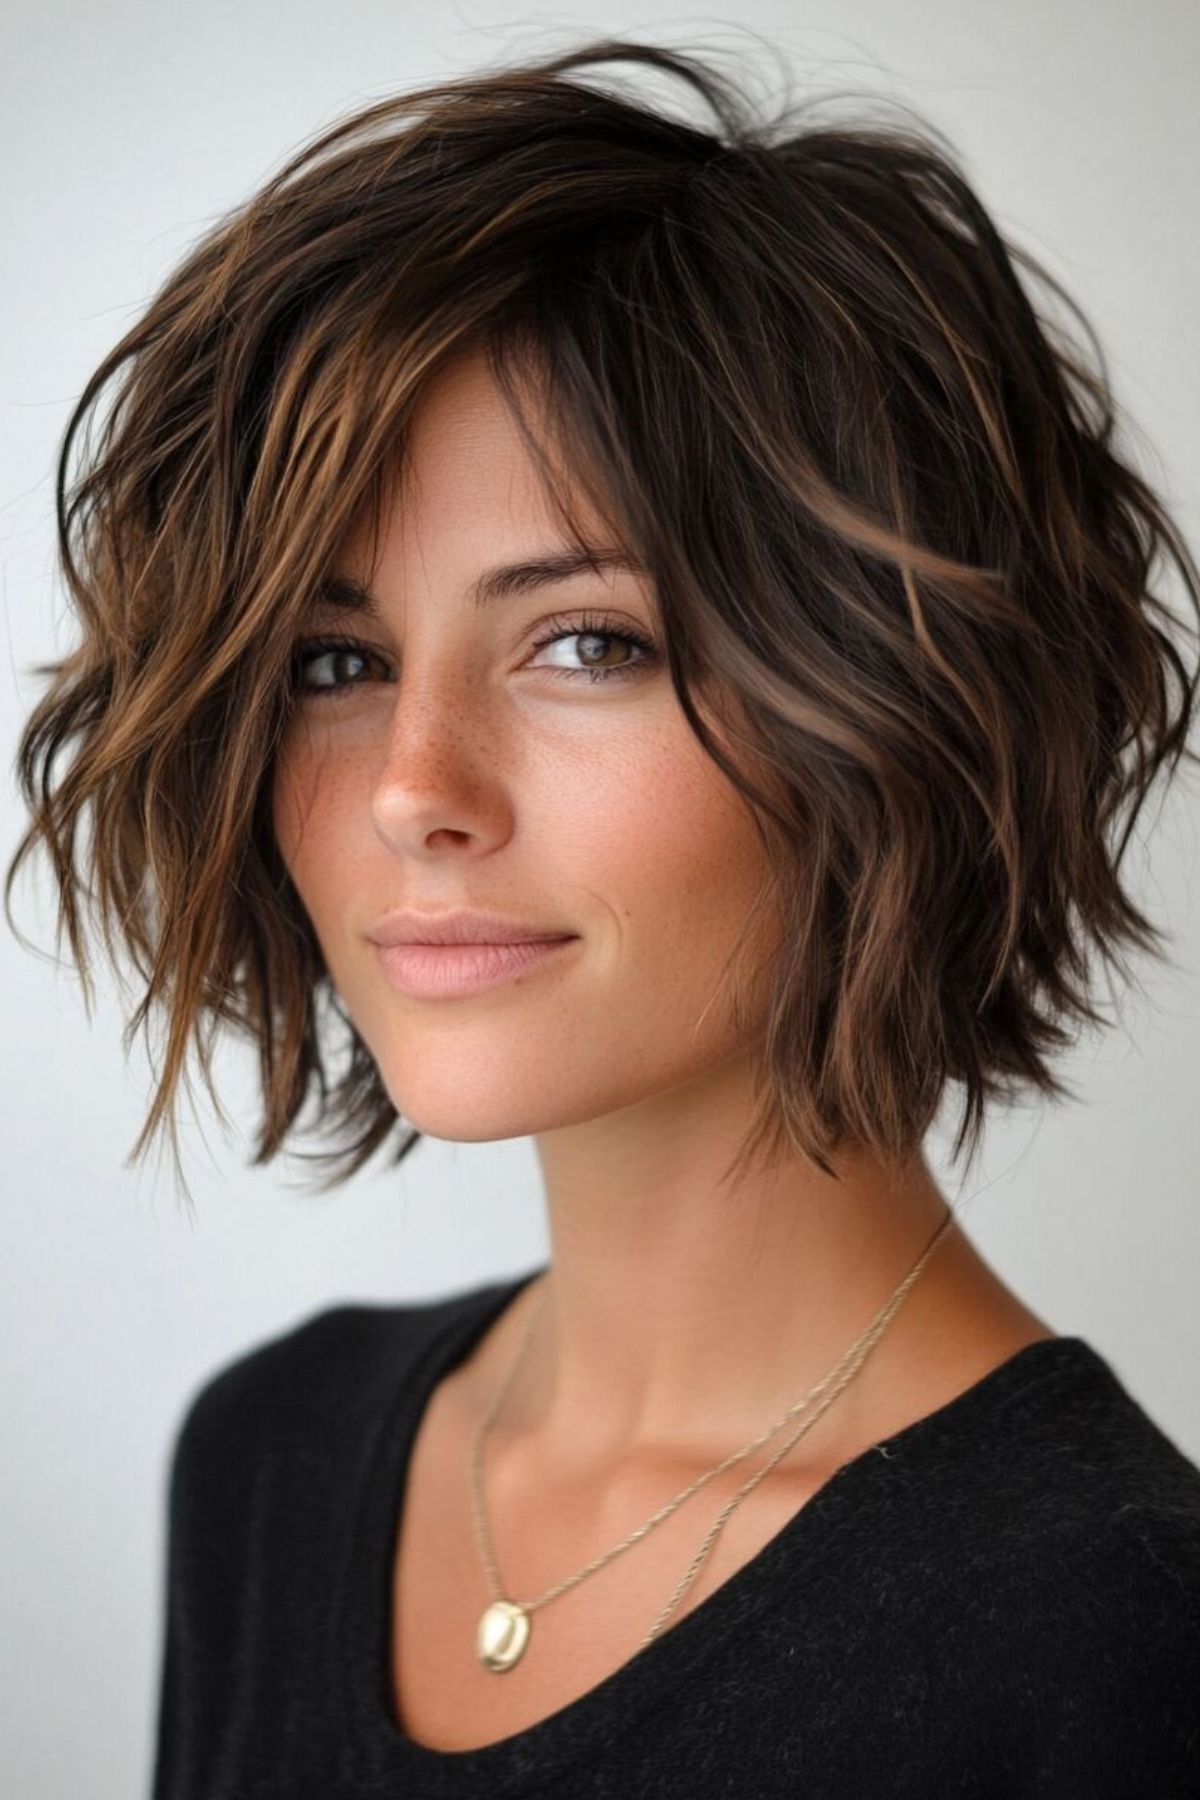
The Effortless Shag

Embrace your hair’s natural texture with this lived-in style that looks perfectly imperfect in all the right ways.
The effortless shag celebrates movement, texture, and that coveted “I didn’t try too hard” aesthetic.
Start with damp hair and apply a volumizing mousse from roots to ends, focusing extra product at the crown area.
Scrunch your hair gently with your hands to encourage natural wave patterns and texture formation.
Use a diffuser attachment on low heat to dry your hair, or let it air dry if you prefer a more natural finish.
Once dry, run your fingers through random sections to break up any patterns and create that tousled, bedhead effect.
For added texture, twist small sections around your finger and release them to create irregular waves throughout.
The goal is to enhance your hair’s natural movement rather than forcing it into a specific shape or pattern.
Finish with a texturizing spray, scrunching it through your hair to enhance grip and hold.
This style works beautifully on layered cuts, bringing out the dimension and movement in your haircut.
Fine hair benefits from sea salt spray to create the illusion of thicker, more textured strands.
Thick hair should focus on enhancing natural texture rather than fighting against it with heavy products.
The effortless shag pairs perfectly with everything from flowing bohemian dresses to edgy leather jackets.
For a more polished version, smooth just the top layer with a flat iron while leaving the underneath sections textured.
You can enhance this look by sleeping with loose braids in damp hair for added wave formation.
This carefree style embodies that perfect balance of intentional messiness that defines modern, effortless beauty.
Your hair should work with your lifestyle, not against it.
These versatile styles prove that looking amazing doesn’t require hours in front of the mirror or expensive salon visits.
If you’re rushing to catch the morning train or getting ready for a last-minute date night, you now have a arsenal of quick, stylish options that will keep you looking fabulous no matter what life throws your way.