I fell down a vintage beauty rabbit hole recently, and honestly, I can’t stop thinking about 1940s makeup.
There’s something so elegant and timeless about that era—the bold lips, the soft skin, the perfectly shaped brows.
What surprised me most?
How ridiculously easy these tricks actually are.
You don’t need fancy tools or a million products.
Just a few simple techniques and suddenly you’re channeling old Hollywood glamour like it’s nothing.

The Power of a True Red Lip


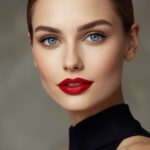
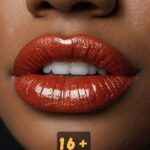
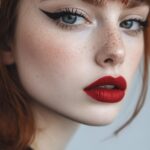
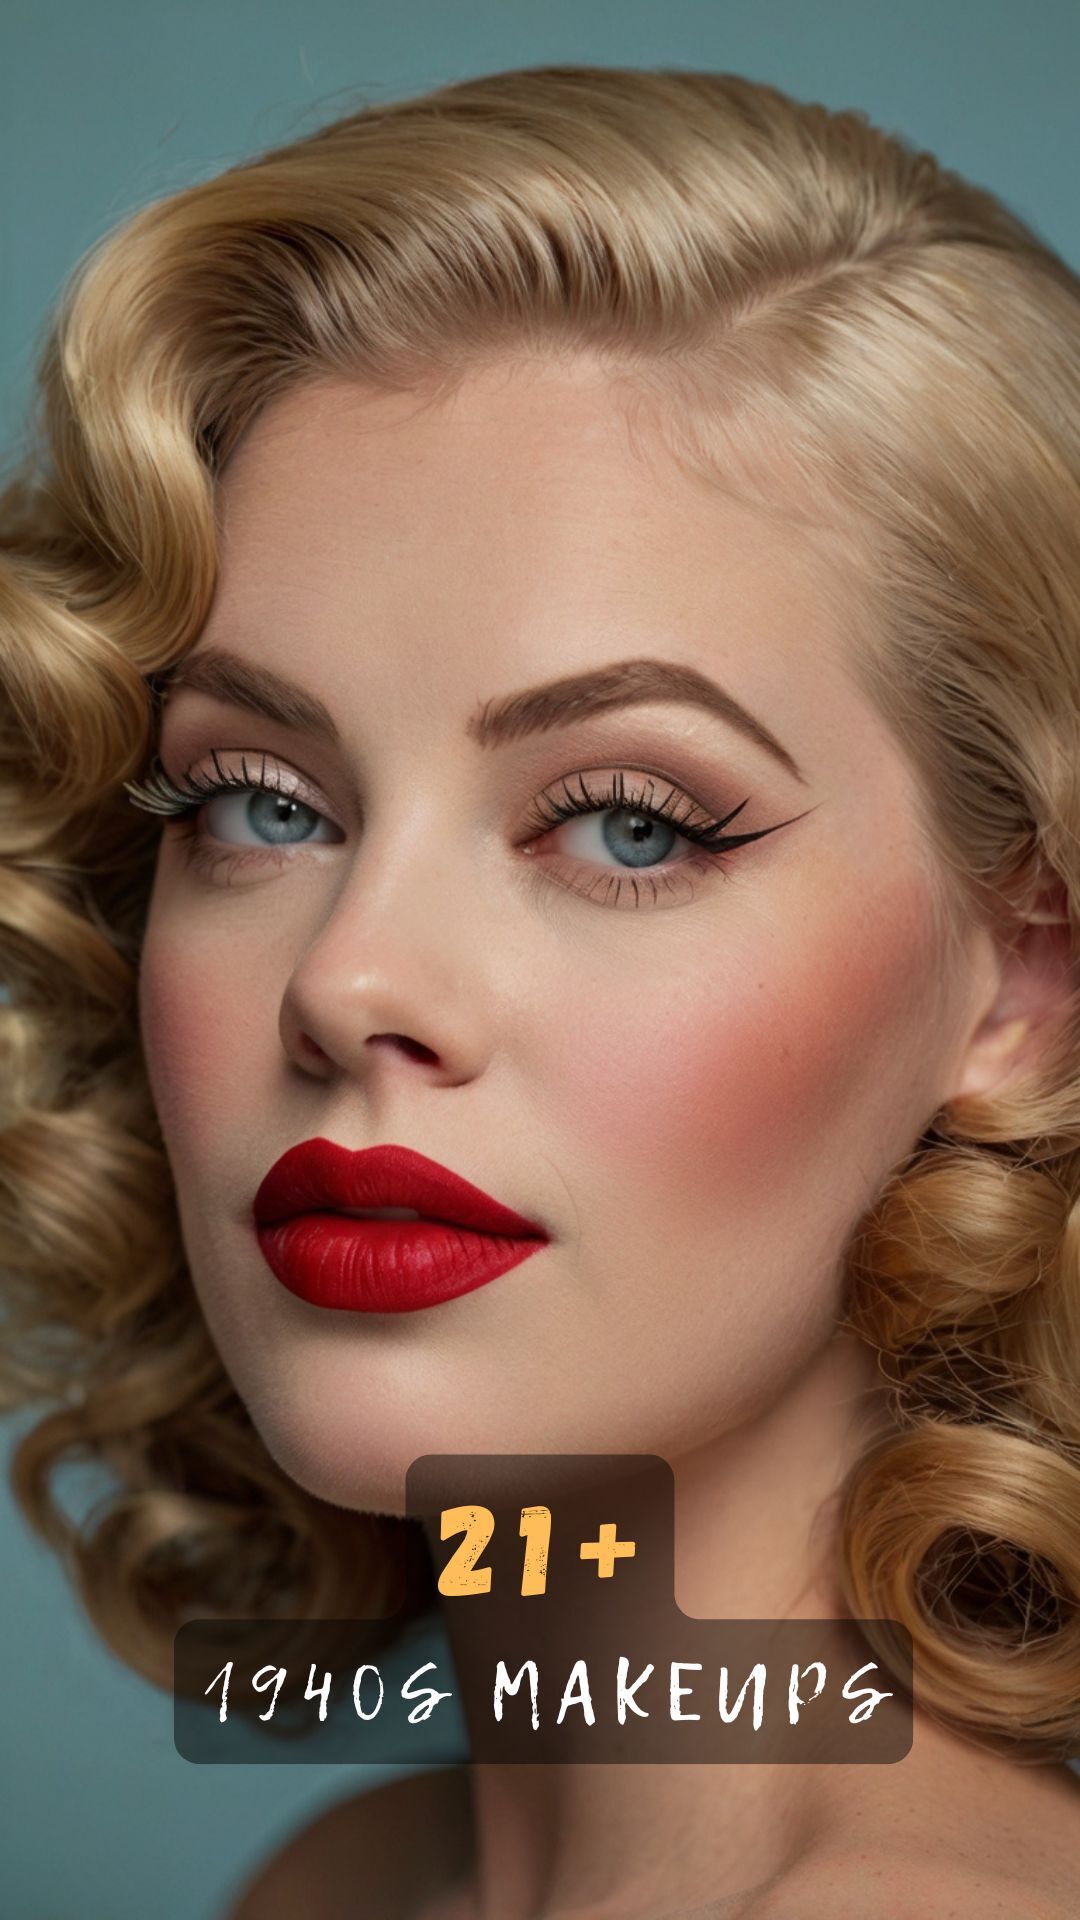
The 1940s red lip is iconic for a reason.
It’s bold, it’s classic, and it makes you feel instantly put-together.
Back then, women used what they had, and red lipstick was non-negotiable—it was a morale booster during tough times.
To get that perfect vintage red, start by lining your lips with a matching red liner.
This creates a crisp edge and prevents feathering, which is so important for that polished look.
Fill in your entire lip with the liner before applying lipstick—this makes the color last forever.
Choose a blue-based red if you have cool undertones, or an orange-based red if you’re warm-toned.
Blot once with tissue, then reapply for maximum staying power.
I’m obsessed with how this one step transforms your whole face.
The contrast between a bold lip and soft, natural everything else is pure magic.
If you’re nervous about red, start with a sheer formula and build up confidence.
Practice your application in natural light so you can see exactly where the color goes.
The secret is precision—take your time and use a lip brush for control.
Vintage beauties knew that a red lip wasn’t just makeup; it was armor.
When you nail this, you’ll understand why women never left home without it.
Brows That Frame Everything

Strong, defined brows were everything in the 1940s.
Think fuller than the thin 1930s brows, but still beautifully sculpted and arched.
The goal is a natural shape with a defined peak that lifts your whole face.
Start by brushing your brows upward to see their natural shape.
Map out where your arch should be—line up a pencil from your nostril through your pupil, and that’s your peak.
Use a brow pencil one shade lighter than your natural color for the most authentic look.
Draw tiny, hair-like strokes rather than filling in solid blocks of color.
This mimics real hair and looks so much softer and more natural.
Focus on the tail of your brow and the arch—those areas define the shape.
Set everything with a bit of clear brow gel or even a tiny touch of hairspray on a spoolie.
I love how this frames my eyes without looking overdone.
The 1940s brow is about polish, not perfection.
If you have sparse brows, don’t worry—just build gradually.
Step back from the mirror every few strokes to check symmetry.
The emotional impact of great brows is real—you’ll feel more confident and polished instantly.
The Flawless Matte Base

Vintage skin was all about that smooth, matte, porcelain finish.
No highlighter, no glow—just beautiful, even skin.
Women back then used what they could find, often mixing their own foundations.
Start with a lightweight foundation that matches your skin exactly.
The goal is to even out your tone, not mask your natural texture.
Apply with a damp sponge for the most natural, airbrushed effect.
Build coverage only where you need it—under eyes, around the nose, on any redness.
Set everything with a translucent powder, pressing it in rather than sweeping.
This locks everything down and creates that signature matte look.
I use a velour puff for powder application—it feels so luxurious and gives better coverage.
The finish should look like your skin, just perfected.
Avoid heavy contouring or anything too modern-feeling.
If you have dry skin, prep with a good moisturizer first so the matte doesn’t look flat.
The beauty of this technique is how long it lasts throughout the day.
Blot with powder papers if you get shiny, but honestly, this base just stays put.
There’s something so elegant about skin that looks naturally flawless.
Soft, Sultry Eyes Without the Drama

Eye makeup in the 1940s was surprisingly understated.
It was all about enhancing your natural eye shape rather than creating dramatic looks.
Most women stuck to browns, taupes, and soft grays.
Start with a light neutral shade all over your lid as a base.
This evens out any discoloration and makes everything blend better.
Take a medium brown and sweep it into your crease, following your natural eye socket.
Blend upward and outward for a soft, lifted effect.
The trick is to keep everything diffused—no harsh lines.
I use my fingertip to blend sometimes because the warmth helps everything melt together.
Add a slightly darker shade to the outer corner and blend it toward the center of your lid.
This creates subtle dimension without looking too smoky or intense.
Highlight your brow bone with a pale champagne or cream shade.
This was a classic trick to make eyes look more open and awake.
Skip the lower lash line entirely, or just add the tiniest bit of shadow at the outer corner.
The whole vibe is soft, feminine, and effortlessly pretty.
When you keep eyes simple, your red lip becomes the star.
Winged Liner That Actually Works

The 1940s winged liner is subtle compared to modern cat eyes.
It’s more of a lifted lash line than a dramatic wing.
This makes it way easier to pull off, especially if you’re new to liner.
Start by tightlining your upper lash line with a brown or black pencil.
This adds definition right at the root of your lashes.
Then take a gel or liquid liner and trace along your lash line, staying close to the lashes.
At the outer corner, extend the line slightly upward following the natural angle of your lower lash line.
Keep the wing short and subtle—maybe a quarter inch at most.
The goal is to lift your eyes, not create a bold graphic look.
I find it helpful to rest my elbow on a table for stability.
If you mess up, a cotton swab dipped in makeup remover fixes it instantly.
Practice the motion a few times without product to build muscle memory.
The vintage wing is forgiving because it’s so understated.
You can even use a brown liner for a softer, more everyday version.
Once you get the hang of this, you’ll do it in seconds without thinking.
Rosy Cheeks That Look Natural

Blush in the 1940s was all about that fresh, healthy flush.
Think rosy cheeks like you just came in from the cold.
The placement is key—it’s higher and more forward than modern blush techniques.
Smile gently and apply blush to the apples of your cheeks.
Use a cream or powder formula in a soft pink, rose, or peach tone.
Blend upward toward your temples, but not too far back.
The color should look like it’s coming from within your skin.
I’m obsessed with cream blushes for this look because they blend so seamlessly.
Tap the product in with your fingers for the most natural finish.
Build the color gradually—you can always add more.
The 1940s flush is innocent and sweet, not sculpted or contoured.
If you have fair skin, go for soft pinks and roses.
Medium and deeper skin tones look gorgeous with berries and warm plums.
Layer a powder blush over cream for extra staying power if you need it.
This technique makes you look awake and vibrant without looking made-up.
There’s something so timeless about a simple rosy cheek.
Lashes That Look Naturally Full

False lashes weren’t really a thing for everyday looks back then.
Women focused on making their natural lashes look as full as possible.
The secret?
Curling and layering mascara properly.
Start with a good lash curler—warm it slightly with your hands first.
Curl at the base of your lashes, hold for 10 seconds, then pulse gently as you move outward.
This creates a natural curve rather than a harsh bend.
Let your lashes cool in that curled position for a moment before applying mascara.
Use a brown or black mascara and wipe off excess from the wand.
Apply one thin coat, wiggling the wand at the roots and sweeping upward.
Let it dry completely, then add a second coat.
I sometimes separate lashes with a clean spoolie between coats for extra definition.
Focus on the upper lashes—lower lashes got minimal attention in the 1940s.
If you do touch your lower lashes, just lightly coat the outer corners.
The goal is length and separation, not thick, clumpy volume.
This technique makes your eyes look open and awake in the most natural way.
You’d be surprised how much of a difference properly curled lashes make.
DIY Beauty Tricks from the Era

Women in the 1940s were incredibly resourceful with beauty.
They created amazing results with household items and clever hacks.
One of my favorite tricks?
Using petroleum jelly as a multi-purpose product.
Dab a tiny bit on your eyelids before eyeshadow for longer wear and more vibrant color.
Mix a small amount with powder blush to create a cream formula.
Use it on your lips before bed as an intensive treatment.
Another genius hack: setting your makeup with a light mist of water.
This was before setting sprays existed, but it works beautifully.
Fill a spray bottle with filtered water and lightly mist your finished face.
It melts everything together and takes away any powdery look.
Women also used pencils for everything—lips, cheeks, even eyeshadow.
A red lip pencil could be blended on cheeks for a matching flush.
Spoons were used as makeshift eyelash curlers in a pinch.
I love how creative and practical vintage beauty was.
These tricks prove you don’t need expensive products to look amazing.
Sometimes the simplest solutions are the most effective.
The Art of Powder Application

Powder was absolutely essential in the 1940s.
It set makeup, controlled shine, and created that signature matte finish.
But the application technique is what made it work so well.
Use a large, fluffy powder puff rather than a brush.
Press the powder into your skin rather than sweeping it on.
This locks down your foundation and creates a longer-lasting finish.
Focus on the T-zone, under eyes, and anywhere makeup tends to slip.
Use a light hand—you want to set, not cake.
I like to press powder in, wait a few minutes, then dust off any excess with a fluffy brush.
This technique is called “baking” now, but vintage ladies invented it.
Carry a compact with you for touch-ups throughout the day.
A quick press of powder keeps everything fresh without adding more foundation.
Choose a translucent powder if you want no additional coverage.
Or use a powder that matches your foundation for extra perfection.
The emotional satisfaction of perfectly set makeup that doesn’t budge is unmatched.
This simple step makes such a huge difference in how long your makeup lasts.
Lip Liner for Definition

Lip liner wasn’t just an outline in the 1940s.
It was the foundation of the entire lip look.
This is why vintage lips always looked so precise and lasted so long.
Choose a liner that matches your lipstick exactly.
Outline your natural lip line, following your cupid’s bow carefully.
The center of your top lip should have a defined peak—this is so important for that vintage shape.
Slightly overline if you want a fuller look, but keep it subtle and follow your natural shape.
Fill in your entire lip with the liner, not just the outline.
This creates a base that makes lipstick adhere better and last longer.
I can’t stress enough how much this one step changes everything.
Blend the liner slightly with your fingertip before applying lipstick.
Then apply your lipstick over the top with a lip brush for precision.
Blot with tissue, powder lightly through the tissue, then apply another layer.
This layering technique is why 1940s lips stayed perfect all day.
You’ll never go back to just swiping on lipstick once you try this.
The definition and staying power are absolutely worth the extra minute.
Setting Your Look to Last

Makeup longevity was crucial in the 1940s.
Women needed their looks to last through long shifts and busy days.
The secret was all in the layering and setting techniques.
After completing your makeup, let everything settle for a minute.
Then lightly mist your face with water or a homemade rosewater spray.
This melts all the layers together and creates a more natural finish.
Press gently with a clean powder puff to set the mist.
Throughout the day, blot shine with powder papers instead of adding more powder.
This removes oil without creating buildup or cakiness.
If your lips fade, blot them, reapply liner, then add lipstick and blot again.
I keep a small compact, lip liner, and lipstick in my bag for easy touch-ups.
The powder-press technique keeps foundation looking fresh for hours.
Avoid touching your face throughout the day to prevent disturbing your makeup.
If you need to refresh, a light mist of water works wonders.
These small maintenance steps keep you looking polished from morning to night.
There’s something so satisfying about makeup that actually stays put.
Beyond the techniques, the 1940s had a whole philosophy about beauty.
It was about making the most of what you had with creativity and care.
Taking time for yourself and your appearance was seen as important, not vain.
I find this mindset so refreshing compared to modern beauty pressure.
You don’t need a hundred products or the latest trends.
Just a few quality items and solid techniques will take you so far.
The ritual of applying makeup slowly and thoughtfully is almost meditative.
Put on some vintage music and really enjoy the process.
Notice how each step builds on the last to create the finished look.
Appreciate your features and how these techniques enhance them.
The 1940s taught women to be resourceful, creative, and confident.
That same energy makes getting ready feel special instead of stressful.
When you embrace this approach, makeup becomes fun again.
You’re not trying to look like someone else or follow impossible standards.
You’re just enhancing your natural beauty with time-tested tricks that actually work.
That’s what I love most about vintage beauty—it’s timeless, achievable, and genuinely empowering.