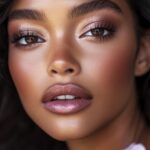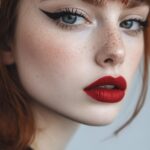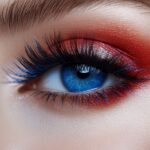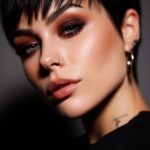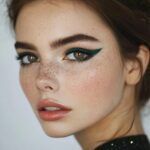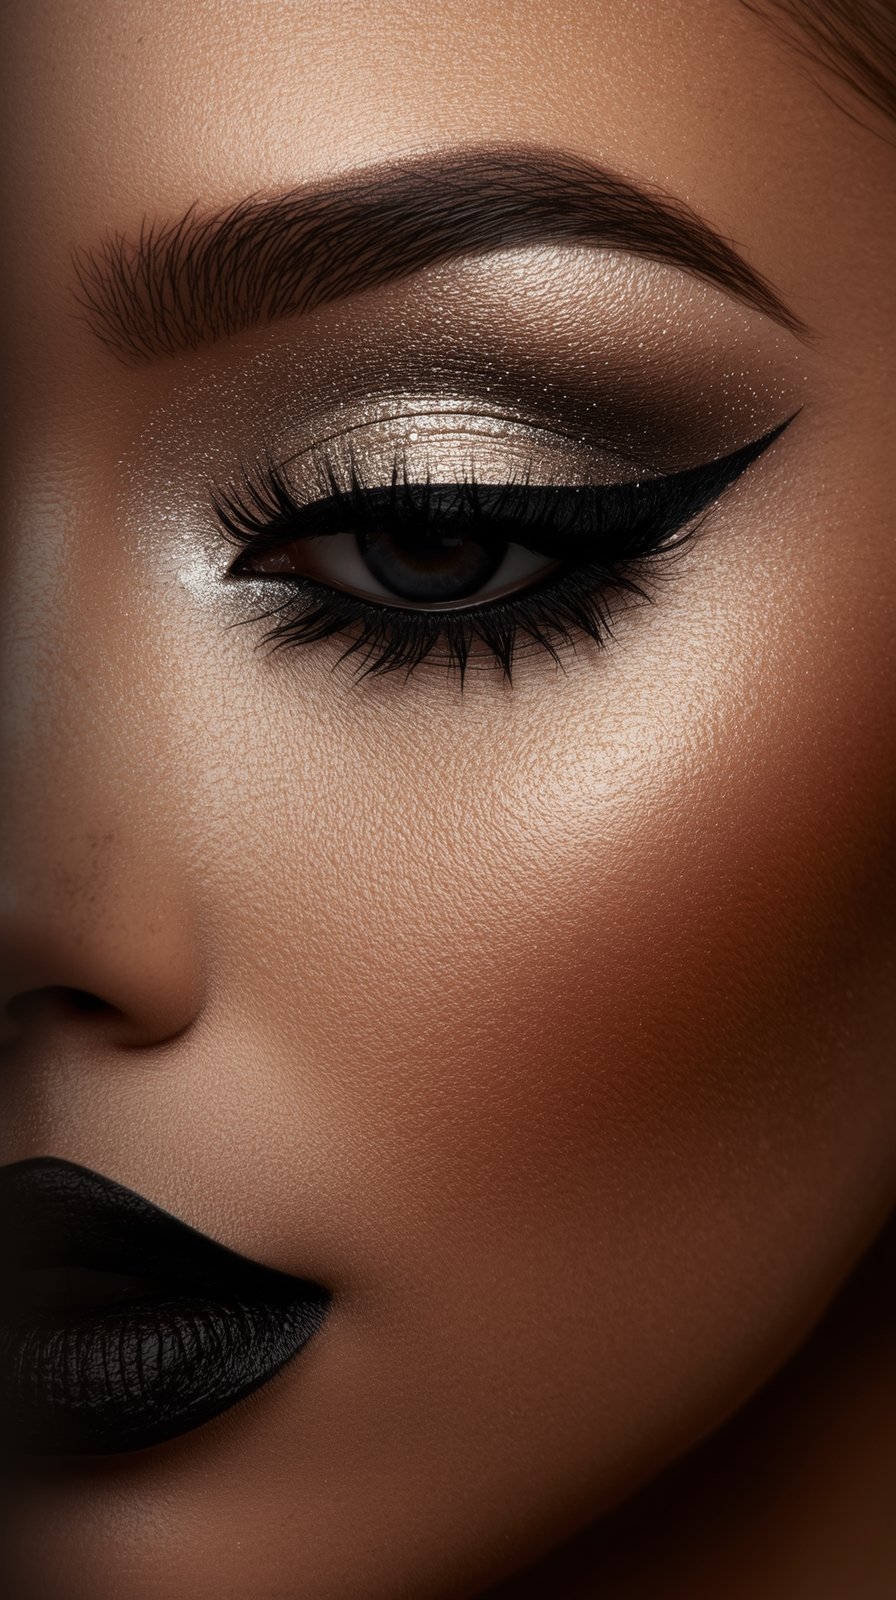
Okay, so last month I spent way too much time scrolling through Instagram at 2 AM, completely mesmerized by all these gorgeous baddie makeup looks.
Not sure which shape your eyes are? The free eye shape finder tells you in three mirror checks and shows where the liner goes.
You know the ones.
That absolutely flawless base, the sharp contour, those lashes that look like they could literally take flight.
And I thought to myself, “I need this in my life.”
So I started experimenting.
Some looks were total disasters (we don’t talk about the orange contour incident), but others?
Girl, they changed everything.
The confidence boost is real when your makeup looks that good.
I’m talking about those looks that make you feel like you could walk into any room and own it.
So I’m sharing my absolute favorite baddie makeup techniques that I’ve tested, tweaked, and perfected.
These aren’t just pretty pictures.
They’re actual looks you can recreate without needing a professional makeup artist living in your bathroom.
The Glass Skin Base That Makes Everything Pop

This is where everything starts, and honestly, it took me forever to figure this out.
That dewy, almost wet-looking skin you see on Instagram?
It’s not just good lighting (though that helps).
I prep my skin like it’s about to be photographed from every angle.
Start with a hydrating primer that has that silky, almost slippery texture.
I’m obsessed with using one that has a slight pearlescent glow to it.
Then here’s my trick: mix a tiny drop of liquid highlighter directly into your foundation.
Not on top.
IN it.
This creates that lit-from-within glow that makes your skin look absolutely luminous.
Apply with a damp beauty sponge, bouncing it across your face rather than dragging.
The key is building thin layers instead of one thick coat.
I usually do two light layers, letting each one settle for like thirty seconds.
For the baddie look, you want your skin to look perfected but not matte.
Think glazed donut vibes.
Set only your T-zone with a finely milled translucent powder.
Leave your cheeks with that natural dewiness.
This base makes every other step look more expensive and polished.
Trust me, when I started doing this, people kept asking if I got a facial.
Nope, just better base prep.
The Contour That Could Cut Glass

Let me be real with you.
I used to be terrified of contour.
It felt like one wrong move and I’d look like I applied my makeup with a paintbrush in the dark.
But the baddie contour is all about precision and blending, blending, blending.
I use a cream contour stick in a cool-toned shade (this is crucial, warm tones can look muddy).
Draw a line from the top of your ear down to the corner of your mouth.
Don’t go lower than your mouth corner or you’ll age yourself.
Another line under your cheekbone, starting from your ear.
Here’s where the magic happens: blend with a damp sponge using small circular motions.
The goal isn’t to hide the contour completely.
You want definition, not natural.
This is baddie makeup, baby.
We’re sculpting our faces like they’re works of art.
I also contour my nose with a tiny angled brush, drawing two lines down the sides.
Blend those out too.
The sides of my forehead get a sweep of contour as well.
Then I go back with a slightly lighter shade of my foundation and highlight the high points.
Down the center of my nose, on my forehead, my chin.
This creates dimension that photographs like a dream.
When I finally nailed this technique, my face looked so sculpted in photos.
It’s literally face-changing.
Those Brows That Frame Everything Perfectly

Your brows can make or break the entire baddie look.
I learned this the hard way after doing everything else perfectly and then just brushing through my brows.
The look fell flat.
Baddie brows are full, defined, and slightly dramatic.
I start by mapping out my brow shape with a thin brow pencil.
The front should be soft and feathered, not harsh.
The arch should be sharp and lifted, creating that elevated look.
Fill in any sparse areas with small, hair-like strokes.
This isn’t about drawing on brows.
It’s about enhancing what you have and creating the illusion of fuller brows.
Then I use a brow pomade with an angled brush for the tail and underside.
These areas need to be crisp and defined.
The precision here is what gives that baddie effect.
I set everything with a clear brow gel, brushing the hairs upward and slightly outward.
That fluffy, laminated look is essential.
Here’s my secret weapon: I go back with concealer on a small brush and clean up the edges.
Under the arch, along the bottom, slightly above the tail.
This carving technique makes your brows look professionally done.
The difference is insane.
When I started doing this extra step, my whole face looked more polished.
Even on days when the rest of my makeup is simple, strong brows make me look put together.
The Cut Crease That Adds Instant Drama

Okay, so the cut crease used to intimidate me so much.
It looked complicated and way too advanced for my skill level.
But once I got the hang of it, I couldn’t stop doing it.
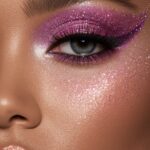
A cut crease creates that sharp definition between your lid and crease that looks absolutely stunning.
I start with a medium-toned transition shade in my crease, blending it upward.
This creates dimension before we even get to the drama.
Then I take a darker shade and pack it right into my crease with a small fluffy brush.
Blend the edges upward, but keep that lower edge kind of defined.
Now for the actual cut: use concealer on a flat brush to carve out your lid space.
The shape should follow your natural lid shape but slightly exaggerated.
Pack on a shimmery or metallic shadow on that concealed area.
The contrast is what makes this look so striking.
I sometimes use different colors for the lid versus the crease.
A bronze crease with a champagne lid is gorgeous for everyday.
A dark brown crease with a gold lid is perfect for nights out.
The options are literally endless.
Blend the harsh line where the lid color meets the crease just slightly.
You want definition, but not a literal line.
This technique makes my eyes look so much bigger and more defined in photos.
The dimension is unreal.
Winged Liner Sharp Enough To Kill

The winged liner is like the signature of baddie makeup.
And girl, I’ve drawn about a thousand wonky wings before I figured out my technique.
Now I can do it in under two minutes.
I use a black gel liner with an angled brush because I have more control than with a liquid pen.
Start from the inner corner of your eye and draw along your lash line.
When you get to the outer corner, imagine a line from the corner of your nose through the outer corner of your eye.
That’s your wing angle.
Draw a small line following that angle.
Then connect the top of that line back to your lash line, creating a triangle.
Fill it in.
The thickness should match the vibe you’re going for.
I usually make mine medium thickness for everyday baddie looks.
Thicker for night time drama.
Here’s my hack for making both wings match: use tape.
Place a small piece of tape at that angle I mentioned, angled from your nose through your outer eye corner.
Draw your wing using the tape as a guide.
The tape also catches any fallout and creates the sharpest edge possible.
When I’m feeling extra, I’ll add a thin white or nude liner on my waterline.
This makes my eyes look bigger and brighter, especially in photos.
Lashes That Touch The Sky

I’m just going to say it: baddie makeup requires dramatic lashes.
There’s no way around it.
I’ve tried doing the full look with minimal lashes and it just doesn’t hit the same.
Your lashes need to be full, long, and fluffy.
I always start with a good lash curler.
This step is non-negotiable.
Heat your curler slightly with a hair dryer for a few seconds (test it first, don’t burn yourself).
Curl your lashes in sections: base, middle, tips.
Apply a lengthening mascara first, wiggling the wand from root to tip.
Let it dry for like thirty seconds.
Then apply a volumizing mascara, focusing on the base of your lashes.
This two-mascara method creates lashes that look almost false.
But honestly, for the full baddie effect, I usually add false lashes.
Individual lashes or wispy strip lashes work best.
I avoid the super heavy, thick strip lashes because they can look costume-y in person.
Apply lash glue and wait thirty seconds before applying.
This is the secret to lashes that actually stay on.
Place them as close to your natural lash line as possible.
I use tweezers for precision.
Once they’re on, I go back with black liner and fill in any gaps between the falsies and my lash line.
Then one more coat of mascara to blend everything together.
The transformation is incredible.
My eyes look three times bigger.
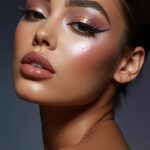
The Blinding Highlight That Catches Every Light

This is the step that makes you look like an actual Instagram filter.
That intense, almost wet-looking highlight that reflects light like a disco ball.
I’m obsessed.
You want a highlighter that’s finely milled with serious pigment.
Powder, cream, or liquid all work, but I prefer powder for that intense shine.
Apply it on the high points of your face where light naturally hits.
The tops of your cheekbones, the bridge of your nose, your cupid’s bow, the inner corners of your eyes, and your brow bone.
But here’s the key: don’t just swipe it on.
Pack it on with a small dense brush or even your finger.
Press it into the skin rather than sweeping.
This creates that intense, foiled effect.
I build it up in layers until it’s almost too much.
Then I add just a tiny bit more.
For baddie makeup, subtle highlight doesn’t exist.
You want people to be able to see your glow from across the room.
I sometimes layer different highlighters.
A champagne base with a gold topper creates the most beautiful multidimensional shine.
Or a pink base with a lavender topper for something more unique.
Spray your brush with setting spray before applying for even more intensity.
The highlight should be visible in literally any lighting.
When I mastered this, my selfies went from pretty to absolutely glowing.
Lips That Demand Attention

The lips can make or break your baddie look.
I’ve found that there are two approaches that work perfectly.
Either go nude and glossy or go bold and matte.
For the nude glossy look: line your lips with a nude liner that’s just slightly darker than your natural lip color.
This creates definition without looking too dramatic.
Fill in your lips with the liner as a base.
This makes the gloss last so much longer.
Then apply a nude or pink gloss that has serious shine.
I’m talking about that glass-like finish.
The gloss catches the light and makes your lips look fuller and more luscious.
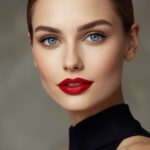
For the bold matte approach: line your lips precisely with a lip liner that matches your lipstick.
Overlining slightly (like, barely noticeable) makes your lips look fuller.
Fill in your entire lip with the liner.
Then apply your matte liquid lipstick on top.
Reds, deep berries, and rich browns are perfect baddie colors.
The matte finish looks sophisticated and stays put for hours.
I always add a tiny dot of gloss right in the center of my bottom lip.
This creates dimension and makes even a matte lip look more interesting.
Blot with a tissue, apply powder through the tissue, then add one more layer of color.
This is how you get lipstick that lasts through everything.
My lips have never looked fuller than when I started using these techniques.
The Nose Highlight That Tricks Everyone

This is such a small detail but it makes a huge difference.
I never understood why my makeup didn’t look as flawless as those Instagram baddies until I realized they all do this.
After contouring the sides of your nose, you need to highlight the center stripe.
But not just with your regular face highlighter.
I use a concealer that’s one to two shades lighter than my foundation.
Draw a thin line down the center of your nose with a small brush.
Start between your brows and end at the tip.
The line should be straight and pretty thin, not wide.
Blend it out slightly with a damp sponge, but keep it concentrated in that center area.
Then go back with a shimmery highlight and pat it on top of that concealed area.
The combination of the lighter base and the shimmer on top creates the most beautiful, slim, highlighted nose.
My nose looks so much slimmer and more refined in photos now.
It’s wild how much this one trick changes the overall look.
I always make sure the highlight extends slightly onto the tip of my nose.
This catches the light from below and makes your nose look more lifted.
Some baddies also add a tiny dot of highlight right on the very tip, which I love for photos.
It creates that extra pop of dimension.
The Temples Highlight Nobody Talks About

Okay so this is going to sound super specific, but hear me out.
Highlighting your temples is the secret to looking snatched and lifted in photos.
I discovered this by accident when I was being extra with my highlight one day.
After doing your regular highlight on your cheekbones, take that same product up to your temples.
The area right at the end of your eyebrow, kind of where your hairline starts.
Apply the highlight here with a fan brush or a small fluffy brush.
Blend it slightly into your contour on your forehead.
This creates the illusion of a lifted, more youthful face shape.
It also catches the light when you turn your head, adding more dimension.
I extend the highlight slightly into my hairline because I have baby hairs that catch the product.
This creates a really pretty, glowy effect.
The temple highlight works especially well if you pull your hair back or wear it in a sleek style.
It frames your face beautifully.
And in photos where you’re turned slightly to the side?
Game-changing.
Your face looks more sculpted and alive.
I pair this with a bit of blush on the apples of my cheeks, blended back toward my temples.
This creates this lifted, youthful look that photographs incredibly well.
It’s such a small detail but it makes you look more polished and editorial.
The Inner Corner Pop That Opens Up Everything

The inner corner highlight is essential for that baddie eye look.
It brightens your entire eye area and makes you look more awake and fresh.
I use a shimmery champagne or silver shadow for this.
With a small pencil brush, pack the shadow right into the inner corner of your eye.
Like, really pack it in there.
The shimmer needs to be intense.
Then I take whatever is left on the brush and blend it slightly onto the bridge of my nose.
This connects the inner corner highlight to your nose highlight and creates cohesion.
Some days I use a liquid liner in white or champagne instead of shadow.
This creates an even more intense, metallic pop.
Draw a small triangle or dot in your inner corner and blend the edges slightly with your finger.
The center should stay bright and pigmented.
This technique makes my eyes look wider and more open.
It’s especially helpful on days when I’m tired but need to look alive.
I also add this same shimmer on my tear duct area, right below the inner corner.
It’s subtle but it catches the light when you blink or look down.
Photographs absolutely love this detail.
When I zoom in on my eye makeup photos, that inner corner highlight is always the star.
It adds a professional, editorial quality to the whole look.
The Under-Eye Brightness That Erases Everything

Dark circles and under-eye bags are the enemy of the baddie look.
We need that area to be bright, smooth, and lifted.
I struggled with this for so long because my under-eyes are naturally pretty dark.
But I’ve finally cracked the code.
First, color correct if you have serious darkness.
Peach for medium to dark skin tones, pink for lighter skin tones.
Apply with your ring finger in a patting motion.
This neutralizes the darkness before you even apply concealer.
Then comes the concealer.
I use a full-coverage concealer that’s one to two shades lighter than my skin tone.
Apply it in an inverted triangle shape under your eye.
The base of the triangle should be right along your lower lash line.
The point should extend down toward your cheek.
This shape brightens and lifts your entire mid-face.
Blend with a damp beauty sponge, bouncing it gently.
Don’t drag or you’ll move the product around and lose coverage.
Set with a finely milled powder, but only a tiny amount.
Too much powder settles into fine lines and actually makes you look older.
I bake my under-eyes for like two minutes max when I’m doing a full baddie look.
Pack on loose powder and let it sit while you do other steps.
Dust it away with a fluffy brush.
The brightness this creates is unreal.
My under-eyes look so lifted and awake, even when I’ve barely slept.
After spending an hour creating this perfect baddie makeup look, the last thing you want is for it to slide off your face.
Setting your makeup properly is crucial.
I have a specific method that keeps everything in place for hours.
First, I set my T-zone with powder using a fluffy brush.
This controls shine without making my whole face matte.
Then I spray my face with a setting spray.
Not just any mist, but a proper setting spray that has alcohol or silicones.
These ingredients help lock everything in place.
Hold the bottle about ten inches from your face and spray in an X pattern, then a T pattern.
This ensures even coverage.
Let it air dry completely.
Don’t touch your face or fan it.
Just wait.
I usually do my lips during this time.
Once it’s dry, I go back and add more highlight if needed because the spray can tone it down slightly.
Then one more light mist of setting spray.
This two-spray method is my secret to makeup that lasts through dinner, drinks, and dancing.
I’ve tested this through long work days, weddings, and nights out.
My makeup stays exactly as I applied it.
The only touch-up I ever need is lipstick or gloss.
Everything else stays perfectly in place, looking fresh and flawless for hours.