Summer doesn’t have to mean bright pinks and electric blues on your fingertips.
Brown nails are having a major moment this season, offering that perfect earthy sophistication that pairs beautifully with sun-kissed skin and flowing summer dresses.
When it is time for the next set, the free nail removal guide gives the soak time and the steps for gel, acrylic, dip or press-ons.
Chocolate Brown with Gold Foil Magic


You’ll stop traffic with this luxurious combination that screams expensive taste without breaking the bank.
The deep, rich chocolate brown serves as the perfect canvas for delicate gold foil accents that catch the light beautifully.
This design works by applying your base chocolate shade first, letting it dry completely, then carefully placing small pieces of gold foil randomly across each nail.
The contrast between the warm brown and the metallic gold creates an almost edible look that’s both sophisticated and playful.
You can vary the placement of the foil pieces to create a unique pattern on each nail, making your manicure truly one-of-a-kind.
The chocolate base should be opaque and glossy, so choose a high-quality brown polish that doesn’t streak or require multiple coats.
Gold foil comes in sheets that you can tear into irregular pieces, or you can purchase pre-cut shapes for a more uniform look.
Apply the foil while a thin layer of nail glue or foil adhesive is still slightly tacky for the best results.
This combination works particularly well with both short and long nails, though longer nails give you more canvas space to create intricate foil patterns.
The warmth of both colors complements summer tans beautifully, making your hands look instantly more elegant and put-together.
You can enhance this look further by adding a high-shine top coat that protects the foil and creates an almost mirror-like finish.
For special occasions, try adding a few small rhinestones in gold or clear crystal to really make the design pop.
The beauty of this combination lies in its versatility – you can make it subtle with just a few foil accents or go bold with more dramatic coverage.
Pastel Brown Ombre Dreams

This gradient technique transforms your nails into a work of art that’s both trendy and timeless.
Starting with a light nude brown at the cuticle and gradually deepening to a rich brown at the tips creates a stunning visual effect.
The ombre technique requires patience but delivers results that look like you stepped out of a high-end salon.
You’ll need at least three shades of brown polish ranging from the lightest nude-brown to the deepest chocolate tone.
Begin by applying the lightest shade as your base color and let it dry completely before moving to the gradient work.
Using a makeup sponge, apply the medium brown shade to about two-thirds of the sponge, leaving the bottom third for the darkest shade.
Gently dab the sponge onto your nail, starting from the middle and working toward the tip, creating that seamless blend.
The key to perfect ombre lies in working quickly while the polish is still wet and blending the colors together with gentle dabbing motions.
You might need to repeat this process two or three times to achieve the intensity and smoothness you want.
Clean up any excess polish around your cuticles with a small brush dipped in acetone for that professional finish.
This technique works beautifully on both natural and artificial nails, though longer nails showcase the gradient effect more dramatically.
The nude brown ombre complements every skin tone and pairs perfectly with both casual summer outfits and elegant evening wear.
You can customize this look by adjusting the intensity of the gradient – make it subtle for everyday wear or more dramatic for special events.
Brown and Cream Marble Masterpiece


This sophisticated design mimics the natural beauty of marble stone with warm brown and cream tones.
The organic, flowing patterns created by marbling techniques make each nail unique while maintaining an overall cohesive look.
You’ll achieve this stunning effect using the water marbling technique or by carefully blending colors directly on the nail.
Start with a cream or off-white base coat and let it dry completely before beginning the marbling process.
For water marbling, fill a small cup with room temperature water and carefully drop alternating colors of brown and cream polish onto the surface.
Use a toothpick to gently swirl the colors together, creating those characteristic marble veins and patterns.
Dip your nail into the design, holding it at an angle to pick up the pattern on your nail surface.
The direct-on-nail method involves applying dots of brown and cream polish while the base is still slightly wet, then using a fine brush or toothpick to create swirling patterns.
Both techniques require practice, but the results are absolutely worth the effort you put in.
The natural randomness of marble patterns means that imperfections actually add to the authentic look of the design.
Choose browns and creams that have good contrast but still harmonize well together for the most striking effect.
This design looks particularly elegant when paired with a matte top coat, which enhances the stone-like appearance.
You can add subtle shimmer to some of the cream areas to create depth and visual interest.
The marble effect works beautifully on both short and long nails, adapting to any nail shape or length.
Terracotta Brown Geometric Patterns

Bold geometric shapes in warm terracotta brown create a modern, artistic vibe that’s perfect for summer festivals and creative expressions.
This earthy orange-brown shade captures the essence of summer sunsets and desert landscapes while maintaining sophisticated appeal.
You’ll create striking visual impact by combining clean lines, triangles, and abstract shapes in this rich, warm tone.
Start with a neutral base color like cream or light beige to make the terracotta patterns pop against the background.
Use striping tape or nail guides to create perfectly straight lines and sharp geometric angles that give this design its modern edge.
Triangular patterns work particularly well with terracotta brown, creating an almost tribal-inspired aesthetic that’s both trendy and timeless.
You can vary the geometric patterns on each nail while maintaining the same color scheme for a cohesive yet interesting overall look.
Negative space designs incorporate the natural nail or base color as part of the geometric pattern, creating depth and visual complexity.
The key to successful geometric nail art lies in planning your design beforehand and using quality tools for precise application.
Thin nail art brushes, dotting tools, and striping tape are essential for creating clean, professional-looking geometric shapes.
Terracotta brown pairs beautifully with metallic accents in gold or copper, adding an extra dimension to your geometric patterns.
This design aesthetic works well with both minimalist geometric shapes and more complex, intricate patterns depending on your skill level and personal preference.
The earthy nature of terracotta brown makes it perfect for summer, complementing both bohemian and modern fashion styles.
You can enhance the geometric patterns with subtle gradients within each shape, adding depth while maintaining the clean, modern aesthetic.
Mocha Brown Polka Dot Perfection

This playful twist on classic polka dots brings retro charm with a modern brown color palette that’s both fun and sophisticated.
The warm mocha brown base provides the perfect backdrop for contrasting dots in cream, white, or even metallic gold.
You’ll achieve perfectly round dots using dotting tools, bobby pins, or even the end of a makeup brush for different size variations.
Start with two coats of your mocha brown base color, ensuring complete coverage and opacity before adding the dot patterns.
Varying the size of your polka dots creates visual interest and prevents the design from looking too uniform or predictable.
Large dots on the thumb and ring finger with smaller dots on the remaining nails create a balanced, aesthetically pleasing composition.
The spacing between dots can be adjusted to create different moods – closer spacing for a more dramatic look, wider spacing for subtle elegance.
White or cream dots create a classic, timeless appearance that works well for both casual and professional settings.
Metallic gold dots add glamour and sophistication, making this design appropriate for evening events and special occasions.
You can create gradient effects by using different shades of the same color family for your dots, starting light and getting progressively darker.
For added dimension, try creating dots with slight overlapping or varying opacities to create depth and visual texture.
This design translates beautifully to different nail lengths and shapes, though oval and square nails showcase the pattern particularly well.
The polka dot pattern is forgiving for beginners since slight imperfections in dot shape or placement often add to the handmade, charming appeal.
Finish with a glossy top coat to smooth out any texture differences between the base color and the raised dot patterns.
Brown Tortoiseshell Elegance


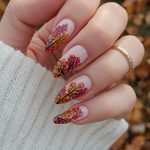
This sophisticated pattern mimics the beautiful mottled appearance of genuine tortoiseshell with rich browns, ambers, and golden tones.
The organic, flowing patterns create a luxurious look that’s both timeless and completely on-trend for summer 2025.
You’ll build this complex design in layers, starting with a translucent amber or light brown base that allows subsequent layers to show through.
The tortoiseshell effect comes from strategically placed patches of darker brown and lighter amber colors that blend seamlessly together.
Using a fan brush or sea sponge helps create the characteristic mottled texture that makes tortoiseshell patterns so recognizable and appealing.
Start by applying your lightest shade as a base, then work in darker browns and ambers while the base is still slightly tacky.
The key to authentic-looking tortoiseshell lies in keeping the patterns irregular and organic – avoid any geometric or overly structured designs.
Blend the colors together while they’re still wet, using gentle dabbing motions rather than brushing strokes that might create unwanted lines.
Real tortoiseshell has natural variations in transparency and opacity, so layer some areas more heavily while keeping others lighter and more translucent.
Golden highlights added sparingly throughout the design catch the light beautifully and add that signature tortoiseshell luminosity.
This design works exceptionally well on longer nails where you have more surface area to develop the complex color patterns.
The neutral brown and amber tones complement virtually every skin tone and work with both warm and cool undertones.
You can adjust the intensity of the pattern by varying how much contrast you create between the lightest and darkest areas.
A glossy top coat is essential for this design as it enhances the depth and richness of the layered colors while providing a smooth, professional finish.
Caramel Brown Floral Fantasy

Delicate flowers in soft pastels bloom beautifully against a rich caramel brown background, creating a romantic summer aesthetic.
This design combines the earthiness of brown with the femininity of floral patterns for a look that’s both grounded and graceful.
You’ll create stunning contrast by painting small flowers in white, cream, soft pink, or pale yellow against the warm caramel base.
The caramel brown shade should be rich and creamy, providing enough depth to make the floral elements stand out dramatically.
Simple five-petal flowers work well for beginners, while more experienced nail artists can attempt roses, daisies, or cherry blossoms.
Start your floral design by mapping out where you want the main flower elements to be placed across all your nails.
Using a fine detail brush, begin with the flower centers using a contrasting color, then build the petals around them with gentle, curved strokes.
Varying the size of flowers creates a more natural, garden-like appearance rather than a rigid, uniform pattern.
Small leaves in sage green or olive tones add realistic detail and help connect the floral elements across different nails.
You can enhance the design with tiny dots of yellow or white to represent flower centers or small buds throughout the composition.
The beauty of floral nail art lies in its imperfection – slightly irregular petals and organic shapes look more natural and appealing.
This design works wonderfully as an accent nail treatment, featuring the full floral design on one or two nails while keeping others in solid caramel brown.
Matte top coat gives this design a sophisticated, almost painted appearance, while glossy finish creates a more traditional, polished look.
The combination of earthy brown and soft florals makes this design perfect for garden parties, brunch dates, and romantic summer evenings.
Brown and Beige Negative Space Innovation

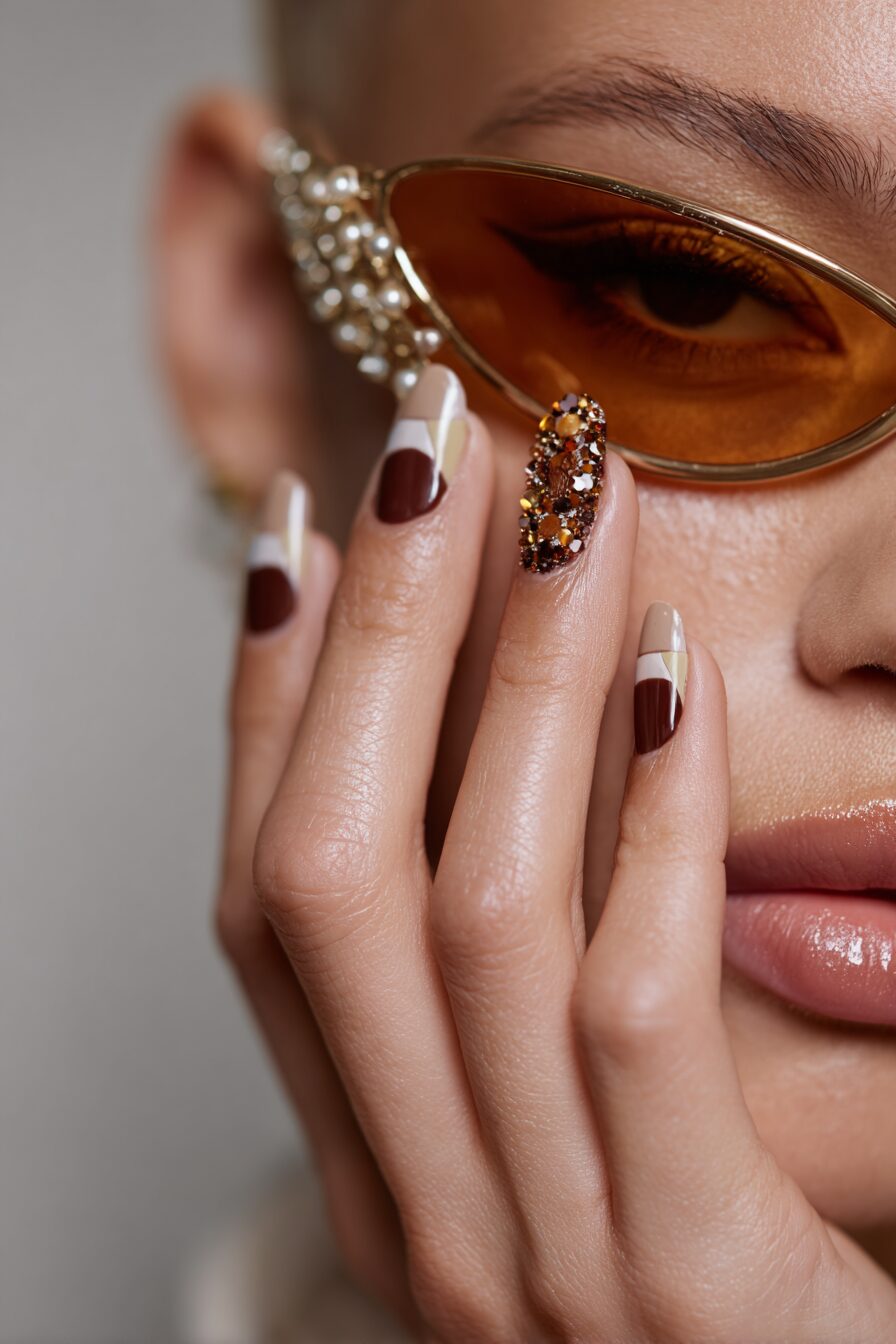
This modern design technique uses the natural nail as part of the overall pattern, creating stunning geometric shapes with brown and beige polish.
The negative space approach feels fresh and contemporary while the neutral color palette keeps the look sophisticated and versatile.
You’ll achieve this effect by carefully taping off sections of your natural nail, then applying brown and beige polishes to create intentional gaps.
The contrast between your natural nail color and the polish creates interesting visual tension that’s both modern and timeless.
Planning your design beforehand is crucial since negative space work requires precision and careful tape placement for clean lines.
Striping tape, nail guides, and stencils help create perfectly straight edges and geometric shapes that define this aesthetic.
You can create stripes, triangles, half-moons, or abstract geometric patterns depending on your skill level and personal preference.
The key to successful negative space designs lies in applying thin, even coats of polish to prevent bleeding under the tape barriers.
Brown and beige work beautifully together because they’re closely related on the color wheel, creating harmony while still providing subtle contrast.
Varying the proportions of negative space to polish creates different visual impacts – more negative space feels minimalist, while less feels more traditional.
This technique works particularly well on medium to long nails where you have adequate space to create meaningful geometric patterns.
The natural nail areas should be well-manicured and healthy-looking since they become a visible part of the final design.
You can enhance negative space designs with subtle shimmer or glitter applied only to the polished areas for added dimension.
This modern aesthetic pairs beautifully with contemporary fashion and works especially well for professional settings where subtle elegance is preferred.
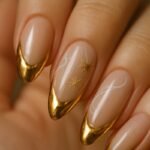
Espresso Brown Metallic Tips

The classic French manicure gets a bold makeover with deep espresso brown and shimmering metallic tips that catch the light beautifully.
This sophisticated twist on a timeless design brings warmth and richness while maintaining the elegant simplicity that makes French manicures so enduringly popular.
You’ll start with a rich espresso brown base that’s deep enough to provide dramatic contrast with the metallic tip treatment.
The metallic tips can be gold, silver, rose gold, or copper depending on your personal preference and the occasions you’re dressing for.
Perfect application requires steady hands and quality brushes, but the stunning results are worth the extra time and attention to detail.
Begin by applying two coats of the espresso brown base color, ensuring complete opacity and even coverage across all nails.
Use nail guides or striping tape to create perfectly straight tip lines, or freehand the application if you’re confident in your brush control.
The metallic polish should be applied in thin, even coats to prevent streaking and ensure smooth, consistent coverage across the tip area.
You can vary the thickness of the metallic tips – thinner tips appear more subtle and classic, while thicker tips make a bolder statement.
The contrast between the matte richness of espresso brown and the reflective quality of metallic creates stunning visual depth and interest.
This design works beautifully on both natural and artificial nails, though longer nails provide more space for dramatic tip proportions.
Gold metallic tips complement warm skin tones particularly well, while silver works beautifully with cooler undertones.
Rose gold offers a romantic, feminine touch that bridges warm and cool tones, making it universally flattering across different skin colors.
You can enhance this design further by adding a thin line of glitter or rhinestones at the junction between the brown base and metallic tip.
Sandy Brown Beach Vibes

This light, warm brown captures the essence of sun-soaked beaches and summer adventures with ocean-inspired nail art elements.
The sandy brown base color evokes memories of warm sand between your toes and endless summer days spent by the water.
You’ll enhance this beachy base with small seashells, starfish, waves, or other coastal elements painted in complementary colors.
The sandy brown shade should be warm and light enough to serve as a neutral background while still providing enough color to be interesting.
Small white waves painted along the tips or sides of nails create movement and reinforce the beach theme beautifully.
Tiny shells in cream or white can be painted freehand or applied as small nail art decals for those less confident with detailed painting.
Blue accent colors in various shades can represent water elements, from deep navy waves to light aqua highlighting details.
Glitter in gold or iridescent finishes mimics the sparkle of sunlight on water and adds magical dimension to the overall design.
This design aesthetic works particularly well for vacation nails, summer parties, and any time you want to carry beach vibes with you.
The neutral sandy brown base means this design coordinates beautifully with summer wardrobes in whites, blues, and other beach-inspired colors.
You can adapt the complexity of beach elements based on your skill level, from simple wave lines to detailed underwater scenes.
Matte top coat over the sandy brown base with glossy accents on the ocean elements creates interesting texture contrasts that enhance the beach theme.
This design translates well to both short and long nails, though longer nails provide more space for detailed beach scene elements.
The warm, optimistic feeling of sandy brown combined with beach motifs makes this perfect for lifting spirits and celebrating summer freedom.
Each design offers its own unique personality while maintaining the sophisticated elegance that makes brown such a versatile choice for summer.
If you’re drawn to geometric patterns, floral designs, or beachy vibes, there’s a brown nail trend here that will perfectly complement your summer style and keep you looking effortlessly chic all season long.