What $85 Taught Me About Light and Lacquer
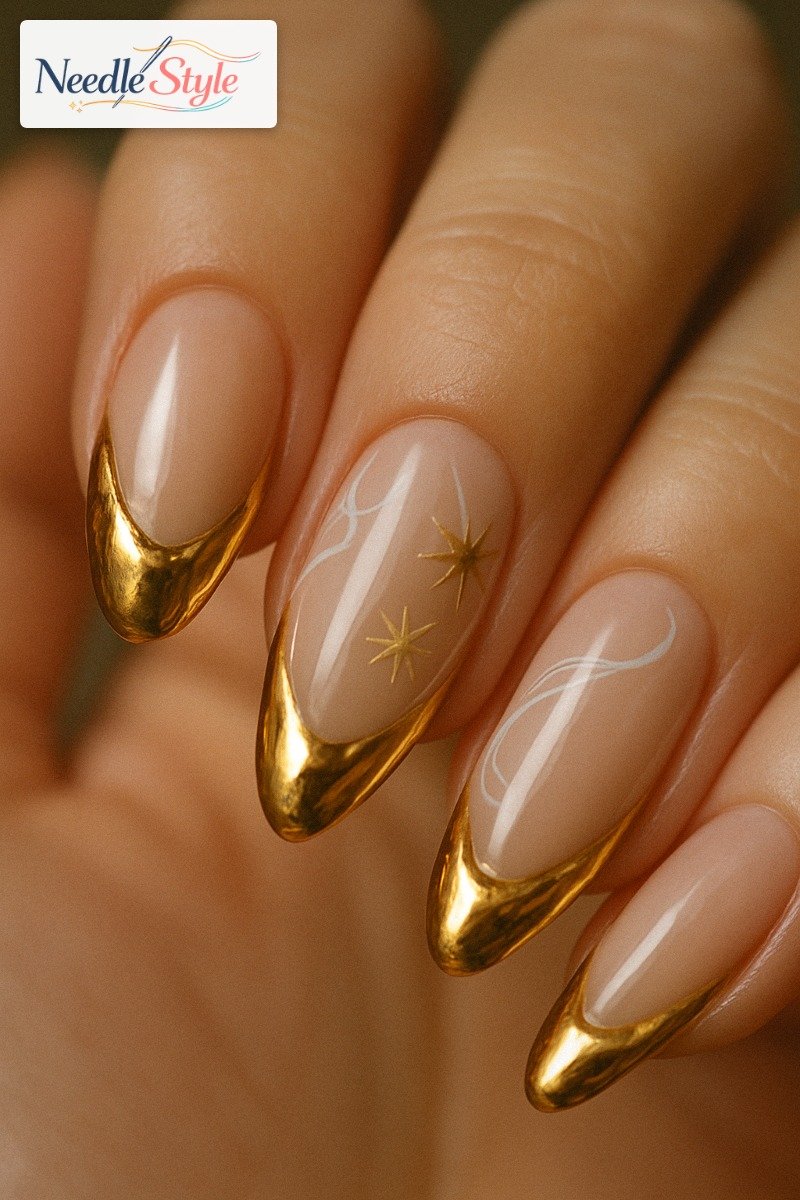
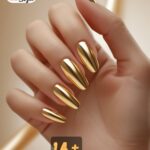
A nail tech charged me $85 for gold French tips that looked like sticker residue by day three.
Not peeling yet, just… dead.
Flat.
The kind of gold that looks like it came off a craft store gift bag.
I sat in my car in the parking lot staring at my hands and thought, something in the actual process is wrong.
That afternoon I went home and pulled apart every tutorial I could find — and what I discovered is that almost nobody is teaching this correctly.
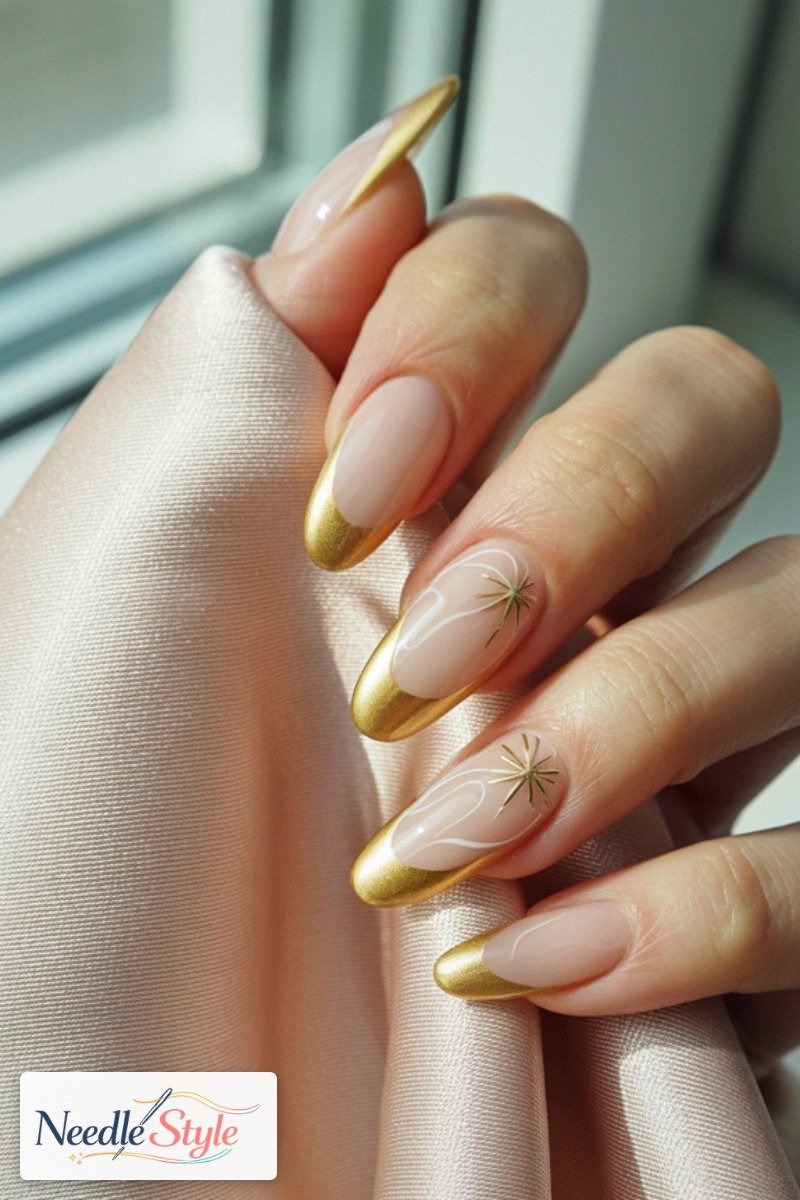
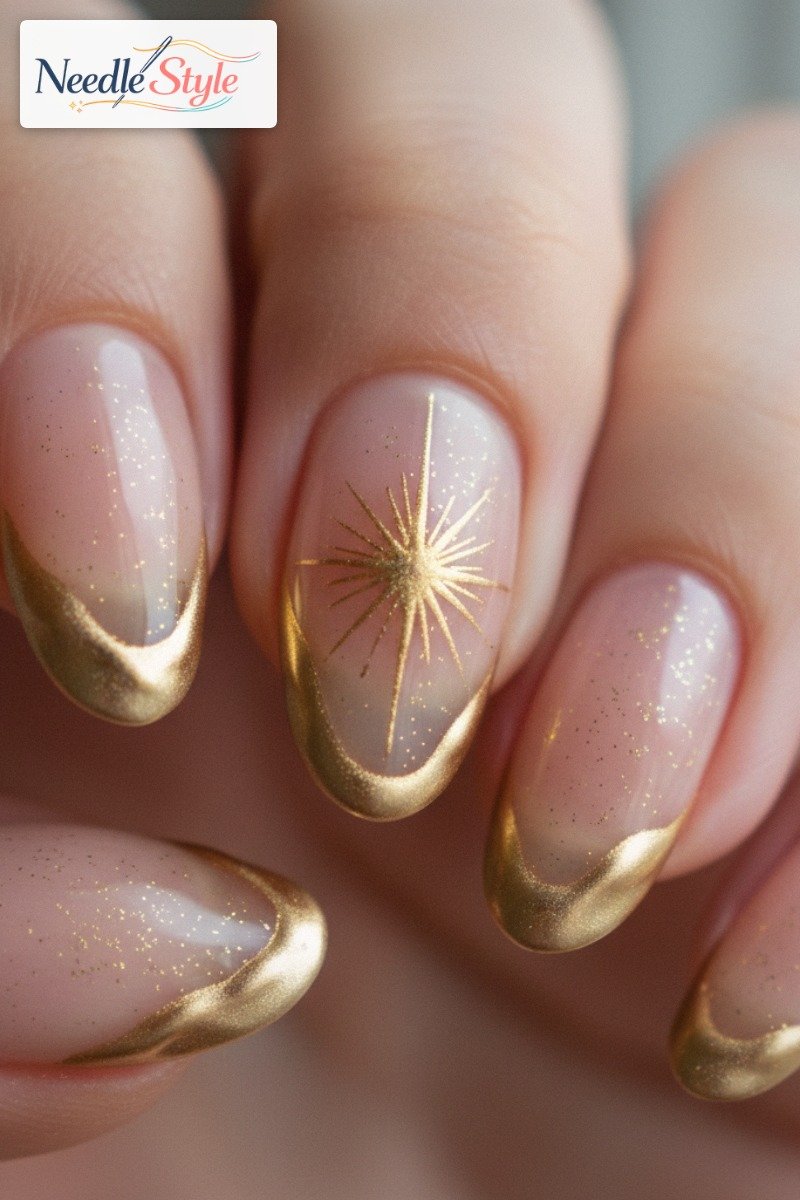
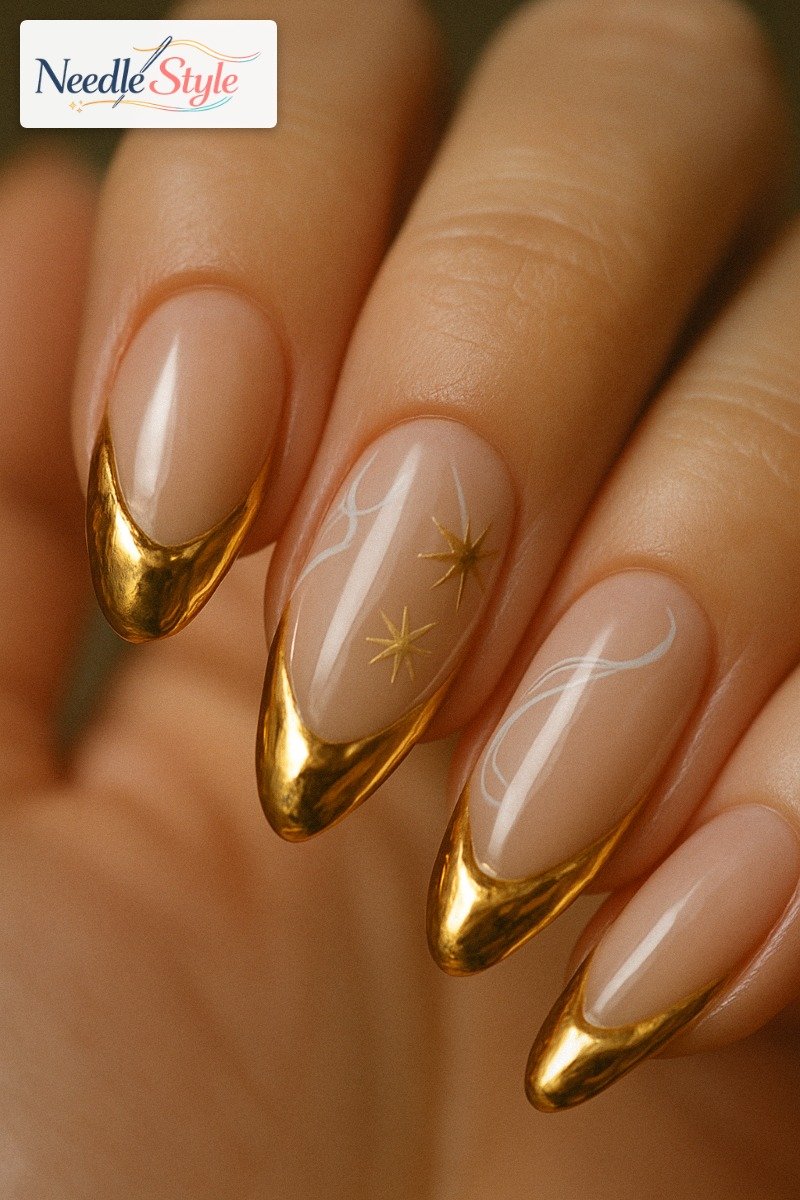
The liquid effect you’re after isn’t about shimmer.
It’s a refractive illusion.
Light hits a curved surface, bends across it, and your brain reads it as three-dimensional and wet.
Most gold tips look flat because the base layer is wrong, the application order is wrong, and sometimes the nail shape itself is working against the product.
None of that gets fixed by buying a more expensive chrome powder.
Flat Gold vs. Liquid Gold: Why Most Attempts Fail Before the Polish Even Opens
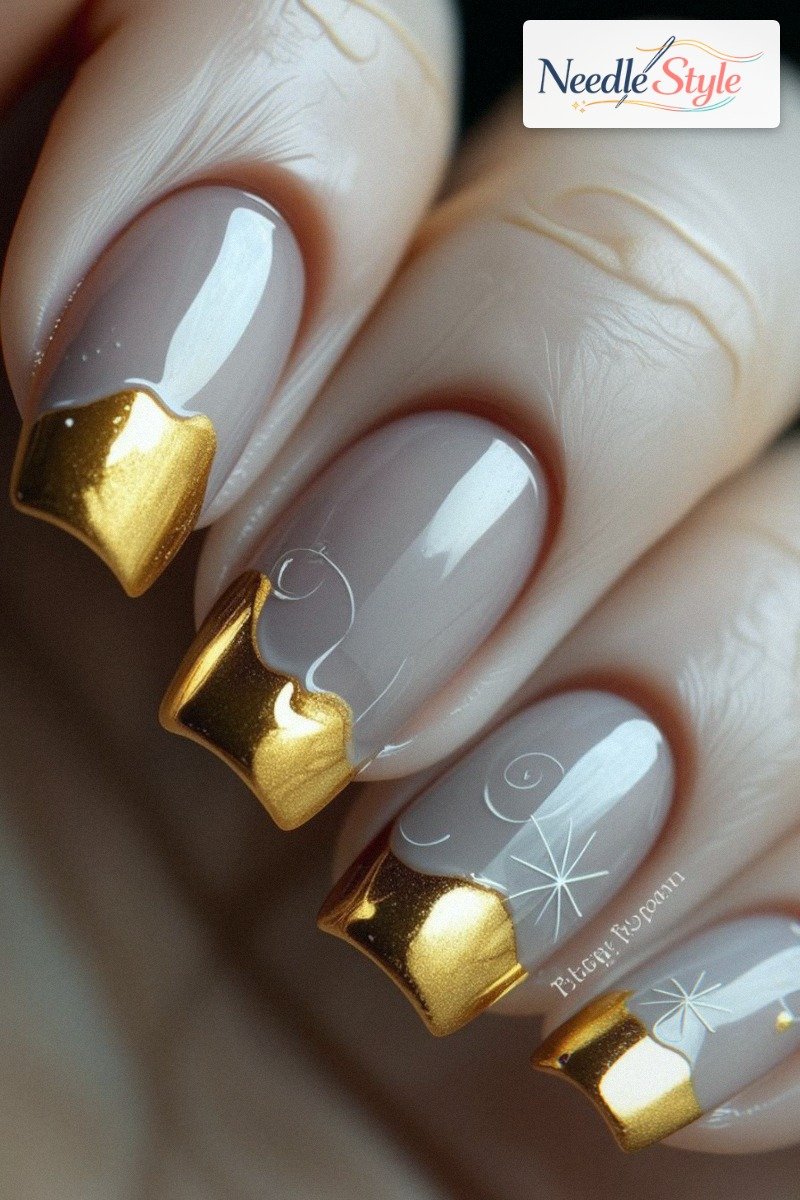
The failure point is almost always the base.
Not the gold product.
The base.
Chrome powder works by compacting metallic particles into a smooth, reflective surface.
For that compaction to work, what matters is the tackiness and smoothness of the gel surface being buffed — not the color or opacity of what’s underneath.
That said, two full opaque coats of nude base is still the minimum before any metallic tip application, because a smooth, even base gives you the most consistent surface to work on.
That is not optional.
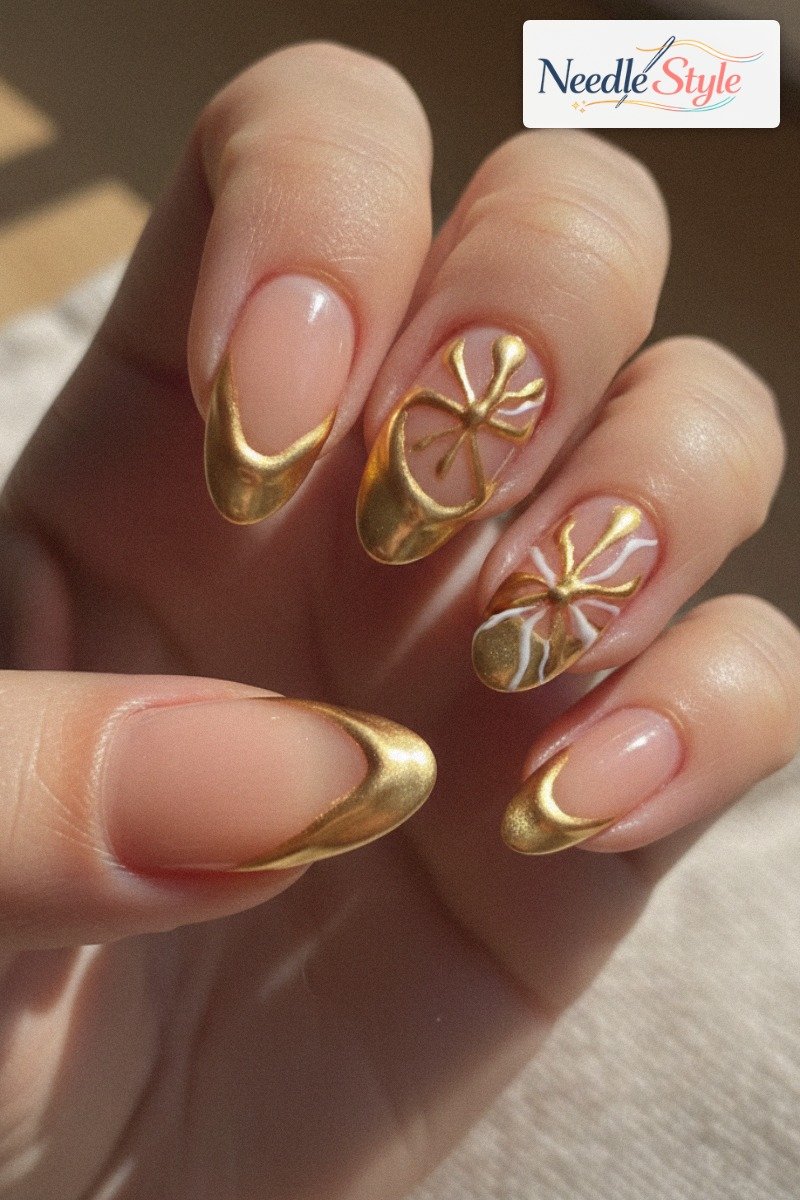
Most tutorials say to apply chrome powder over “any cured base.”
They skip right past the word opaque.
So people use their regular sheer pink base because it looks fine under regular polish, and then they get a hazy, dull result and blame the chrome powder brand.
It’s not the powder.
A sheer base under chrome is one of the most common and most avoidable mistakes in this whole process — not because translucency kills adhesion, but because sheer bases are often thinner and less smooth, and chrome needs a solid, even surface to compact into properly.
You’re wasting an expensive product on a prep error that costs nothing to fix.
Chrome Powder, Metallic Gel, and Gold Foil Are Not Interchangeable — Pick One
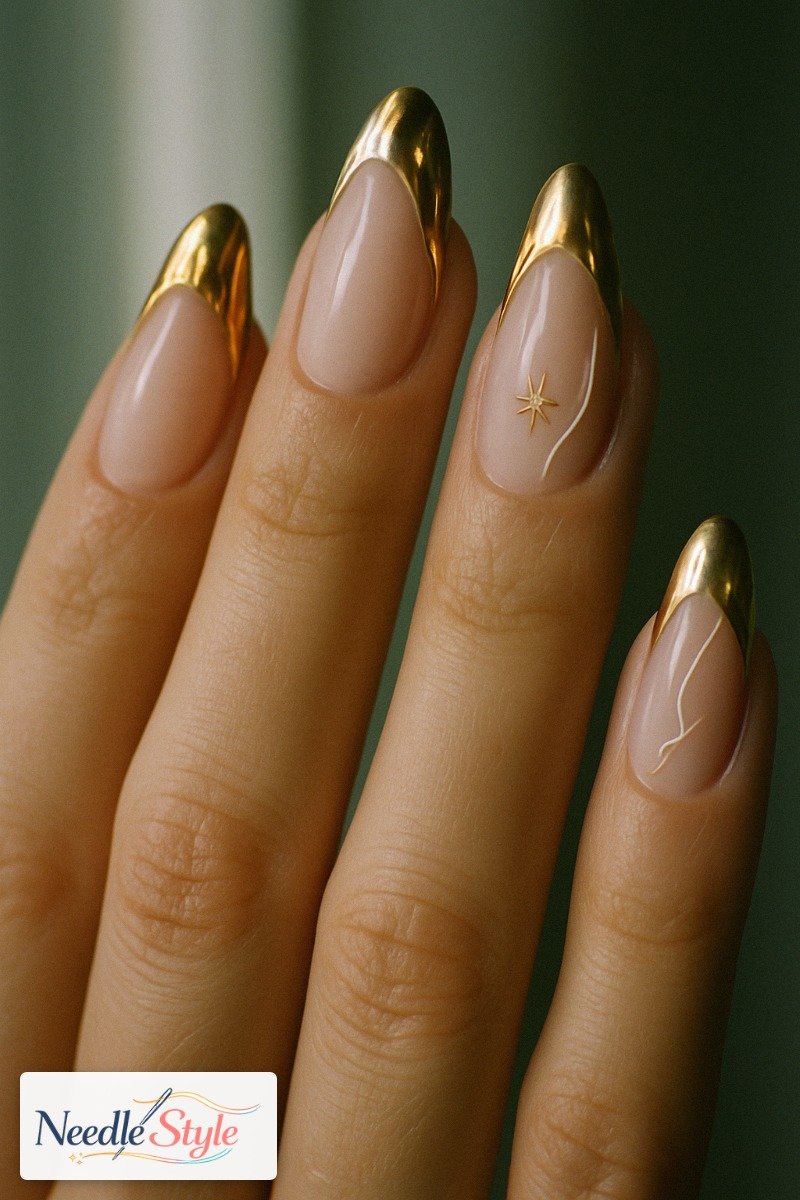
These three methods look related.
They are not the same thing mechanically, and they don’t produce the same visual result.
Chrome powder works through particle compaction.
Fine metallic particles, typically 1–5 microns for a true mirror finish or 10–20 microns for a satin finish, get rubbed into a tacky gel surface and pack together to create a reflective film.
Metallic gel polish is different: it’s a pre-mixed pigment suspension that cures like regular gel but with metallic pigment already in it.
Something like Gelish Gold Fever, which runs about $12–$14 a bottle, falls into this category.
Gold foil transfer is a physical film, roughly 0.1mm thick, that adheres to a tacky surface and conforms to whatever shape is underneath it.
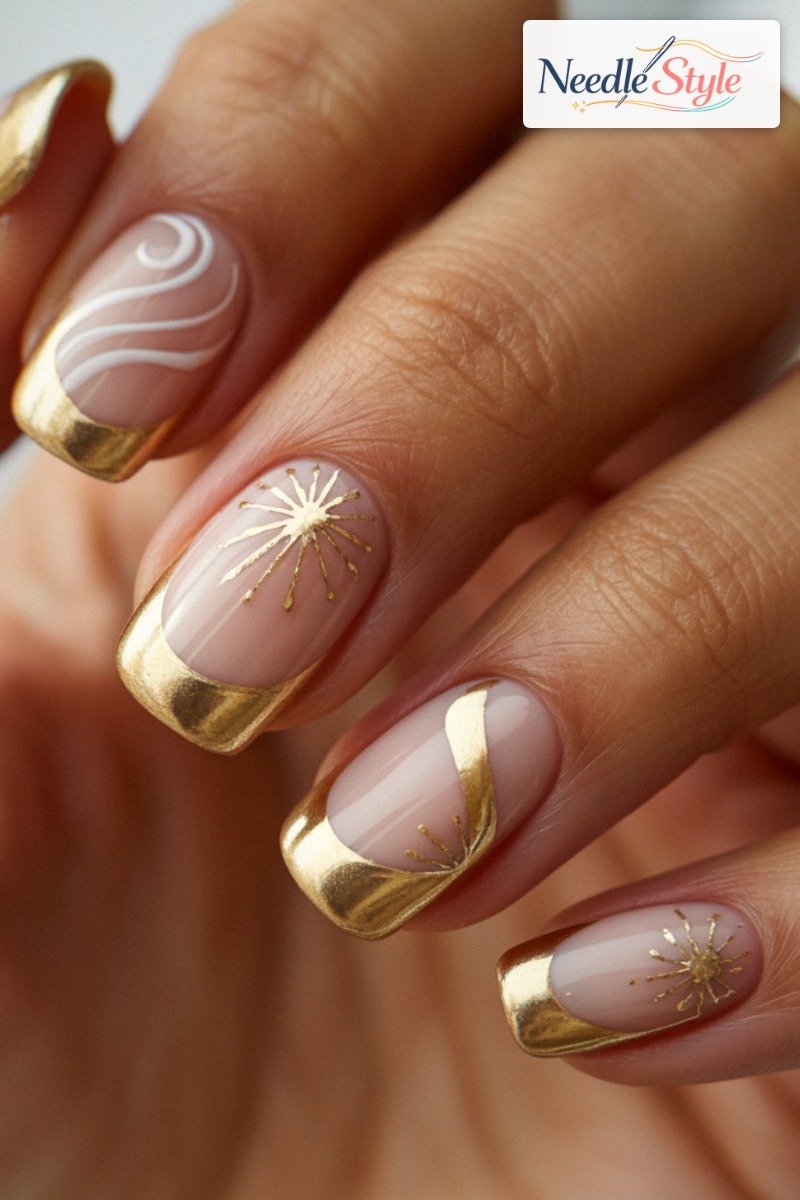
That conforming quality is why foil looks the most alive on curved nails.
It physically follows the nail’s topography and catches light from multiple angles at once.
Chrome powder on a flat surface can honestly look more like gold paint.
The problem is most people treat these as stylistic variations and don’t realize they require different prep, different top coats, and produce fundamentally different effects.
Pick one method and learn it correctly instead of mixing and matching steps from different tutorials.
Nail Shape Is Doing 50% of the Work Here
This part nobody talks about.
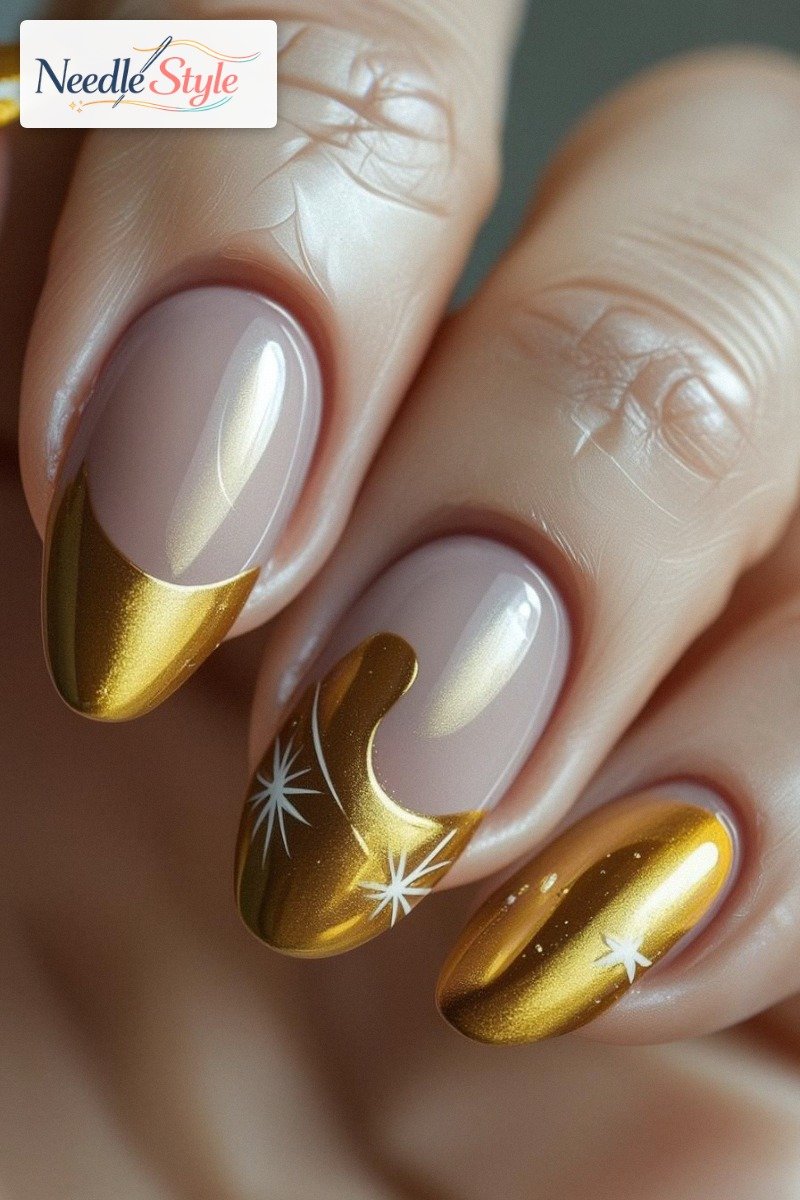
The shape of your nail is either creating the liquid illusion or destroying it before you’ve opened a single bottle.
The illusion depends on curvature.
Light hits a curved surface and distributes across a gradient from bright to shadow.
That gradient is what reads as three-dimensional and wet.
Almond nails, with sidewalls filed at 15–20 degrees to the apex, give you the most surface area for that gradient to develop.
Coffin shapes work well too.
Squoval nails reduce the refractive gradient by roughly half compared to almond.
And square nails with gold chrome tips honestly look like hardware store fixtures.
The flat edge actively cancels the effect no matter how perfectly you’ve applied the product.
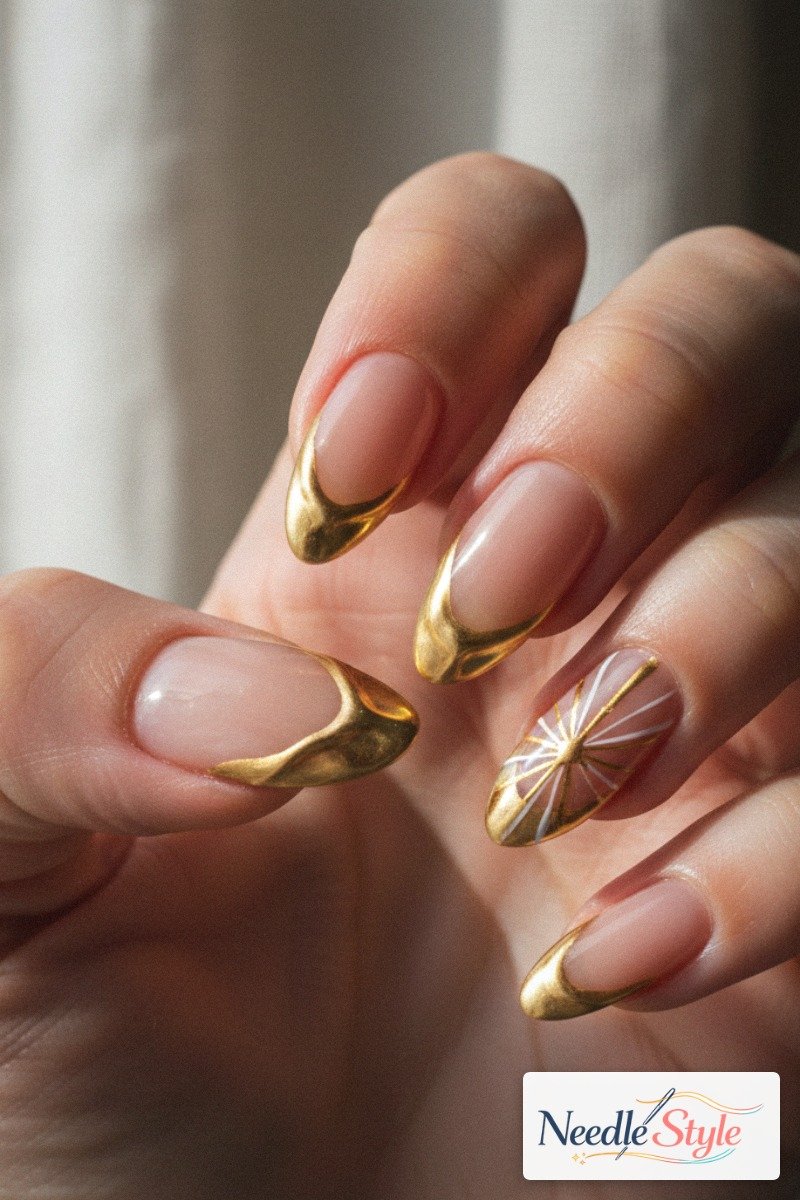
C-curve depth matters just as much as the side profile.
A c-curve of 10–15% of nail width is the sweet spot for maximum chrome reflection.
Too flat and you lose the gradient.
Shape selection is a technical decision here, not just an aesthetic one.
If you’re committed to square nails, metallic gel will serve you better than chrome powder, because the gel’s effect doesn’t depend on curvature the way compacted particles do.
Curing Temperature and Time Actually Change the Final Color
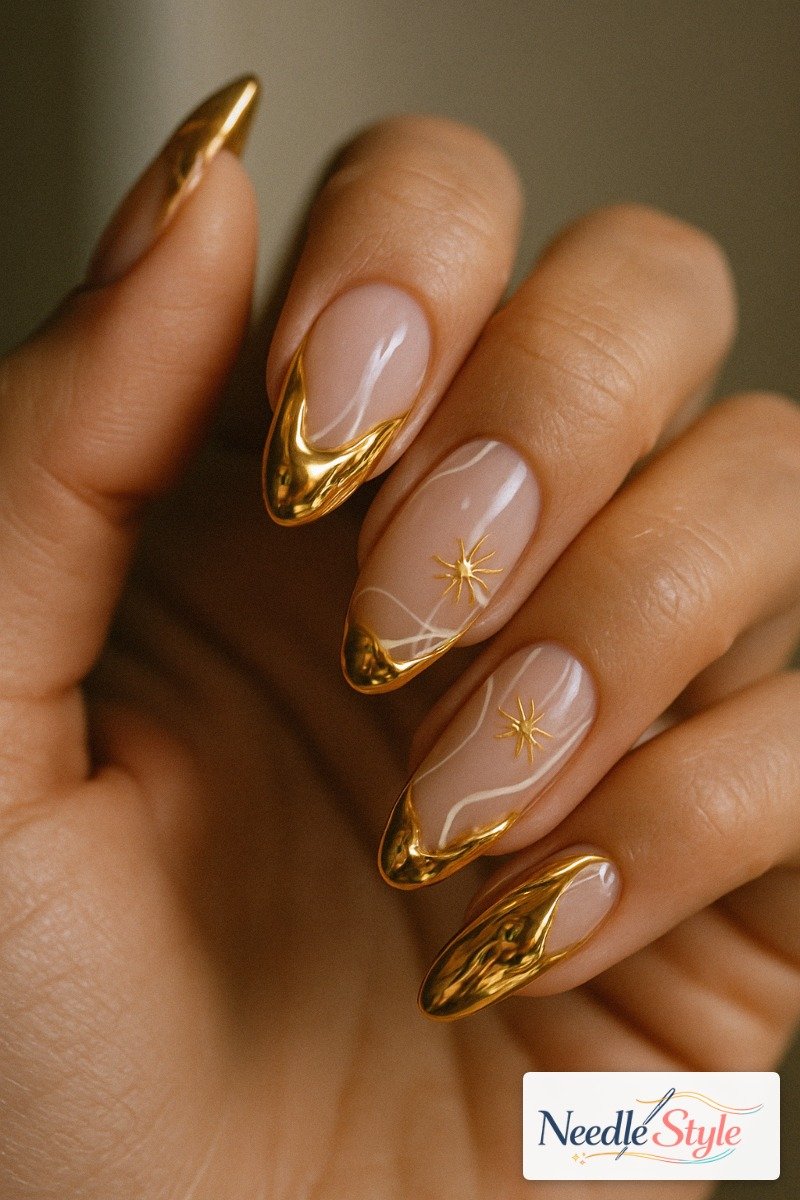
Gold tones are more sensitive to cure variables than almost any other color.
This is why at-home results consistently look duller than salon results, and it’s mostly an equipment problem, not a skill problem.
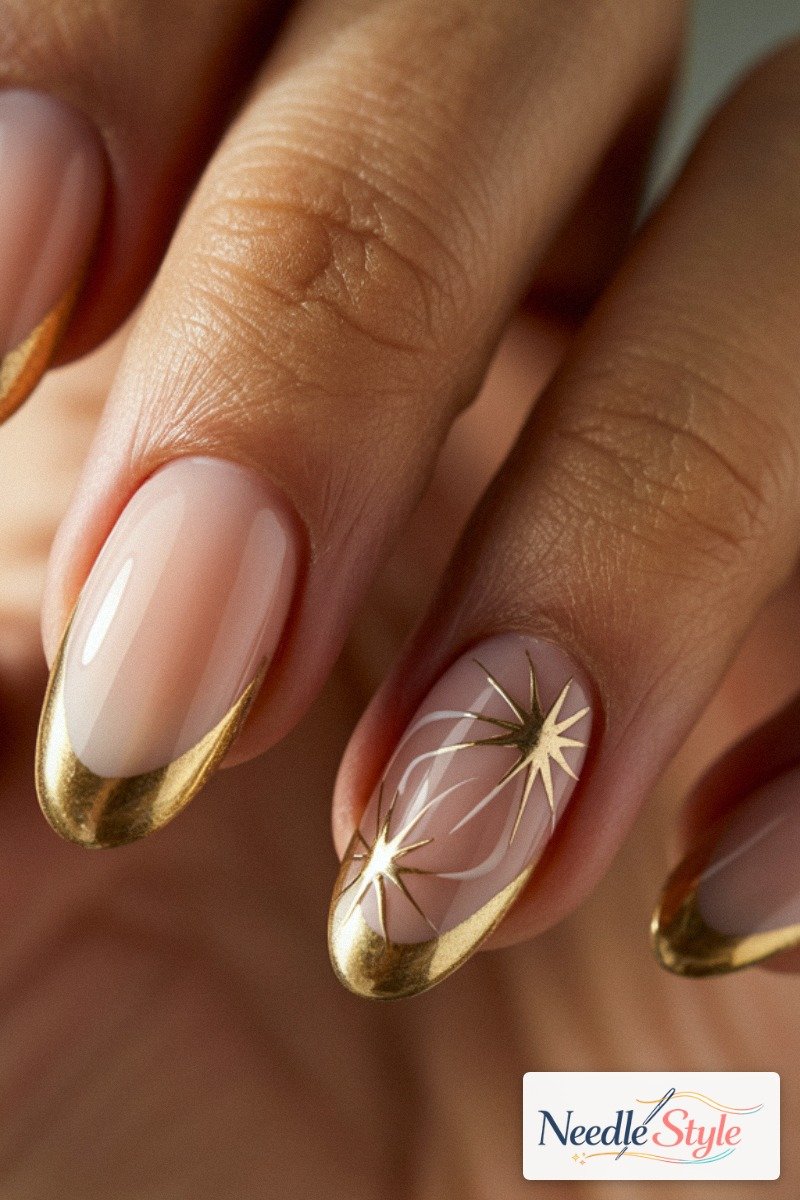
A 36W LED lamp cures metallic gel in 60 seconds — that’s the sweet spot.
Drop to a 24W lamp, which is what most budget home kits include, and you need 90–120 seconds to get full cure.
Under-cured metallic gel looks muddy and doesn’t hold its tone.
Over-curing is its own problem: going 30 or more seconds past that mark can shift gold tones toward bronze or amber, which is a permanent color change in the cured layer.
UV lamps use a 120-second cure as the standard for metallic gel.
The cure time printed on the bottle assumes a specific lamp wattage, and that assumption is almost never stated.
Check your lamp’s wattage before you set your timer.
Drawing the French Tip Line Without a Steady Hand
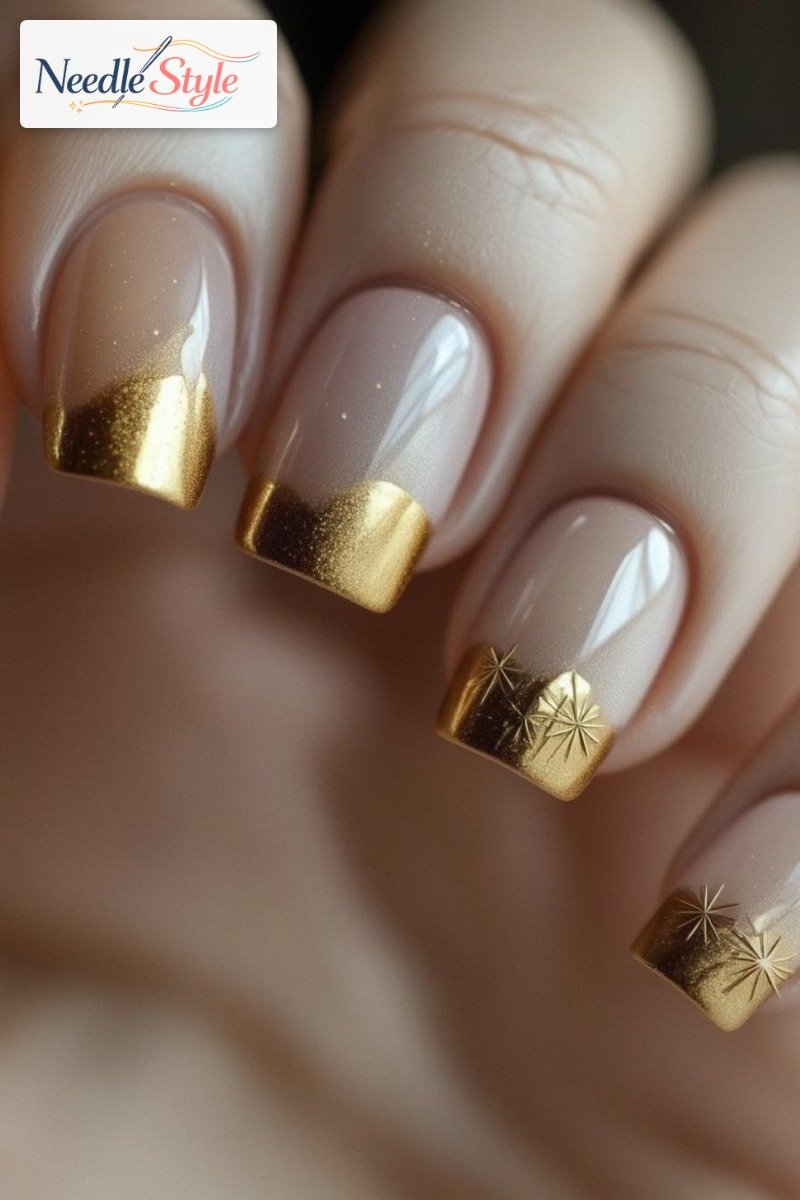
Metallic and chrome applications magnify every edge imprecision.
A slightly wobbly tip line on a nude polish is barely visible.
On a mirror-finish chrome tip, it looks like a mistake from across the room.
Nail guide stickers are not a beginner shortcut.
They’re the professional’s preference for chrome tips because they produce a sharper edge than even experienced freehand technique.
The one rule: remove them within 60 seconds of application, before the gel skins over.
Leave them too long and you pull the edge with them.
For freehand work, a 1mm kolinsky liner brush is more controllable than a 2mm for tip lines because it holds a finer point and deposits less product per stroke — which reduces the risk of overrun at the edge.
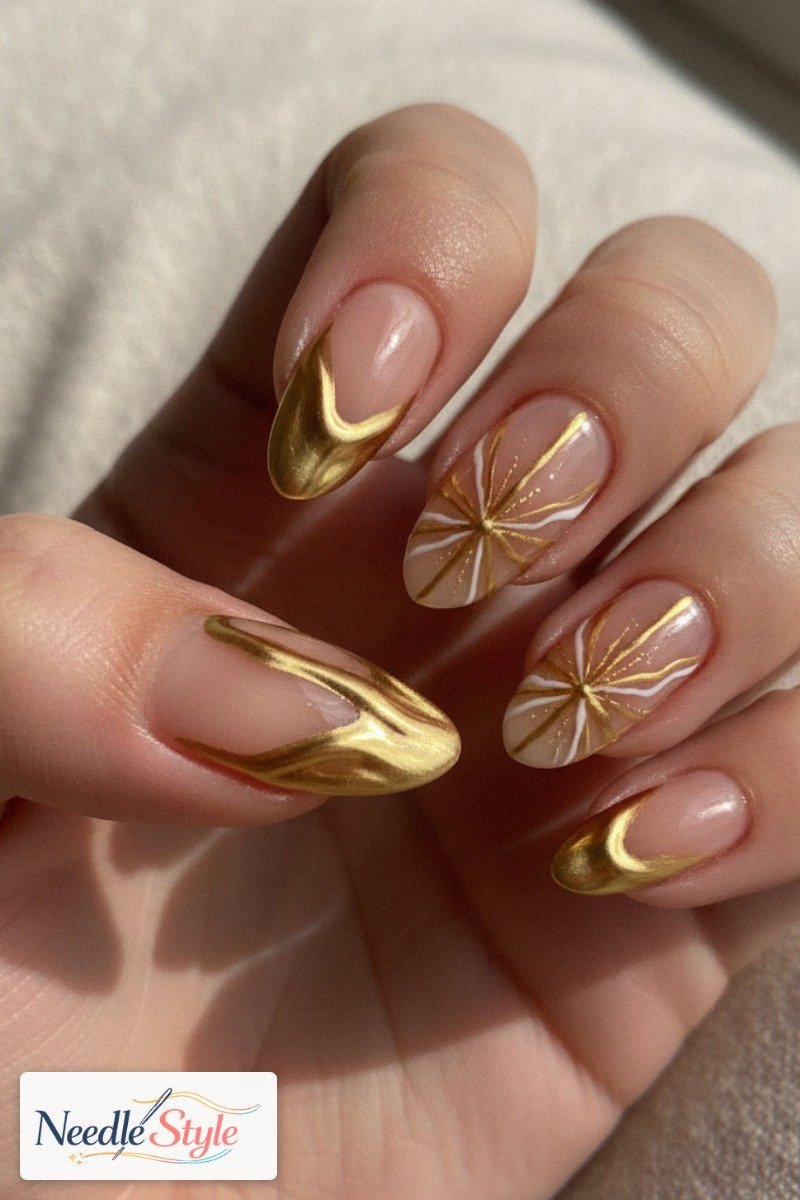
Cleanup after chrome application: use 99% isopropyl alcohol, not acetone.
Acetone dissolves the compacted chrome layer and leaves a smudged, hazy edge that looks worse than the original mistake.
This is a really easy thing to ruin in the last ten seconds of a solid application — I learned this the expensive way, twice, and the second time I genuinely considered just going back to regular thread-thin line nail art and calling it a day.
Sealing Chrome Without Killing the Mirror Effect
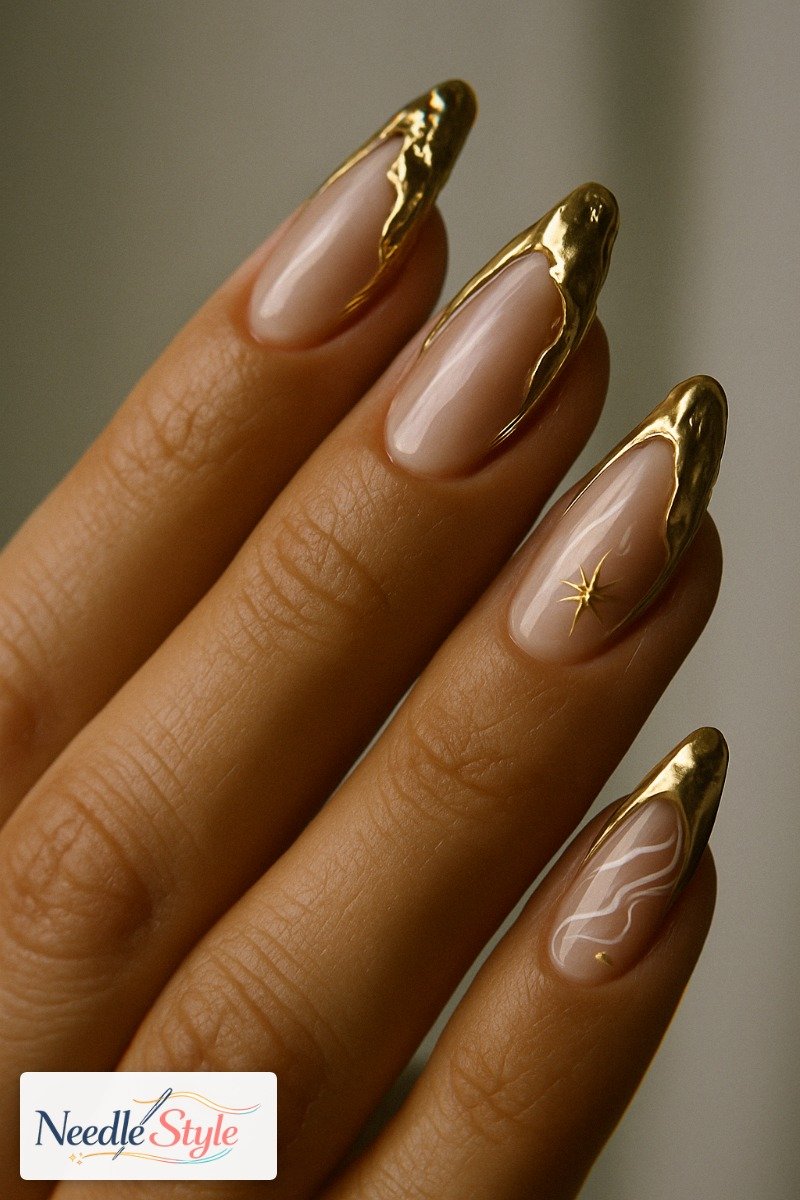
The top coat matters more than the chrome brand.
I mean that literally.
Standard top coats have a wipe-off inhibition layer, and the wipe step physically drags compacted chrome particles.
That alone reduces chrome reflectivity by 60–70%.
You need a no-wipe gel top coat specifically.
Modelones, BORN PRETTY, and Beetles all preserve chrome effectively and all come in under $10.
Apply in one slow flood stroke across the entire tip.
Multiple passes drag particles.
One pass, full coverage, done.
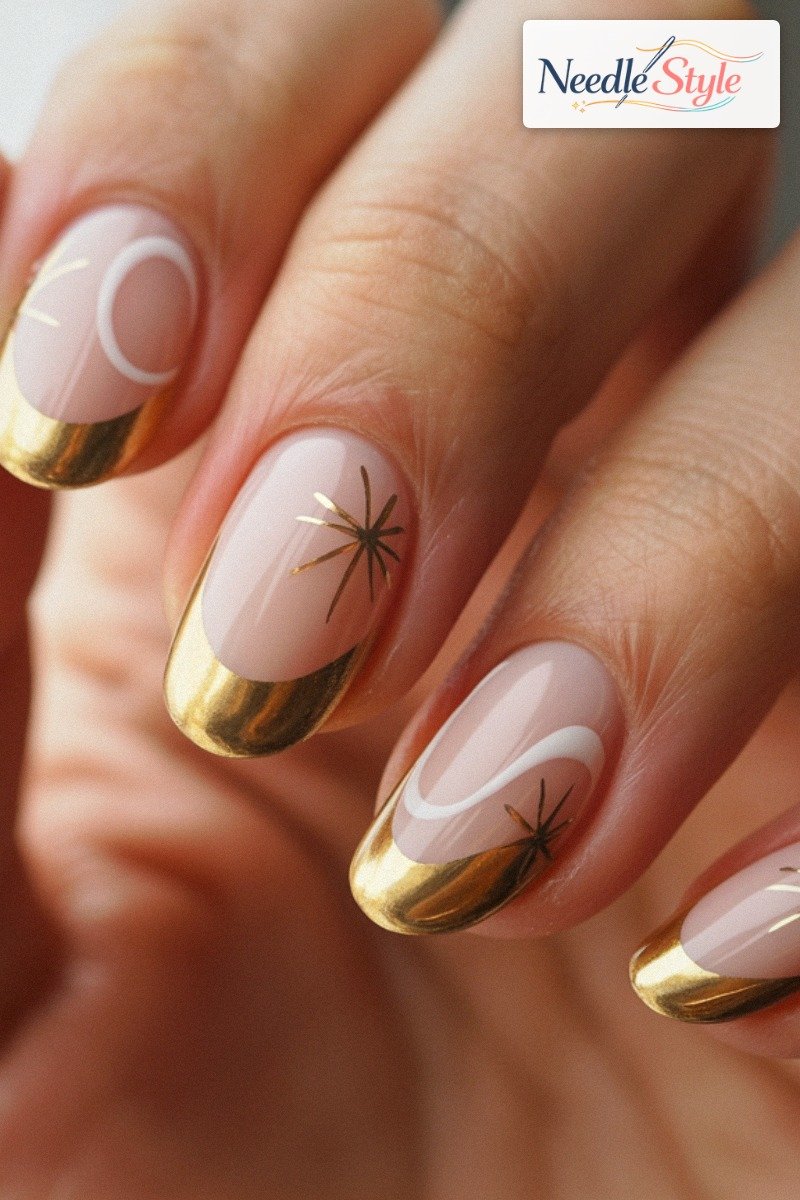
Matte top coats are catastrophic for this look.
Don’t do it even experimentally.
And spending $50 on chrome powder and sealing it with whatever drugstore top coat is already on your desk is genuinely the most expensive mistake you can make in this process.
Budget Reality: What This Look Actually Costs
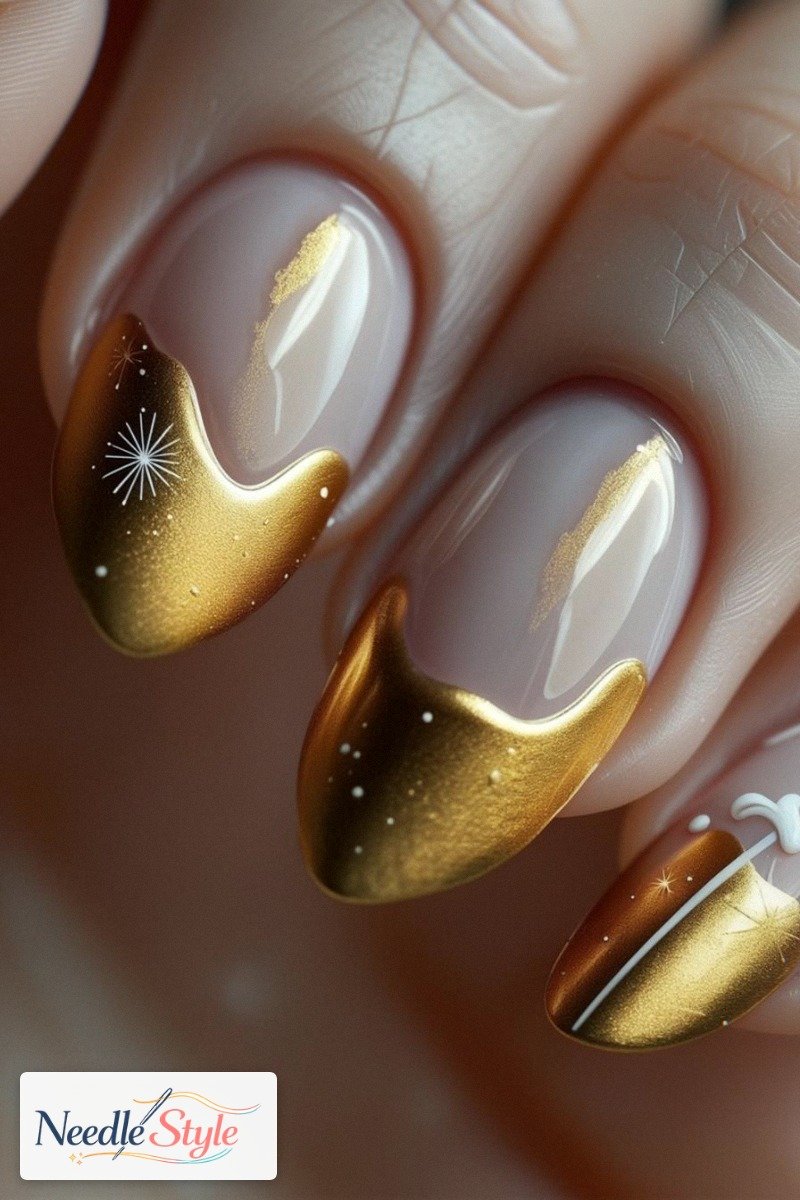
Salon gold chrome French tips run $65–$95 in major US cities.
That $85 I spent?
Completely normal pricing.
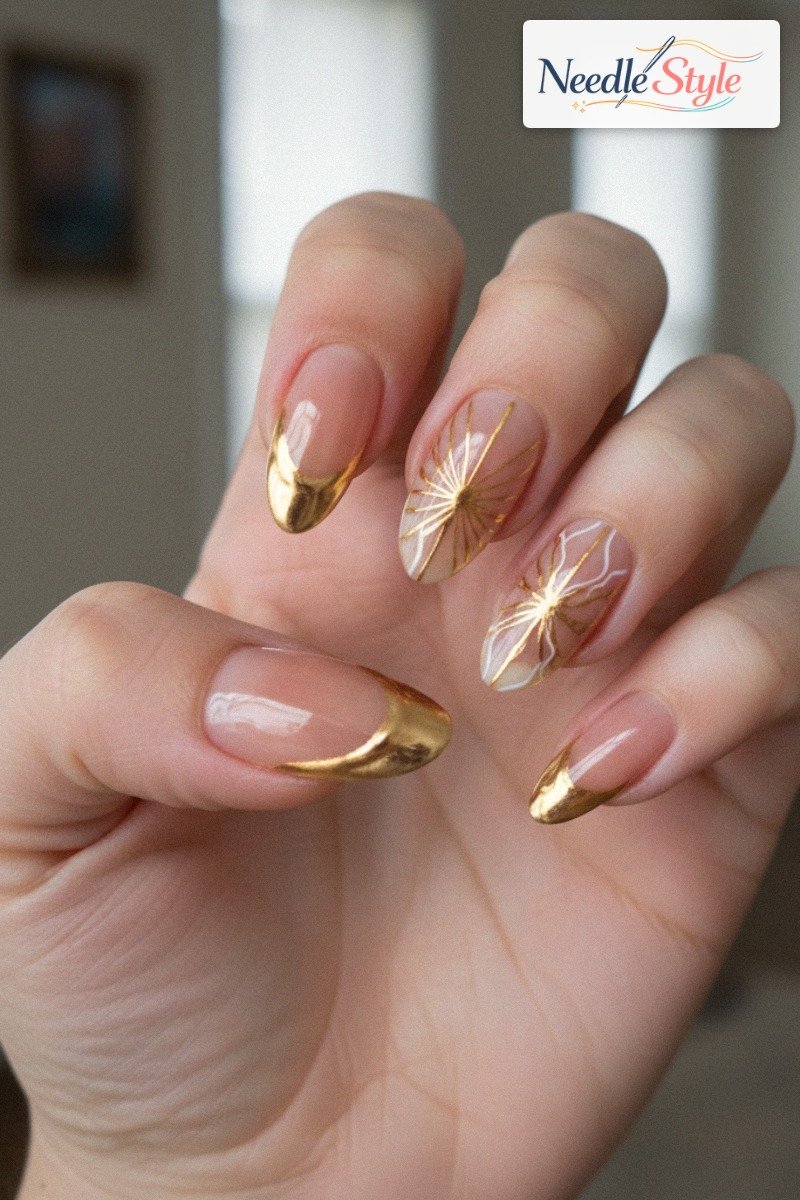
Full DIY chrome starter kit, meaning lamp, base coat, chrome powder, and no-wipe top coat, runs $45–$65 as a one-time investment.
After two applications, you’ve broken even against salon pricing.
Anyone doing this look more than twice a year should own the tools, full stop.
Metallic gel polish DIY costs approximately $2–$3 per application once you own the lamp.
Gold foil sheets come in packs of 100 for $6–$8, which works out to roughly $0.12 per nail set.
Foil is the cheapest method by a wide margin and also one of the most visually convincing on curved nails.
Short Nails Deserve a Different Tip Ratio
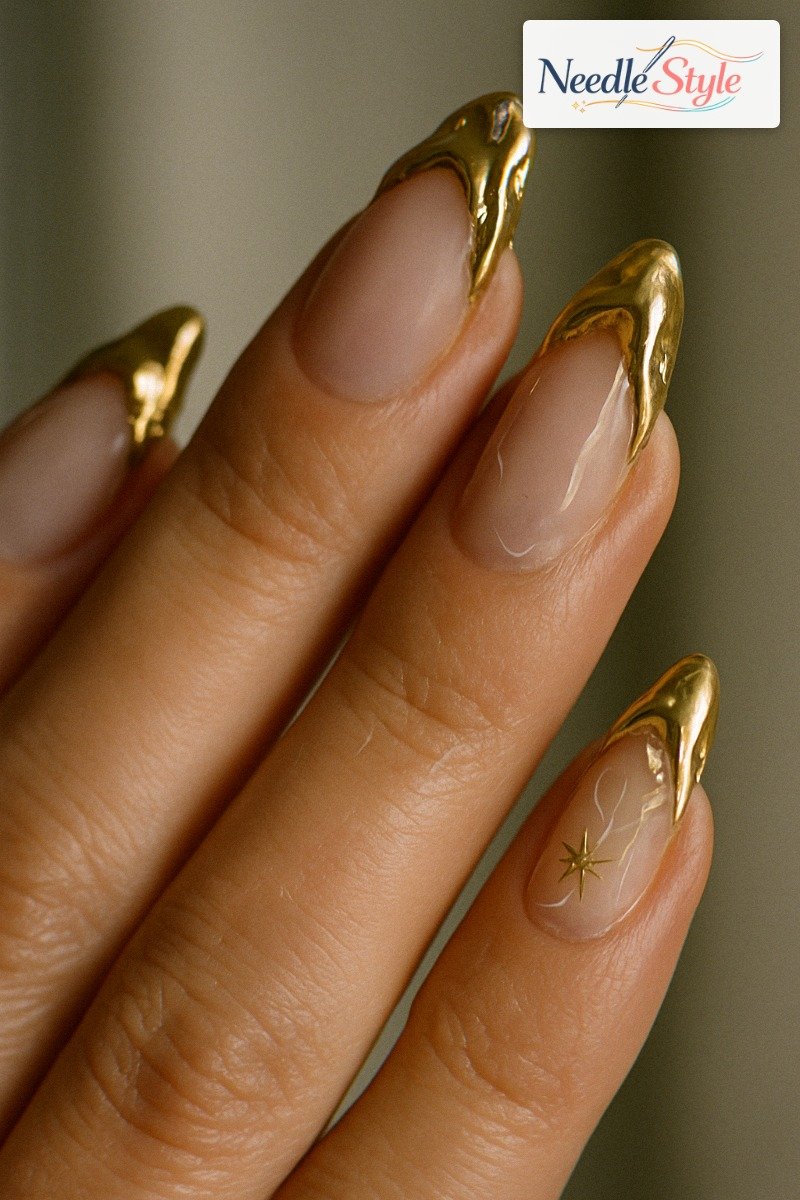
The standard French tip ratio is 20–25% of total nail length.
On a long nail, that looks balanced.
On a short nail with under 5mm of free edge, it looks like a gold cap, not an accent.
It reads as truncated.
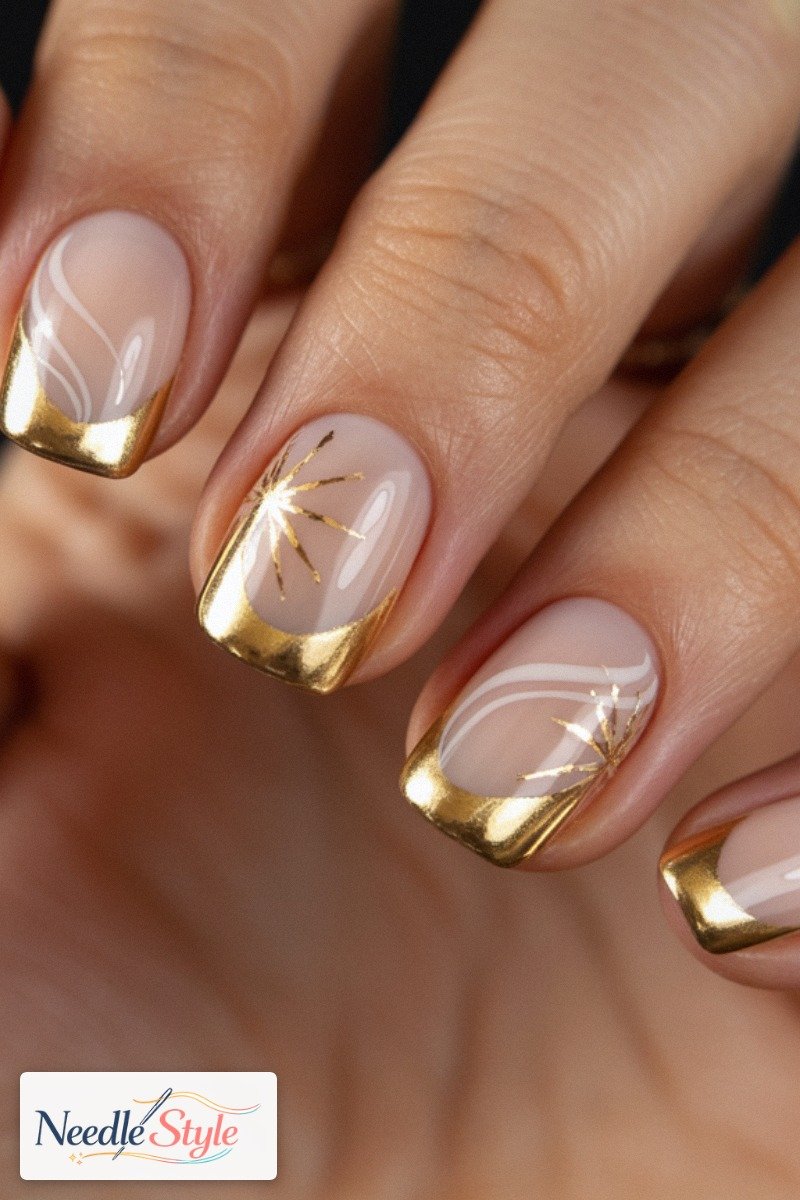
For short nails, keep the tip ratio at 10–15% maximum.
Placing the tip line 0.5mm lower than classic French position creates visual length.
The ultra-thin gold tip on short nails is not a compromise version of the look.
Honestly, it’s more sophisticated than the thick tip on long nails.
It ages better too.
The mistake is copying long-nail ratios directly onto short nails because that’s what the tutorial model has.
Skin Tone and Gold Undertone: This Actually Matters
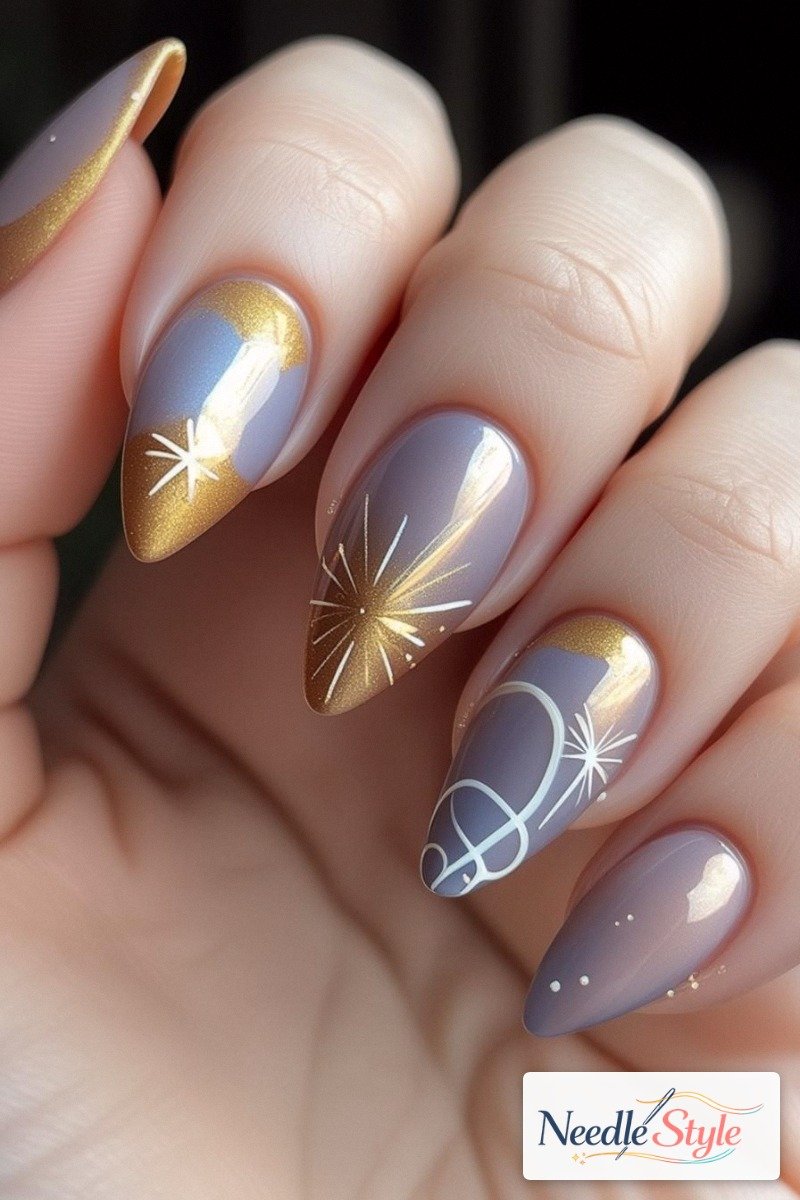
Rose gold chrome reflects approximately 60% gold and 40% copper.
It gets marketed as universally flattering, and it is actually the most limited gold option.
On cool-undertone pale skin, that copper shift clashes in a way that visually grays out the surrounding skin.
Standard yellow gold doesn’t do that.
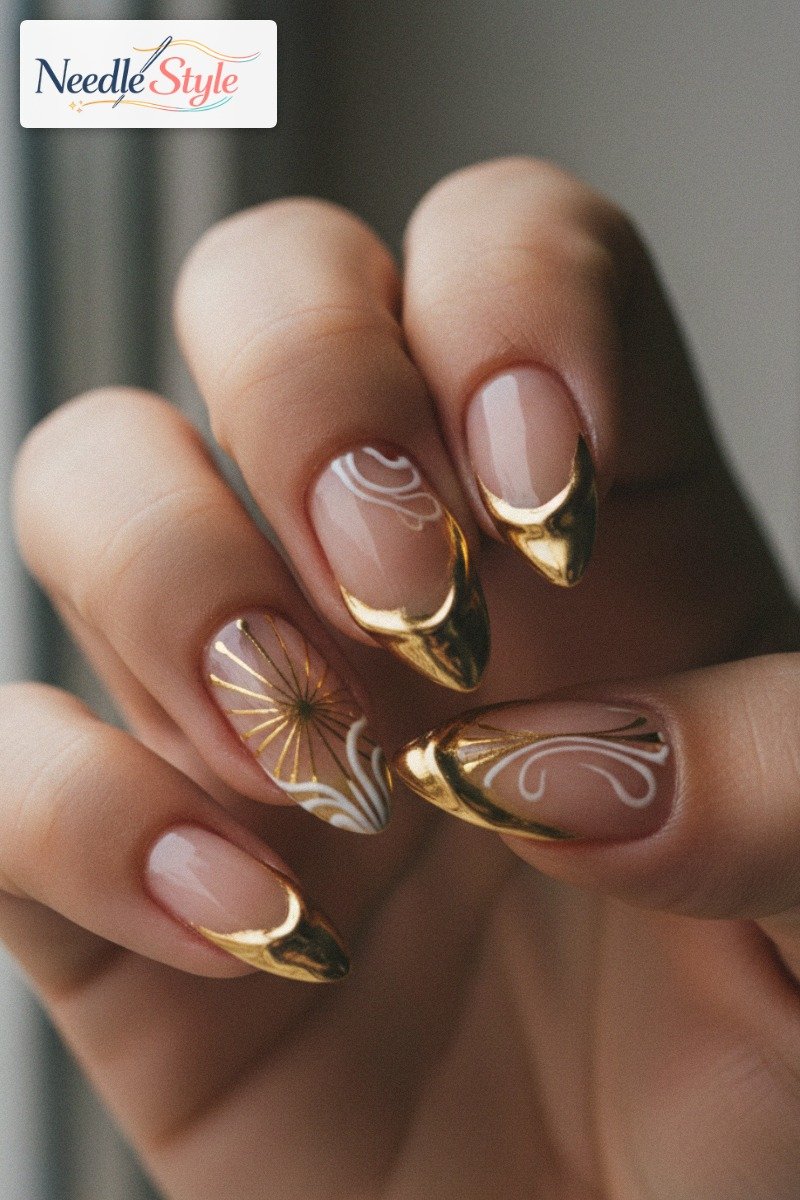
Champagne gold metallic gel, roughly Pantone 12-0712 territory, works well on cool undertones specifically because its neutral lean doesn’t fight cool skin.
Yellow gold foil produces the highest contrast on deep skin tones with warm undertones, where the richness of both elements works together instead of competing.
Undertone mismatch doesn’t just look wrong on the nail.
It changes how the skin around the nail reads.
That’s the part most tutorials skip entirely.
Longevity: Chrome Tips Are High-Maintenance or High-Regret
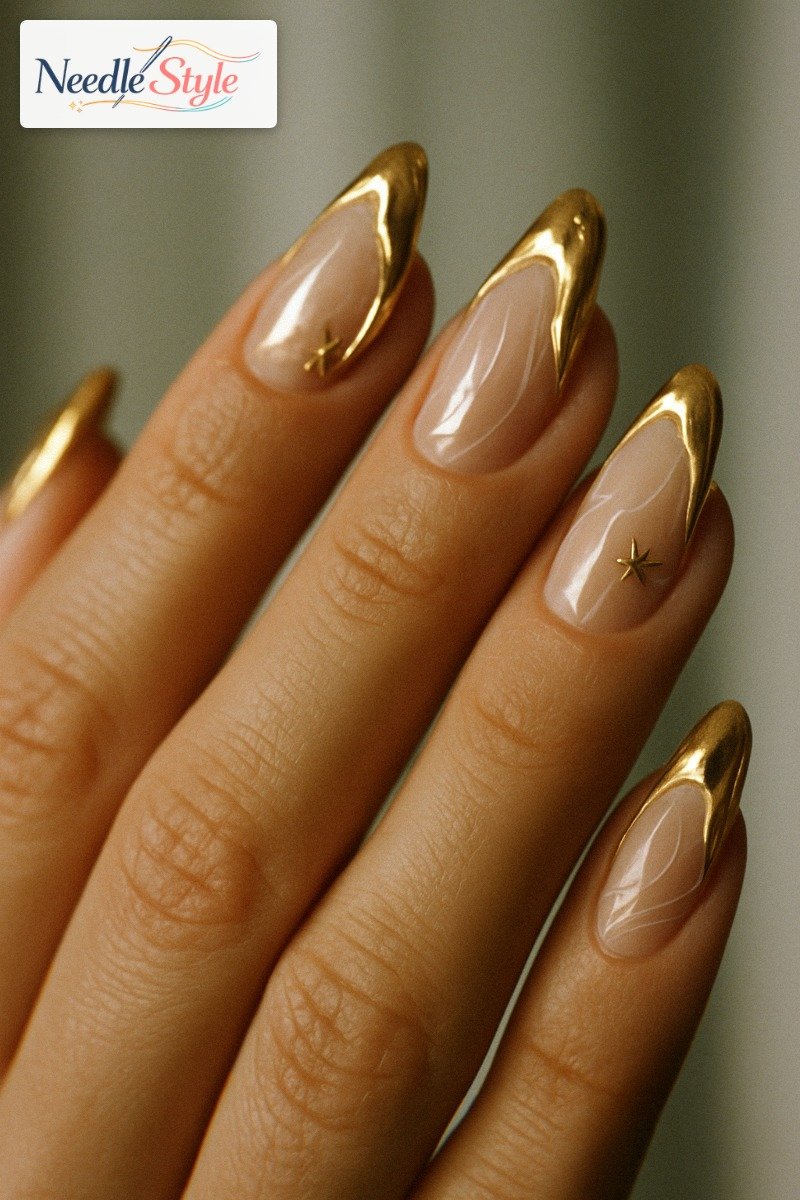
Tip wear on metallic gel begins at the free edge within 5–7 days without topcoat reapplication.
Chrome powder tips that aren’t maintained every 5 days look worse than if you’d never done them.
The degradation is more visible on a reflective finish than on any other nail finish, because dullness shows up immediately against the areas that still have their mirror quality.
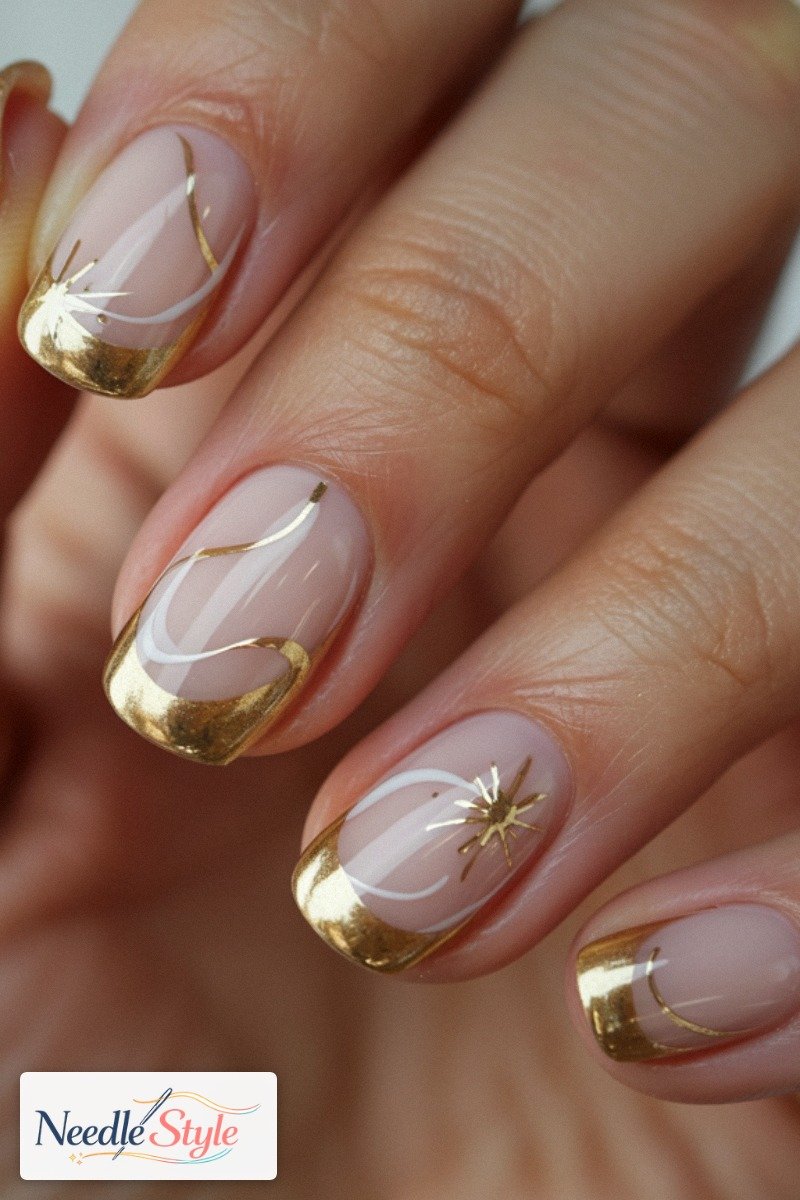
Reapply no-wipe top coat every 5 days.
One or two drops of jojoba oil daily on the cuticle area reduces the lateral stress cracking that starts at the sidewalls.
And avoid hand sanitizers with over 70% ethanol — they accelerate chrome layer oxidation and you’ll see it within a few uses.
The sealed chrome tip is not maintenance-free.
Treating it like it is costs you the whole look.
The Application Sequence Most Video Tutorials Get Backwards
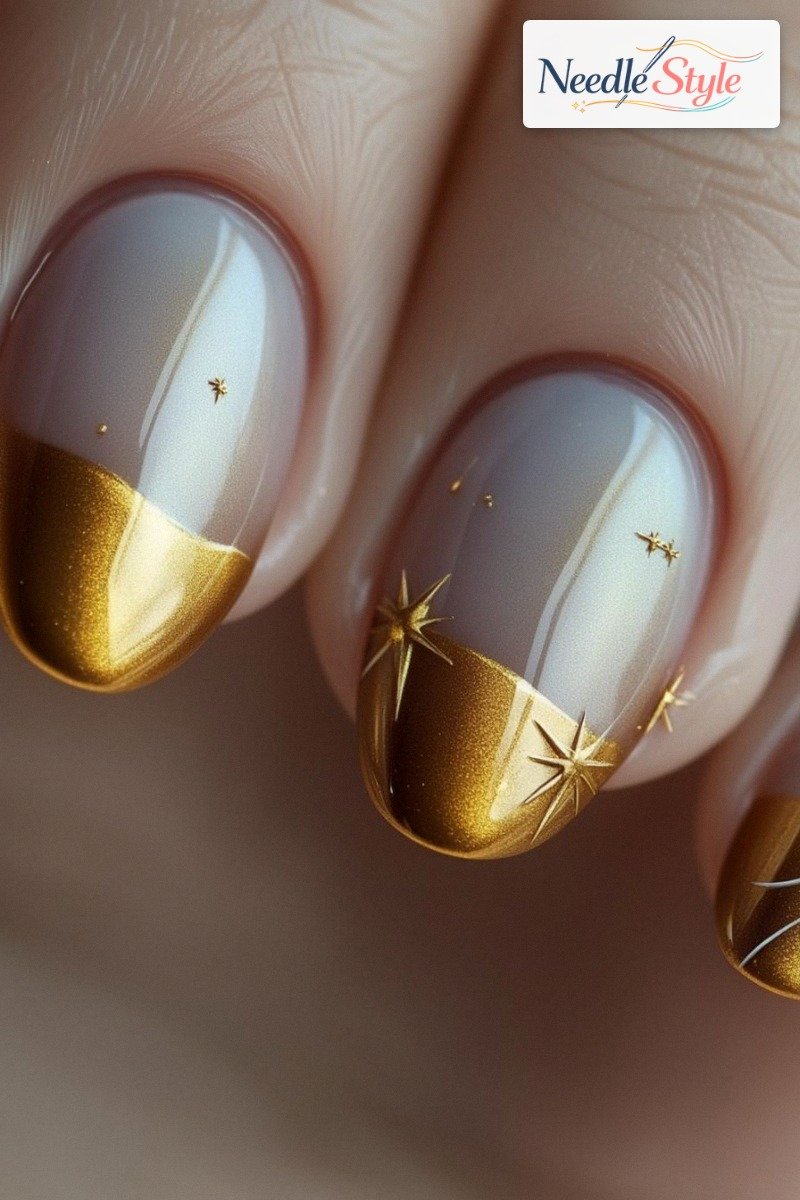
Half the chrome powder tutorials on YouTube are teaching a technique that produces a satin finish and calling it a mirror finish.
The difference is entirely in the compaction stroke.
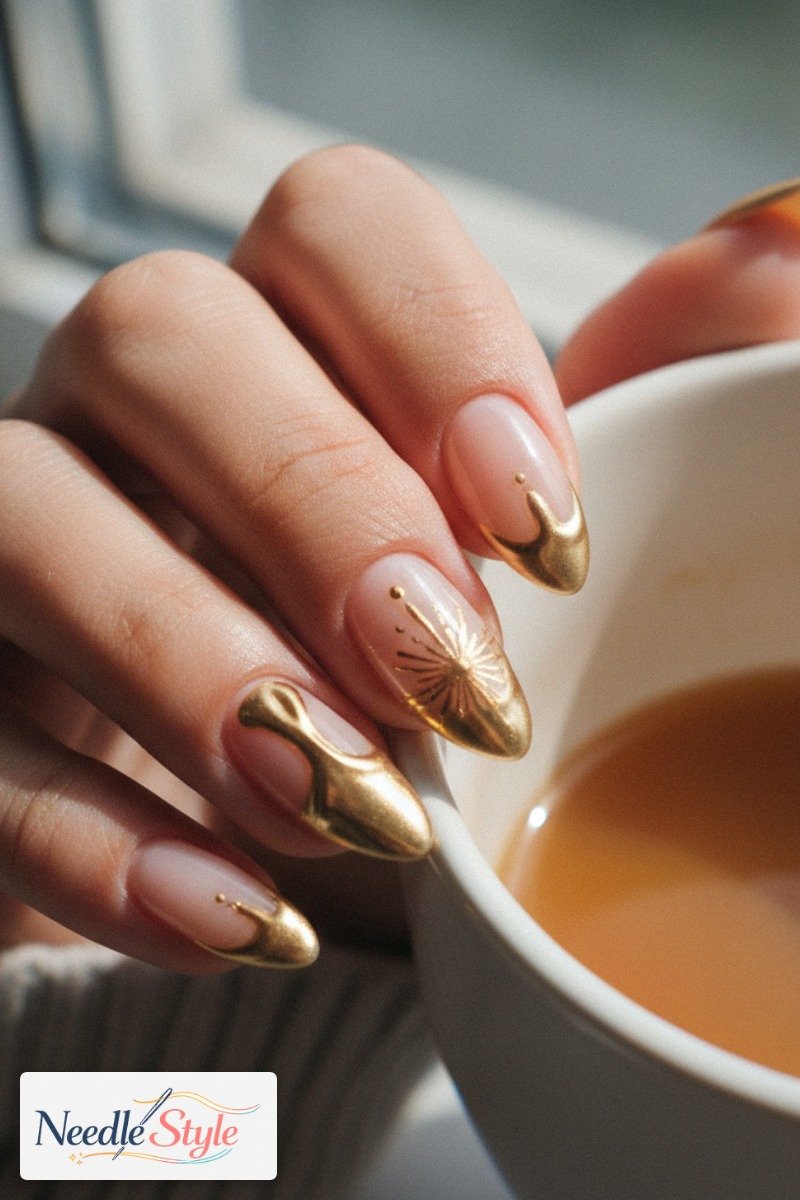
You want 3–5 firm circular passes with a silicone applicator.
Not 10–15 light, feathery passes.
Light strokes distribute particles without packing them, and loose particles scatter light instead of reflecting it.
That’s a satin finish.
Firm passes compact the particles into a continuous reflective surface.
That’s the mirror finish.
Use a 6–8mm silicone applicator tip for French tip width.
Dip the applicator once per nail maximum.
Reloading mid-nail adds texture and breaks the reflective continuity.
One dip.
Firm circular passes.
Done.
When Gold Tips Work Against You
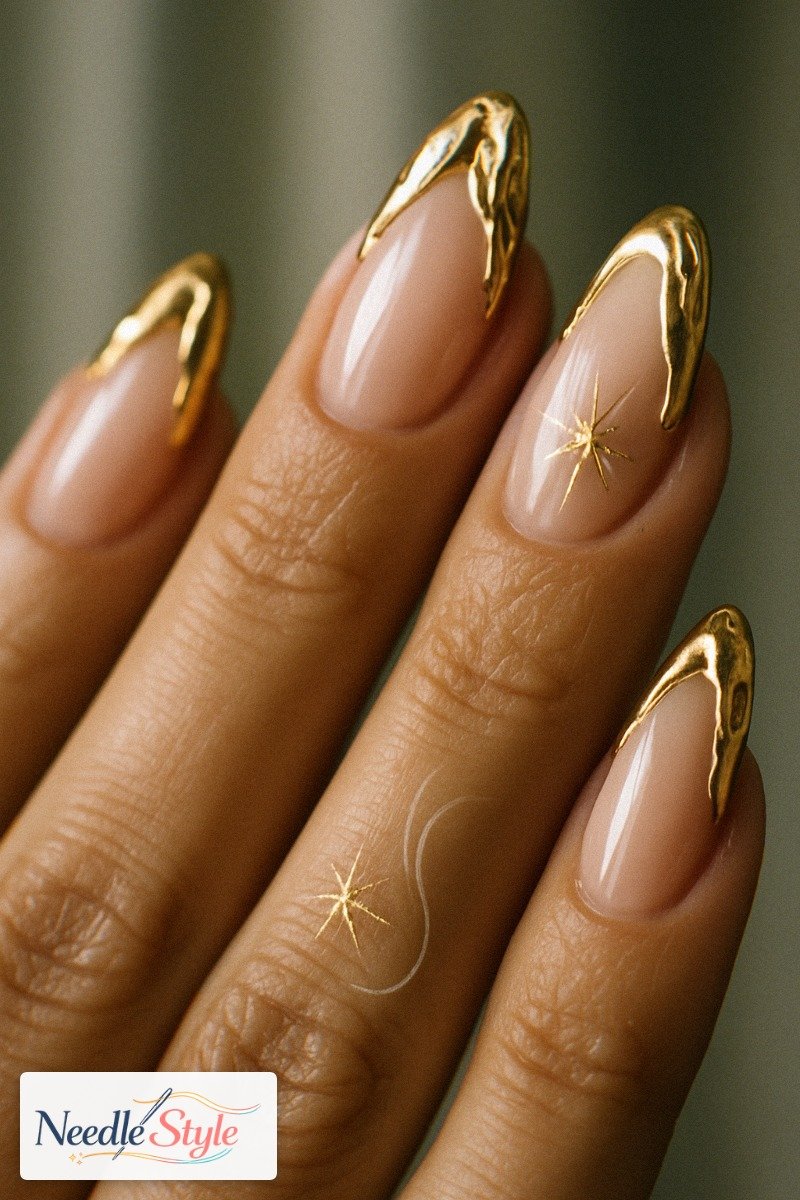
gold French tips are not a neutral.
Treating them like a safe choice the way you’d treat a nude or a red leads to looks that feel costumey instead of intentional.
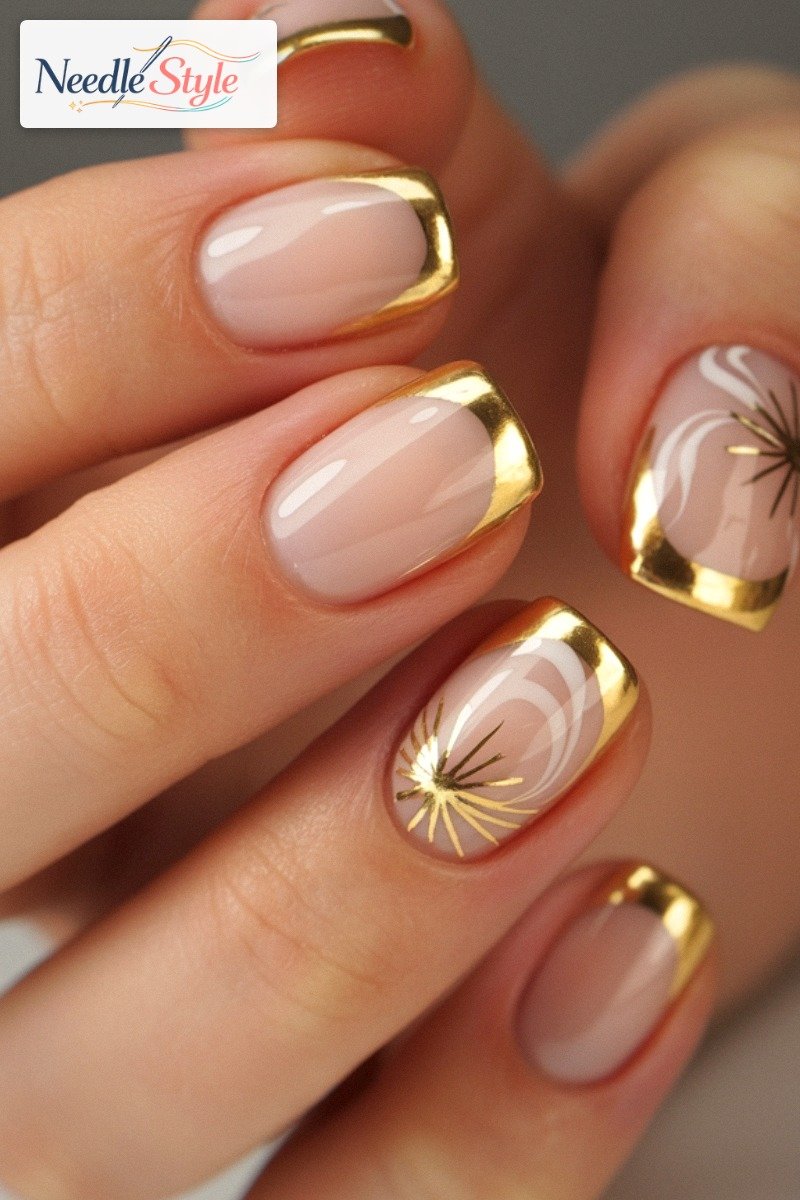
Chrome gold tips against sequined fabric create visual noise.
Both elements are competing for the same kind of attention and they cancel each other.
If you’re wearing sequins, wear a different nail.
Gold tips with gold jewelry work, but limit stacking to one ring maximum on the same hand.
More than that and the whole thing starts to read as a costume.
One more specific one: mirror-finish chrome in fluorescent office lighting reflects a green-yellow cast from the bulbs.
It’s not subtle.
It’s the kind of thing you notice in the bathroom mirror at work and can’t unsee for the rest of the day.
Removal Without Wrecking the Nail Plate
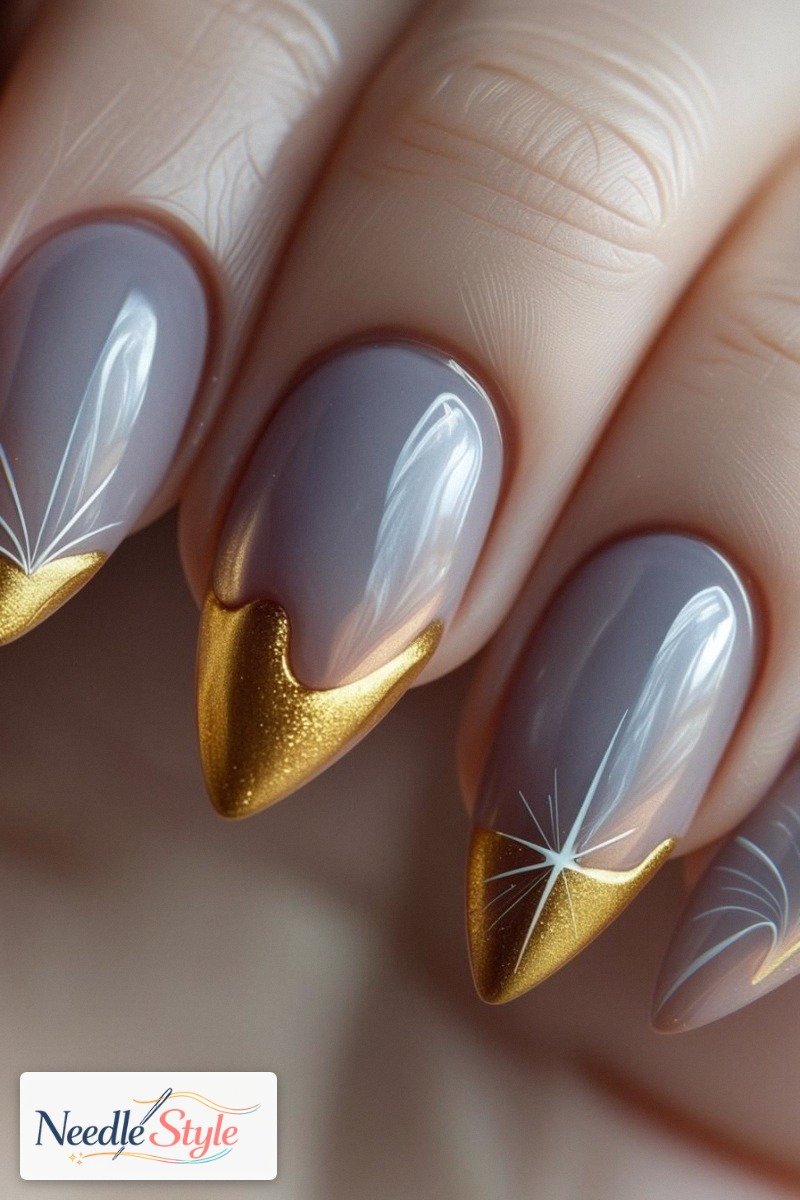
Most nail plate damage blamed on gel nails is actually removal damage.
Chrome tips are high-risk during filing because the reflective layer is extremely thin and abrades away almost instantly — so it’s easy to destroy the finish before you’ve made a meaningful dent in the gel underneath.
The risk is to the chrome itself, not to misjudging how deep you’ve filed.
Before soaking, file the chrome layer lightly with 180-grit.
Chrome resists acetone penetration, so skipping this step means you’ll be soaking for twice as long and pressing harder to compensate, which is where the damage happens.
Acetone wrap soak time for metallic gel is 12–15 minutes minimum.
If you’re using an e-file, keep the speed at 3,000 RPM maximum to avoid heat damage.
And do not file below 0.1mm nail plate thickness.
The thumbnail flex test: if your nail plate flexes when you lightly press your thumbnail against the underside, stop filing immediately.
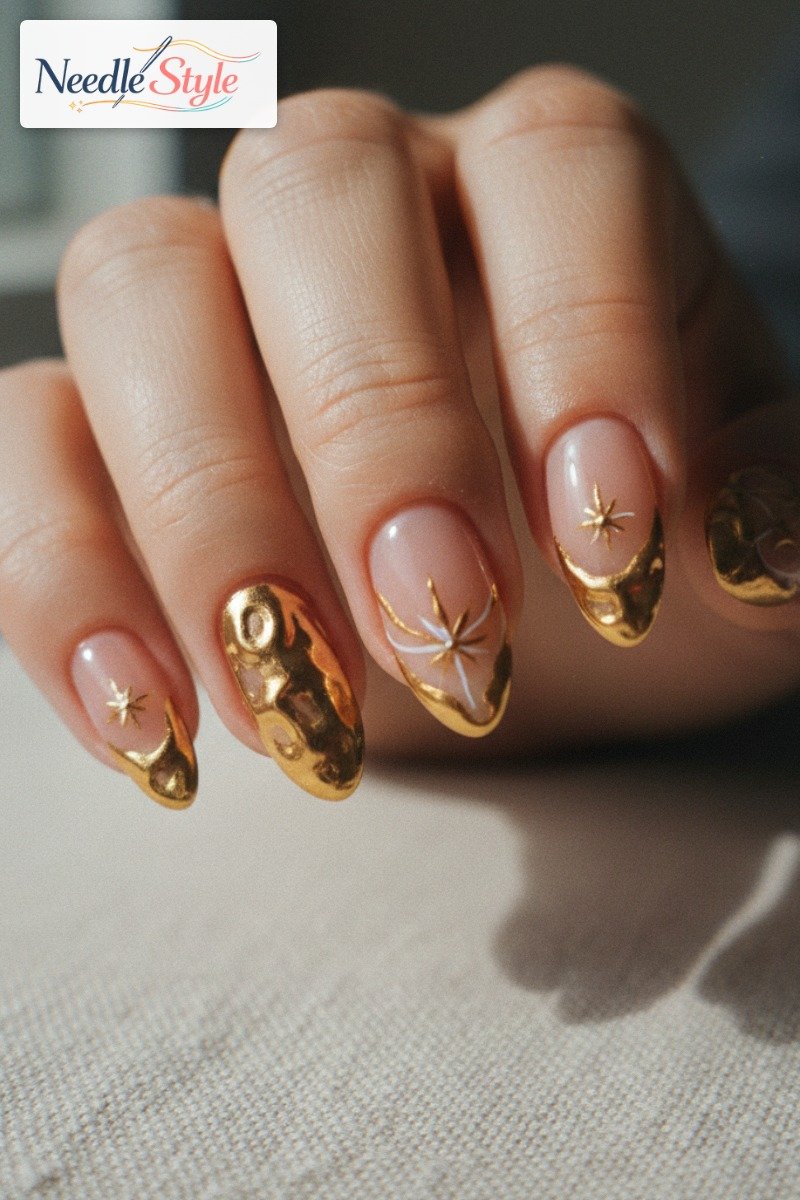
Peeling or picking chrome gel tips is the worst option.
The chrome layer bonds to the top coat which bonds to the gel, and when you peel, you’re pulling nail plate layers with it.
The damage isn’t visible right away, which is the dangerous part.
You feel it about two weeks later when your nails start splitting at the tip for no apparent reason.