I used to have this giant pile of t-shirts I never wore.
Worried it will shrink? The free fabric shrink checker says what a warm wash or a hot dryer does to each fabric, and how to unshrink it.
Too boxy.
Too plain.
Just… not me anymore.
And then one slow Sunday afternoon, I grabbed a pair of fabric scissors and just started cutting.
That first tee came out a little wonky, honestly.
But I put it on, tucked the front into my jeans, and something clicked.
It felt cool in a way I hadn’t felt in a while — like I’d made something that was actually mine.
Now?
I can’t stop.
My drawer is full of tees I transformed, and every single one gets more compliments than anything I’ve bought new this season.
So here are my favorite DIY cut t-shirt ideas — the ones that are genuinely wearable, stylish, and way easier than they look.
The Off-The-Shoulder Crop That Started It All

This was my first real cut, and I’m so glad I did it.
You take a regular crew neck tee — even an oversized men’s one works beautifully — and you cut along the neckline, just a little wider and slightly off-center.
Then you trim the hem into a soft crop.
What you get is this effortlessly feminine look that sits just off one shoulder without feeling costume-y.
I layered mine over a simple bralette and wore it to a weekend market, and three different women stopped me to ask where I got it.
I mean… I made it.
That felt really, really good.
The trick is to go slow on the neckline cut.
You can always take off more fabric, but you can’t put it back.
I like to cut, try it on, cut a little more, and repeat.
It sounds tedious but it takes maybe five minutes and it saves you from that sinking feeling of going too far.
If you have an oversized tee lying around, start there — the extra fabric gives you so much room to play.
The Knotted Side Cut That Looks Expensive

Okay, this one is almost too easy for how good it looks.
You leave the body of the shirt mostly intact, cut two small horizontal slits along one side seam — maybe three inches long each — and then tie the fabric into a little knot.
Done.
That tiny detail completely changes the silhouette.
It pulls the shirt in at the waist on one side and gives it this casual, effortless shape that you just can’t buy off a rack.
I did this to a basic white tee I’d worn to death and it felt like I had a whole new shirt.
Wore it with high-waisted linen pants and honestly felt like I was on vacation somewhere warm and breezy.
You can do one knot or two.
You can do it on both sides if you want more symmetry — though I personally love the slightly asymmetric one-sided version.
It just feels more lived-in and real.
This is also a great hack if a shirt fits perfectly in the shoulders but is just a little too loose in the body.
The knot fixes it instantly.
The Barely-There Back Cut That Feels So Feminine

Front of the shirt?
Totally normal.
Back of the shirt?
A little peek of something pretty.
I love this one because it’s a surprise — you go about your day and the back just catches the light in the most unexpected way.
You cut a simple curved scoop in the back neckline, going a little lower than the original collar.
Or you can cut two parallel slits and weave a thin strip of the same fabric through them like a loose braid.
It sounds intricate, but once you see it, you’ll realize it’s basically just folding and tucking.
I made a backless version of a navy tee I’d had forever, and suddenly it was date-night appropriate.
Paired with high-waisted trousers and a simple necklace at the front, the back detail did all the work.
My personal tip here: use a ruler or a piece of chalk to mark your cuts before you make them.
The back of a shirt is harder to eyeball than the front, and a little prep goes a long way toward a clean, intentional result.
The Fringe Hem That Gives Every Tee Some Edge

I’ll be honest — I resisted fringe for a long time.
I thought it felt costumey or too boho for my everyday style.
And then I tried it on a simple grey tee, cut in a thin, even fringe just along the bottom hem, and I completely changed my mind.
It moves when you walk.
It catches the light.
It makes even the most basic outfit feel textured and interesting.
You cut vertical strips about half an inch wide and however long you want the fringe — I usually go about three to four inches.
If you want the fringe to curl a little (which looks so good), just stretch each strip gently between your fingers after cutting.
The cotton rolls on itself and creates this soft, cozy, almost suede-like texture.
I wore mine knotted at the front over biker shorts and it had this whole cool-girl energy I was not expecting from a craft project.
You can do fringe all the way around the hem or just along the front.
I actually prefer just the front — it feels a little more intentional and less like a Halloween costume, no offense to fringe purists.
The Cold-Shoulder Cut That Never Gets Old

I know, I know — cold-shoulder has been around a while.
But when you DIY it yourself, it looks so much better than the store-bought version.
The cuts are your cuts.
You choose the width, the placement, the shape — and the result feels genuinely personal.
I like cutting two clean ovals or slits right at the shoulder point — not too big, not too small.
About two to three inches wide feels right on most shirts.
You can keep the edges raw for a relaxed feel or fold them under and use fabric glue for a cleaner finish.
I went raw-edge on a dusty pink tee and it softened the whole look in the most unexpected way.
Cold-shoulder cuts also work really well on long-sleeve tees, which is something I don’t think gets talked about enough.
A long-sleeve with shoulder cutouts has this interesting mix of cozy and playful that I honestly love for a casual evening out.
Try it with a chunky necklace resting right at the collarbone.
The combination of the open shoulders and the jewelry is chef’s kiss.
The Lace-Up Front That Feels Like It Came From a Boutique

This one takes a little more patience, but the payoff is so worth it.
You cut a vertical line down the center front of the tee — maybe five or six inches starting from the neckline.
Then you use a hole punch or the tip of your scissors to make small matching holes on each side of the slit.
Thread a thin ribbon, a leather cord, or even a strip of the shirt’s own fabric through the holes like a lace, and tie it at the top.
I used a cream satin ribbon on a black tee and it looked like something I’d seen in a $90 boutique downtown.
It’s that good.
The lace-up detail adds this intentional, crafted quality that elevates the whole shirt.
You can leave it slightly open at the top for a relaxed neckline or tie it tight for something a little more structured.
My favorite version is slightly loose, showing just a hint of whatever you’re wearing underneath.
A simple black bralette underneath a lace-up black tee is one of my favorite summer combinations, full stop.
The Mesh-Insert Remix Nobody Expects

This one is a little more of a project, but it’s so fun and the result is genuinely stunning.
You cut a simple shape out of the tee — a triangle at the shoulder, a strip at the midriff, or a small window at the back — and then you sew or glue a piece of mesh or sheer fabric behind the cutout.
The contrast of opaque cotton with sheer mesh is just beautiful.
It adds depth and texture without showing too much skin.
I did a mesh triangle insert at the neckline of a simple black tee and it completely transformed the shirt into something editorial.
You don’t need a sewing machine for this.
Fabric glue or iron-on hemming tape works perfectly well, especially for smaller inserts.
Just cut your mesh a little larger than the hole, press it flat against the inside of the shirt, and secure it.
Let it dry overnight and you’re done.
The mesh panels also work really well with florals or printed sheers if you want something a little more feminine and unexpected.
A floral mesh insert on a neutral tee is genuinely one of my favorite combinations right now.
The Distressed Crop With Raw Edges I Wear Constantly

There’s something about raw edges that just feels right right now.
Not polished, not fussy — just honest and real and a little undone in the best way.
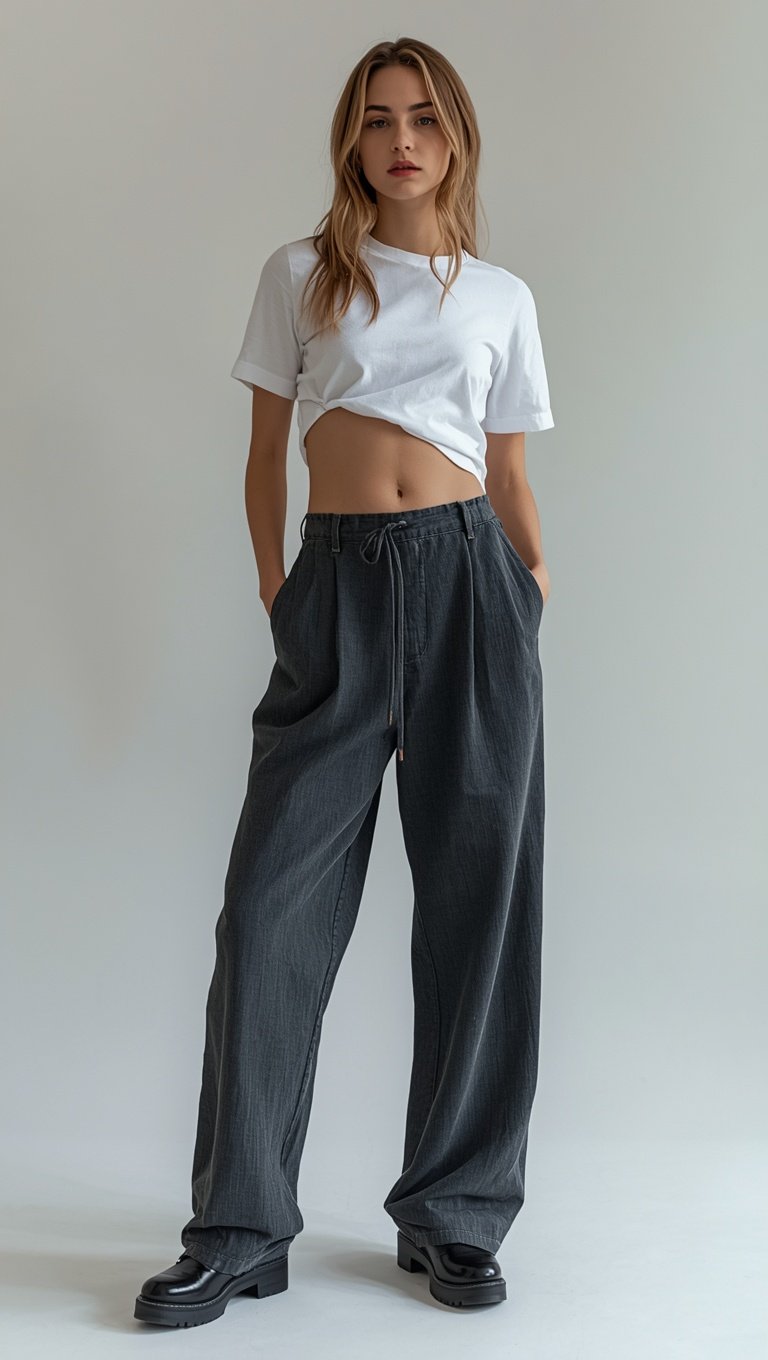
For this look, I take an oversized tee, cut it into a crop (just above or at the natural waist, depending on what feels right), and I don’t hem it.
I leave the edge totally raw.
Sometimes I distress it just slightly by stretching the hem fabric between my fingers to make it wave and roll.
It gives the hem this natural, organic edge that looks effortlessly cool.
I’ve done this in white, grey, and black and worn all three versions more than I can count.
The white raw-crop tee over a flowy maxi skirt is one of my go-to summer outfits and it takes about four minutes to make.
Four minutes!
The key thing I’ve learned with raw edges is that cotton jersey naturally curls inward when cut.
That curl is your friend — it softens the edge and makes it look less like you just picked up scissors and more like you knew exactly what you were doing.
Because now you do.
The Oversized-to-Fitted Transformation That Changes Everything

Sometimes the issue isn’t the tee — it’s the fit.
And I’ve found that with a few simple cuts, you can take an oversized shirt and give it an entirely new silhouette without sewing a single stitch.
Here’s what I do: I put the tee on, pinch the fabric at each side seam to find where it feels right on my body, and mark that spot with a tiny chalk line.
Then I take it off, cut vertically up the side seam to that point, and tie the two pieces of fabric together in a small knot.
Do both sides and you’ve essentially created a fitted silhouette with two little side details.
It’s so satisfying.
The shirt goes from baggy and shapeless to fitted and cute in under ten minutes.
And it’s still the same shirt — just better.
I did this to like six of my boyfriend’s old band tees and suddenly I had a whole wardrobe moment happening.
You can also cut just one side and knot it in the front center instead of the sides — that gives you more of a vintage concert tee feel, which is honestly a whole mood.
How I Style My DIY Tees Without Overthinking It

The best thing about a cut tee is that it already has personality.
So I actually style mine simpler than I would a plain shirt, because the cut does the work.
A fringe tee gets worn with clean straight-leg jeans and white sneakers.
A lace-up tee gets paired with a simple midi skirt.
A cold-shoulder crop goes with high-waisted shorts and flat sandals.
Less is genuinely more here.
When the shirt is interesting, the rest of the outfit can breathe.
I also find that cut tees look their absolute best when you tuck the front slightly — just a half-tuck, nothing too perfect.
It shows the shape of the cut and creates that effortless, thrown-together look that takes zero effort but reads as very intentional.
Accessories-wise, I keep it minimal.
A small gold hoop, a simple chain, maybe a thin bracelet.
You don’t want to compete with the shirt — you want to complement it.
And honestly, once you start, you’ll see every plain tee as a potential project.
Which is a very fun way to live.
My Fabric Scissors Recommendation and Why It Actually Matters

I cannot stress this enough: use fabric scissors.
Not kitchen scissors.
Not the ones from your junk drawer.
Actual fabric scissors.
I learned this the hard way when my first few cuts came out jagged and frayed in the wrong way — not the cute, intentional raw-edge way, but the messy, uneven way.
The difference a proper pair of fabric shears makes is genuinely shocking.
The cuts are clean, the lines are smooth, and the whole project feels so much more controlled.
I use a mid-range pair I’ve had for a few years now — nothing fancy, just dedicated fabric-only scissors that I’ve never touched paper with.
(Cutting paper dulls fabric scissors fast.
Keep them separate.)
I also keep a piece of tailor’s chalk or even a simple bar of soap nearby to mark my lines before cutting.
It washes out easily and gives me a visible guide so I’m not just freehanding everything and hoping for the best.
Small tools, big difference.
That’s the whole tip, honestly.
The Part Where I Tell You to Just Start

Here’s the thing about DIY cut tees: there is no perfect first cut.
Mine wasn’t perfect.
My second one wasn’t either.
But by the third one, I had a sense of how the fabric moved, how much to take off, and how to get the shape I actually wanted.
It’s kindd of like cooking — you learn by doing, not by reading about it.
So grab the tee you care about the least (for me it was a faded grey basic that had seen better days), lay it flat on your floor, and just make the first cut.
See how it feels on your body.
Adjust from there.
I promise the learning curve is fast and the reward is so, so worth it.
There’s also something genuinely joyful about wearing something you made yourself.
Not in a “look at my craft project” way — in a quiet, confident “I made this and it’s mine” kind of way.
And once you feel that?
You’ll be back at the scissors every weekend.