I was standing in front of my bathroom mirror last week, and I realized something.
Makeup had started to feel like a chore.
The same neutral eye, the same nude lip, the same routine I could do half-asleep.
And then I saw this girl on my feed with the glossiest lids and the softest pink blush swept across her eyes, and something clicked.
Makeup is supposed to be fun.
So I started experimenting again.
Trying things that felt a little bold, a little playful, a little like the version of me who used to spend Saturday mornings testing every product in my collection.
And honestly?
These are my favorite makeup ideas right now—the ones that make getting ready feel exciting again.

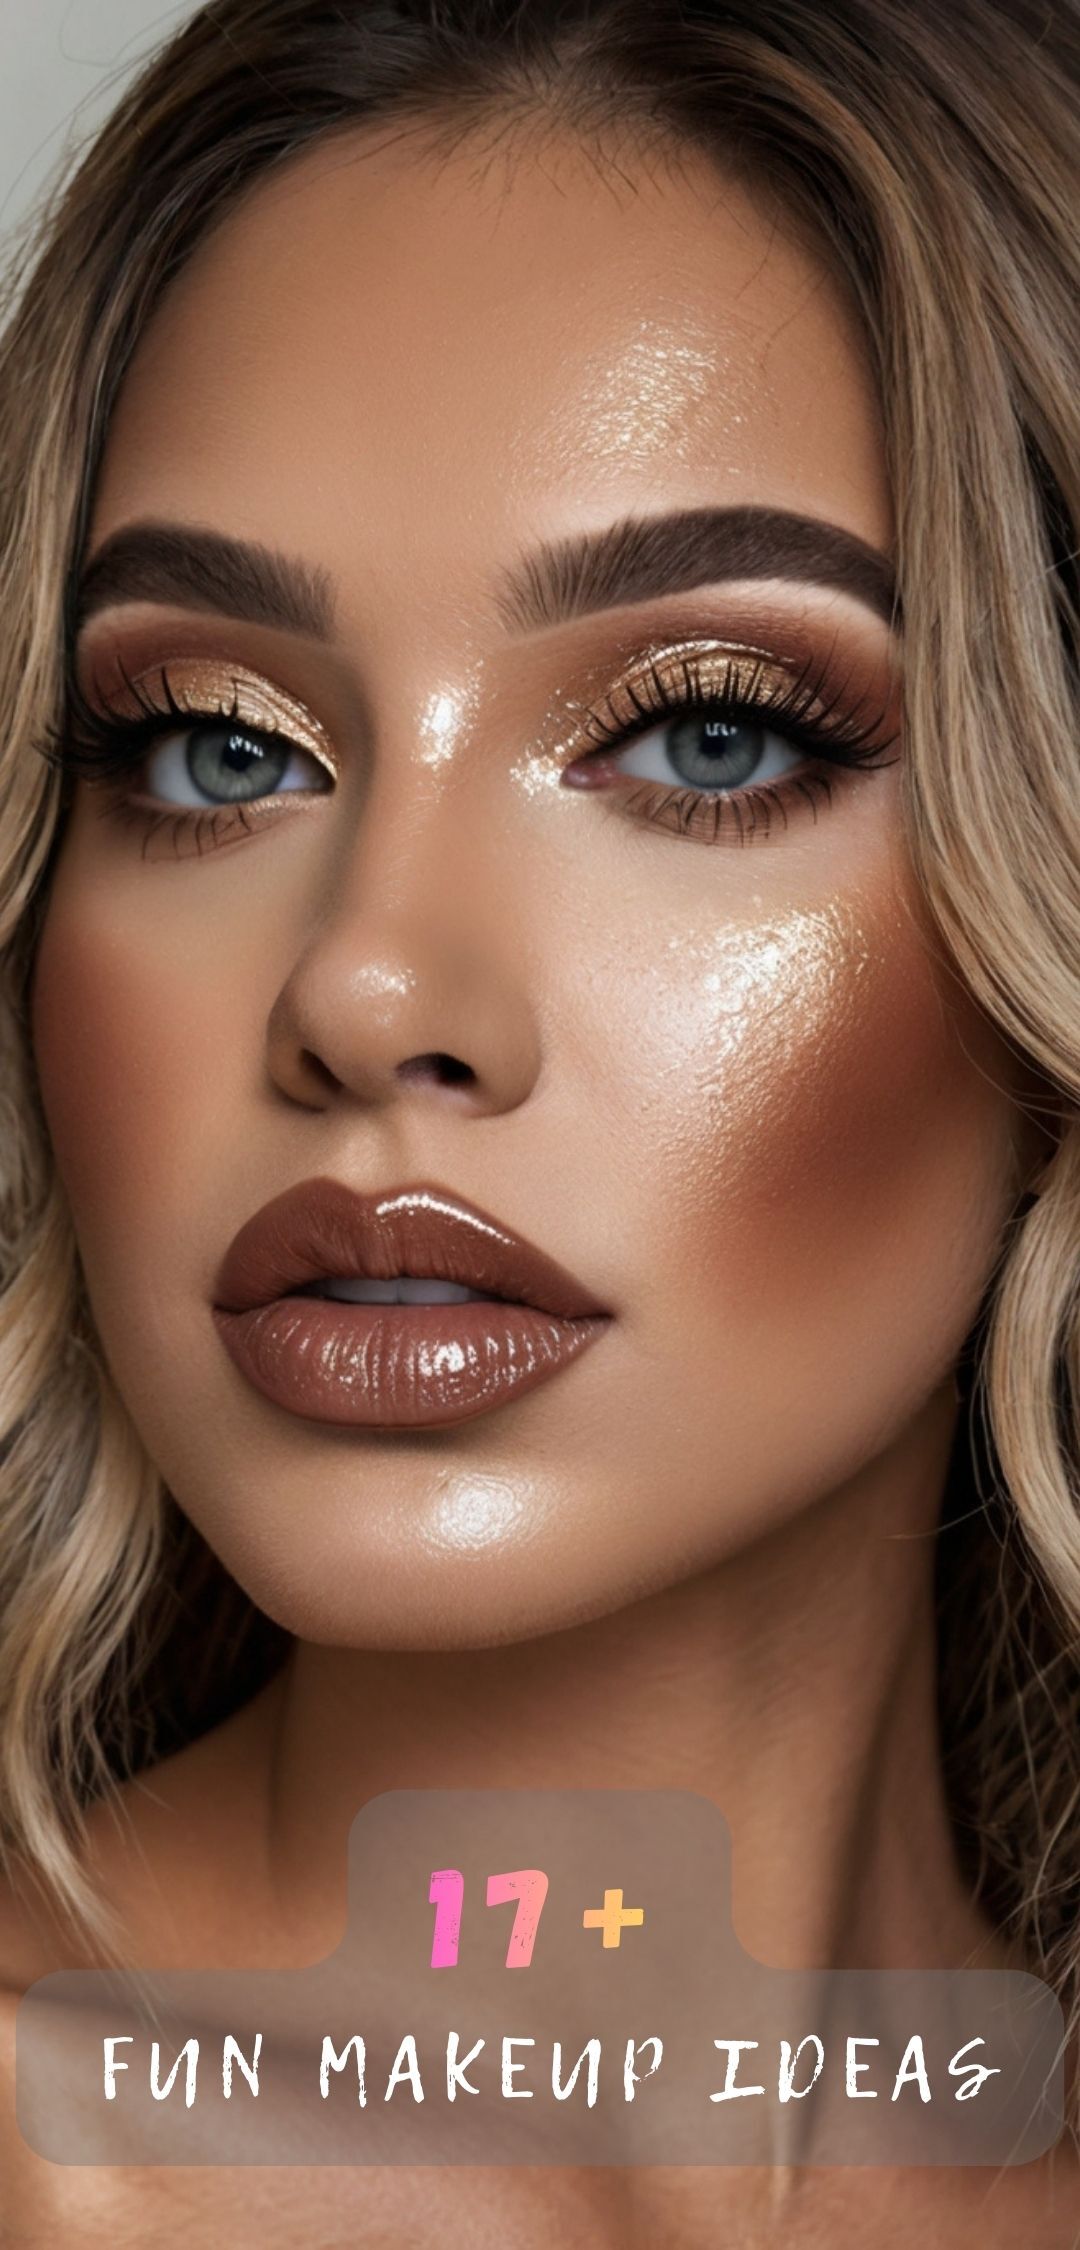
Glossy Lids That Catch Every Light


There’s something about a glossy eyelid that feels effortlessly cool.
Like you just rolled out of bed looking dewy and editorial.
I use a clear gloss or a tinted balm right on my lids, and it gives this wet, reflective finish that’s so pretty in natural light.
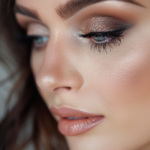
If you want a bit more dimension, pat a shimmery champagne shadow on the center of your lid first, then seal it with gloss.
The gloss catches the light every time you blink, and it’s one of those looks that feels high-fashion but takes about thirty seconds.
I love this for days when I want to look put-together but don’t want to fuss with blending.
Here’s my hack: use a lip gloss you already own.
I’ve been using the same clear balm I keep in my purse, and it works perfectly.
Just make sure it’s not sticky—you want something smooth that won’t crease.
And if you have hooded eyes like me, stick to the center of the lid so it doesn’t transfer.
This look pairs beautifully with a bare face and some mascara.
Or you can go full glam with a bold lip.
Either way, it feels fresh and sort of unexpected.
Blush as Eyeshadow (Yes, Really)

I started doing this by accident.
I was running late, grabbed my cream blush, and swiped it across my lids without thinking.
And it looked… really good?
Now I do it all the time.
Using blush as eyeshadow creates this cohesive, monochromatic look that’s so soft and romantic.
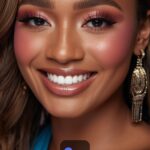
I love a peachy-pink blush on my lids and cheeks—it makes everything look flushed and fresh, like I just came in from a walk.
The trick is to use a cream or powder blush (not a liquid—it can get patchy on lids).
Blend it into your crease with your finger or a fluffy brush, then add a bit more on the apples of your cheeks.
If you want more drama, layer a deeper rose or mauve shade in the outer corner.
I also love doing this with a terracotta blush for a warmer, sun-kissed vibe.
It’s one of those looks that feels editorial but is actually super easy to recreate.
And you’re cutting down on products, which I love.
Less to carry, less to store, less to overthink.
Just grab your favorite blush and see how it looks on your eyes.
I think you’ll be surprised.
The Smudged Liner I Can’t Stop Wearing

Crisp, sharp liner is beautiful.
But lately, I’m all about the smudge.
I line my upper lash line with a soft pencil—usually a deep brown or charcoal—and then I smudge it out with my finger or a brush.
It gives this lived-in, effortless look that feels a little undone in the best way.
Sometimes I skip the bottom liner entirely.
Other times, I add a bit of the same pencil to my lower lash line and smudge that too for a sultry, smoky effect.
The key is using a pencil that’s creamy enough to blend but not so soft that it slides off by noon.
I set mine with a matching eyeshadow patted on top, and it stays put all day.
This look works with literally any eye color, but I find it especially pretty on brown and green eyes.
If you want to make it more playful, try a deep plum or navy liner instead of black.
It’s still smudgy and soft, but with a little more personality.
I’ve been wearing this almost every day because it takes about two minutes and makes me look more awake than I actually am.
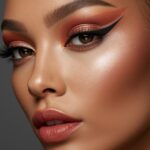
Monochrome Moments in Terracotta

Monochrome makeup is having a moment, and I’m here for it.
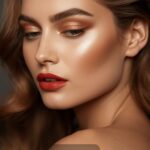
I’ve been using the same terracotta shade on my eyes, cheeks, and lips, and it’s so easy and so pretty.
It’s like the makeup version of a matching set—effortless and chic.
Start with a terracotta cream shadow or pencil on your lids.
Blend it out softly, then use a terracotta blush on your cheeks.
Finish with a terracotta-toned lip (I love a matte liquid lip or a tinted balm in a warm rust shade).
The whole look feels warm and earthy, and it works on every skin tone.
If you have fair skin, go lighter and more peachy.
If you have deeper skin, you can go richer and more brick-toned.
I love this look because it’s foolproof.
You don’t have to worry about colors clashing or whether your blush matches your eyeshadow—it all flows together.
And it photographs beautifully.
I wore this to brunch last weekend, and I got so many compliments.
It’s one of those looks that feels intentional without being overdone.
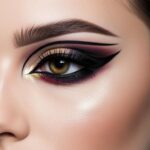
Graphic Liner That’s Easier Than It Looks

I used to think graphic liner was only for makeup artists.
But then I tried it, messed it up, and realized it still looked kinda cool.
The beauty of graphic liner is that it doesn’t have to be perfect.
A little wobble, a slightly uneven wing—it all adds to the artsy vibe.
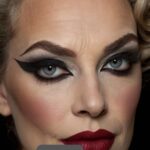
I start with a classic winged liner, then I add a second flick or a little dot at the inner corner.
Sometimes I draw a thin line along my lower lash line and connect it to the wing.
Other times, I just do a floating liner on my crease.
The key is to use a felt-tip or brush-tip liner that’s easy to control.
I love a jet-black liner for this, but you can also use a colored liner (like cobalt or emerald) for something more playful.
If you mess up, just add another line and call it intentional.
Honestly, some of my favorite graphic liner looks happened by accident.
I also love pairing this with minimal makeup everywhere else—just mascara, a bit of concealer, and glossy lips.
It lets the liner be the star.
Dewy Skin That Looks Like You Just Misted Your Face

I’m obsessed with skin that looks wet.
Not oily—just luminous and fresh, like you just stepped out of a facial.
I’ve been skipping heavy foundation and focusing on skincare and strategic highlighting instead.
I start with a hydrating serum and a tinted moisturizer or light coverage foundation (just where I need it).
Then I mix a liquid highlighter into my moisturizer and pat it on my cheekbones, nose, and cupid’s bow.
It gives this soft glow that looks like it’s coming from within.
I finish with a setting spray—something dewy, not matte—and I mist my face generously.
Sometimes I even mist again halfway through the day to refresh the glow.
The trick is to let your skin texture show.
Don’t cake on powder or try to blur every pore.
Dewy skin is all about embracing your natural texture and just making it look healthier and more radiant.
I love this look for daytime, especially when I’m running errands or meeting friends for coffee.
It feels low-maintenance but still polished.
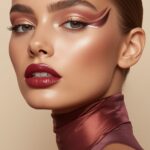
Bold Lips in Unexpected Colors

I used to play it safe with lips.
Nude, pink, maybe a classic red on special occasions.
But lately, I’ve been reaching for bold, unexpected colors, and it’s so fun.
Think berry, burnt orange, deep plum, even a cool-toned mauve.
These shades feel fresh and modern, and they completely transform your look.
I love a matte liquid lipstick for staying power, but a creamy bullet lipstick feels more forgiving and comfortable.
The key is to keep the rest of your makeup simple.
If your lips are bold, let them be the focus.
I usually stick to a bit of mascara, a touch of blush, and maybe some highlighter.
And here’s a tip: if a bold lip feels too intense, blot it down and pat a bit of balm on top.
It softens the color and gives it a more lived-in, stained look.
I wore a deep plum lip to a dinner party last month, and I felt so confident.
It’s amazing how a bold lip can shift your entire mood.
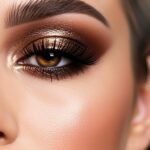
Soft Grunge Smoky Eyes

The smoky eye is back, but it’s softer now.
Less club, more coffee shop.
I love a soft grunge eye—smudged, a little messy, with a cool-toned or neutral palette.
I start with a taupe or gray-brown shadow all over my lid, then I deepen the outer corner with a charcoal or soft black.
I smudge the edges so there are no harsh lines, and I bring the shadow slightly under my lower lash line.
The key is to keep it soft and blended, not sharp and dramatic.
I finish with lots of mascara and maybe a bit of highlighter on the inner corner.
Sometimes I skip eyeliner altogether and just let the shadow do the work.
This look feels a little moody, a little cool, and very wearable.
I love it for evenings out or anytime I want to feel a bit edgier.
And it’s forgiving—if you over-blend, it still looks intentional.
I’ve been pairing this with a nude lip and dewy skin, and it’s such a vibe.
Inner Corner Highlights That Pop

This is the easiest way to make your eyes look brighter and more awake.
I take a shimmery champagne or icy white shadow and dab it in the inner corners of my eyes.
It opens up my whole face.
I also love using a liquid or cream highlighter for this—something with a bit of shimmer that catches the light.
Just a tiny dot in each inner corner, blended out with my finger.
It’s subtle but makes such a difference.
If I’m wearing a colorful eyeshadow look, I’ll sometimes use a pop of shimmer in a contrasting shade (like a rose gold with a purple eye, or a mint green with a warm brown eye).
It adds a little surprise and makes the look feel more intentional.
This is one of those tricks I do even on no-makeup days.
Just a bit of inner corner highlight and mascara, and I look more awake than I feel.
It’s also great if you’ve been staring at a screen all day and your eyes look tired.
One little pop of shimmer, and you’re glowing again.
Freckles You Can Draw On (And Should)

I don’t have natural freckles, so I make my own.
And I love them.
I use a fine-tipped brow pencil or a brown eyeliner (something not too dark) and I lightly dot freckles across my nose and cheeks.
The key is to vary the size and placement so they look natural.
Some bigger, some smaller, some closer together, some farther apart.
I also like to blend them slightly with my finger so they don’t look too harsh.
Then I set them with a bit of powder or setting spray.
It gives this sun-kissed, youthful look that I’m obsessed with.
I love doing this in the summer (or when I’m pretending it’s summer).
It pairs beautifully with minimal makeup—just some mascara, a bit of blush, and glossy lips.
If you want them to last all day, use a waterproof liner or a freckle pen designed for this.
I’ve also seen people use henna or semi-permanent freckles, but I like the flexibility of drawing them fresh each day.
Some days I want more, some days I want less.
It’s playful and fun, and it makes me smile every time I look in the mirror.
Cream Blush Layered Over Powder

I used to think you couldn’t layer cream and powder products.
But then I tried it, and it’s actually amazing.
I apply my cream blush first, blending it into my cheeks with my fingers.
Then I set my face with a light dusting of translucent powder.
And then I go back in with a powder blush in a similar shade and add more color on top.
It gives this multi-dimensional flush that lasts all day.
The cream blush adds a natural, dewy base, and the powder blush intensifies the color and helps it stay put.
I love this technique for special occasions or long days when I need my makeup to last.
It also works beautifully for photography—the layered blush shows up so well on camera.
My favorite combo is a peachy cream blush with a coral powder blush on top.
Or a rosy cream with a deeper mauve powder.
Just make sure the shades are in the same color family so they blend seamlessly.
This is one of those techniques that feels fancy but is actually really simple.