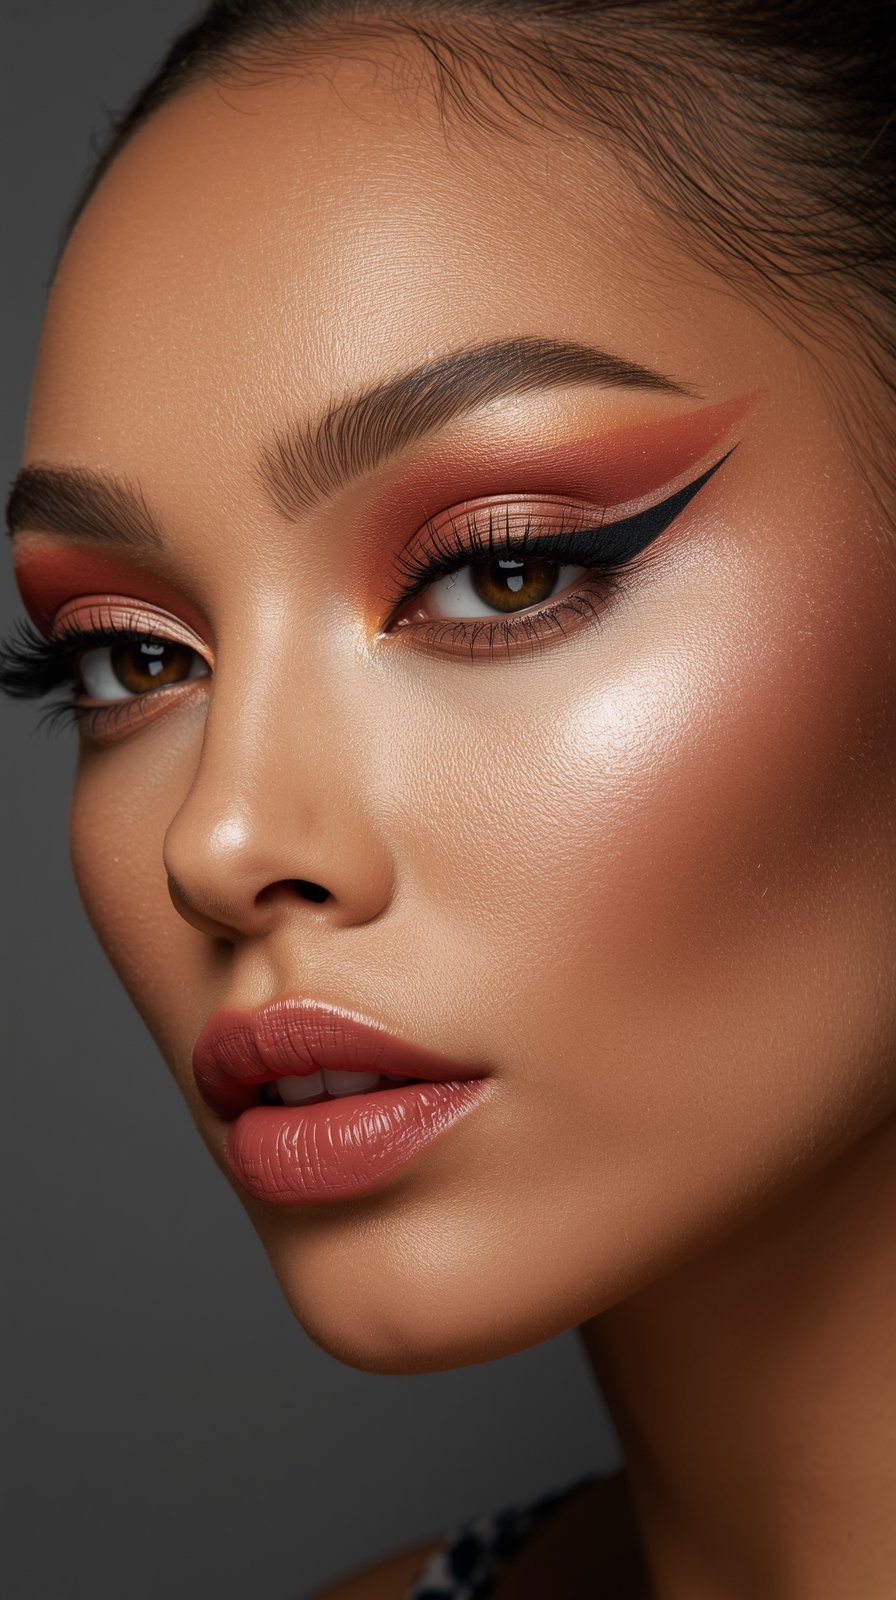
Last spring, I did a theater production where I thought my makeup looked amazing.
I checked it five times in the dressing room mirror, and I was so proud of how natural and pretty it looked.
Then I walked on stage.
The lights hit me, and I could literally feel my face disappearing.
When I watched the recording later, I looked completely washed out—like a pale ghost floating around the stage.
It was mortifying.
That night, I went down a deep rabbit hole of stage makeup tutorials and realized I’d been doing everything wrong.
Stage makeup isn’t about looking pretty up close.
It’s about creating a face that translates under intense lights and reads beautifully from the back row.
It’s bold, it’s dramatic, and it feels weird to apply—but once you understand the rules, it changes everything.
Let me show you exactly how I do my stage makeup now so it actually shows up.
Why Stage Makeup Is Completely Different

Regular makeup just doesn’t cut it under stage lights.
Those lights are so bright and hot that they wash out your features completely.
What looks perfect in your bathroom mirror will look like nothing on stage.
I learned this the hard way during a dance recital in college.
I wore my normal “going out” makeup and literally looked like a ghost in the video footage.
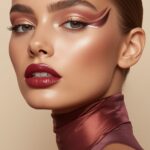
Stage makeup needs to be about three times more intense than what you’d wear to dinner.
The colors need to be deeper, the lines need to be sharper, and the contour needs to be way more dramatic.
It feels weird applying it in regular lighting because you’ll think you look crazy.
But trust me, under those stage lights, it all balances out perfectly.
The camera also loves bold makeup, so if your show is being recorded, you’ll thank yourself later.
My Base That Survives Everything

Foundation for stage needs to be full coverage and completely bulletproof.
I always start with a pore-filling primer because it creates a smooth canvas and helps everything last longer.
For foundation, I go for something matte and long-wearing—think theatrical or HD formulas.
I apply it with a damp beauty sponge and really work it into my skin.
Here’s the thing though: you need to go one or two shades deeper than your natural skin tone.
The lights will wash you out, so that extra depth keeps you looking alive.
I set everything with a translucent powder, and I mean really set it.
I bake under my eyes, on my T-zone, and anywhere I might get shiny.
Then I hit my whole face with setting spray before I even start on color.
This creates a base that won’t budge, even if you’re sweating under hot lights.
I’ve done two-hour shows in this base and my makeup still looked fresh at curtain call.
Contouring That Actually Shows Up

Stage contouring is not subtle, and that’s exactly the point.
I use a contour shade that’s at least three shades darker than my skin.
I apply it heavily under my cheekbones, along my jawline, down the sides of my nose, and on my forehead.
It looks intense up close, but from the audience, it creates the dimension your face needs.
I also contour my neck a bit so there’s no harsh line between my face and body.
The key is to blend it out really well so there are no harsh edges, but keep the placement strong.
I use a fluffy brush and blend in circular motions until it looks seamless.
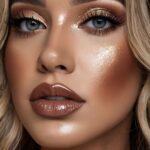
For highlight, I go for something with a bit of shimmer—not glitter, but definitely not matte.
I place it on the high points of my cheekbones, down the bridge of my nose, on my cupid’s bow, and in my inner corners.
This catches the light beautifully and makes your features pop from every angle.
Eyes That Command Attention

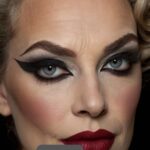
Eye makeup for stage needs to be bold, defined, and visible from the back row.
I always start with an eyeshadow primer because creasing is not an option during a performance.
For the lid, I use rich, pigmented colors that complement my costume or the show’s theme.
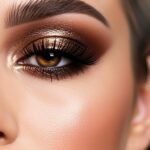
If you’re not sure what to do, a warm bronze or deep plum is always a safe bet.
I pack the color onto my lid, then blend a slightly darker shade into my crease.
The crease shade needs to be really defined because it creates depth that the audience can see.
I also bring that crease shade slightly above my actual crease to make my eyes look bigger and more open.
Then comes the fun part: the outer corner.
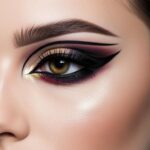
I use the darkest shade to create a slight wing shape that extends outward and upward.
This elongates the eye and adds drama without being over the top.
I blend everything really well so there are no harsh lines, but the color intensity stays strong.
Eyeliner That Defines Your Eyes

Eyeliner is non-negotiable for stage makeup.
Without it, your eyes will completely disappear under the lights.
I use a black gel or liquid liner and create a thicker line than I would for everyday wear.
I start thin at the inner corner and gradually thicken it as I move toward the outer corner.
Then I create a wing that extends past my natural eye shape.
The wing doesn’t have to be super long, but it needs to be visible and clean.
I also line my lower lash line with a dark brown or black pencil, starting from the outer corner and working about two-thirds of the way in.
This frames the eye and makes it look bigger and more defined.
If you really want to amp up the drama, you can tightline your upper waterline too.
This makes your lashes look thicker and your eyes more intense.
Just make sure whatever eyeliner you use is waterproof and budge-proof because sweating is inevitable.
Lashes That Look Unreal

False lashes are basically mandatory for stage performances.
Your natural lashes, even with mascara, won’t show up from a distance.
I always opt for lashes that are a bit dramatic—think full, fluffy, and slightly longer than natural.
I apply lash glue, wait about 30 seconds for it to get tacky, then press the lash onto my lash line.
I use tweezers for precision and press down along the entire band to make sure it’s secure.
Once the glue is dry, I go in with black eyeliner and trace over the lash band to hide it.
Then I apply a coat or two of mascara to blend my natural lashes with the falsies.
This creates a seamless, fluttery effect that photographs beautifully.
If you’re doing a particularly long show, I recommend using lash glue that’s rated for all-day wear.
I’ve never had lashes fall off mid-performance when I use the right glue, but it’s always a fear in the back of your mind.
Brows That Frame Everything

Bold, defined brows are essential for stage makeup.
I start by brushing my brows up with a spoolie to see their natural shape.
Then I use a brow pencil to fill in any sparse areas with light, hair-like strokes.
I go slightly heavier-handed than I would for everyday makeup because the lights will soften the look.
After pencil, I use a brow powder to add more depth and make the color richer.
I focus the powder on the body and tail of the brow, keeping the front a bit softer.
Then I use a brow gel to set everything in place because you don’t want your brows moving during a performance.
I also like to go in with a light concealer or highlighter under the brow to clean up the shape and make it stand out even more.
This creates a lifted, polished look that frames your entire face.
Your brows should look strong and intentional, not overly drawn-on, but definitely more defined than your everyday look.
Lips That Last Through Every Song

Lip color for stage needs to be rich, bold, and completely transfer-proof.
I always start by lining my entire lips with a lip liner that matches my chosen lip color.
This creates a base that helps the lipstick last longer and prevents feathering.
Then I apply a long-wearing liquid lipstick or a traditional lipstick formula that’s known for staying power.
I usually go for deeper shades like berry, classic red, or even a bold mauve depending on the performance.
Nude or light pink lips tend to wash out on stage, so I save those for everyday wear.
After applying the lipstick, I blot with a tissue, dust a tiny bit of translucent powder over my lips, then apply another layer.
This technique makes the color last forever.
If you’re worried about the color being too intense, remember that it’ll look more natural from the audience’s perspective.
I also keep my lip color with me for touch-ups during intermission if needed.
Setting Everything So It Lasts

Setting your makeup properly is the difference between looking fresh all night and having everything slide off.
After I’ve completed my entire makeup look, I use a heavy-duty setting spray.
I hold it about 10 inches from my face and spray in an “X” and then a “T” pattern to cover everything.
I let that dry completely, then I spray again.
Yes, twice.
Kindda overkill but it works.
I also carry blotting papers and a small powder compact for touch-ups during the show.
Even with the best setting spray, you might get a little shiny under those hot lights.
A quick blot and a light dusting of powder will refresh everything without disturbing your makeup.
I’ve done performances in humid outdoor theaters and my makeup has stayed put with this method.
It’s all about layering your setting products and giving them time to work.
Adapting Your Look To Different Performance Styles

Not every stage performance requires the same makeup intensity.
For dance performances, I keep the makeup bold but slightly more natural in color choices.
For theatrical shows, I go all out with dramatic colors and sharp lines that match my character.
If you’re doing a vintage or period piece, research the makeup trends from that era and adapt them for stage.
Musical theater usually calls for classic, glamorous makeup that’s universally flattering.
For edgier or contemporary performances, you can play with unconventional colors and graphic elements.
I once did a modern dance piece where I used silver and black in a really stark, editorial way.
It looked incredible under the colored stage lights and matched the mood perfectly.
The key is to understand the vibe of your performance and let that guide your makeup choices.
But no matter what style you’re going for, the intensity and staying power rules still apply.
My Product Recommendations That Never Fail

I’ve tried so many products over the years, and these are my absolute favorites for stage.
For primer, I love anything silicone-based because it fills pores and creates a smooth base.
My go-to foundation is a full-coverage, matte formula that’s designed for HD cameras.
I set everything with a finely-milled translucent powder that doesn’t look cakey.
For contour, I use cream products that blend easily but set down for all-day wear.
Eyeshadow-wise, I stick with highly pigmented palettes that have rich, buildable colors.
My eyeliner of choice is always a waterproof gel formula applied with a thin brush for precision.
For lashes, I go with mid-range falsies that are reusable and comfortable to wear.
Lip-wise, I’m obsessed with liquid lipsticks that dry down completely but don’t feel drying.
And for setting spray, I use professional formulas that are designed for performers and athletes.
These products have never let me down, even during the most intense performances.
Final Touches That Make All The Difference

There are a few little tricks I’ve picked up that really elevate stage makeup.
I always add a touch of highlighter to my collarbones and shoulders if they’re visible in my costume.
This catches the light and creates a cohesive, glowy look from head to toe.
I also make sure my makeup extends slightly past my jawline and blends into my neck.
You don’t want a harsh line where your face makeup stops—it’ll be super obvious on stage.
Another trick is to add a tiny bit of white or champagne shimmer to the inner corners of your eyes.
This opens up your eyes and makes you look more awake and alive.
And always, always do a quick mirror check in the actual stage lighting before the show if possible.
What looks good in the dressing room might need tweaking under the real lights, and it’s better to know beforehand.
These little details might seem minor, but they’re what separate good stage makeup from absolutely flawless stage makeup.