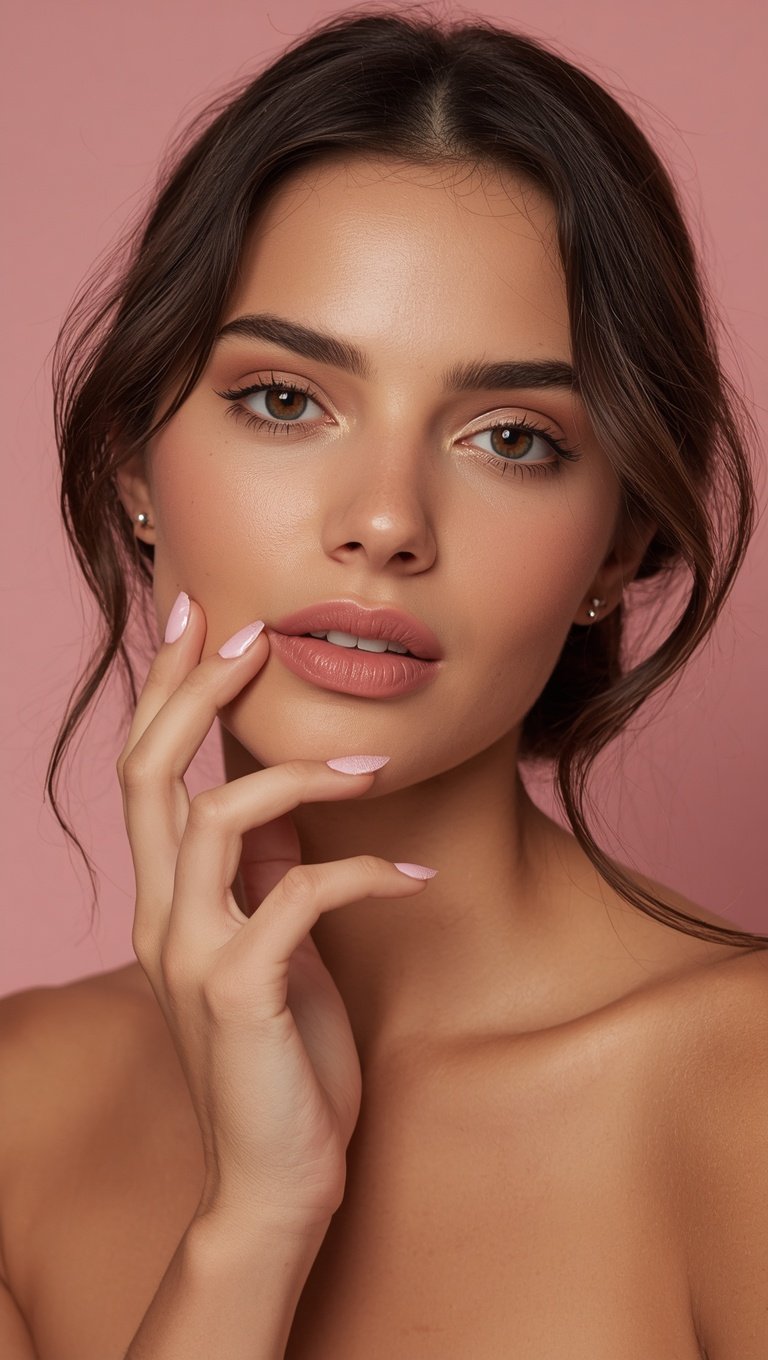
I used to think I just had “bad skin days.”
Like, more of them than everyone else.
I’d look in the mirror before work and just feel flat.
Not sick, not tired exactly, just… dim.
And it wasn’t until my sister literally dabbed a little pot of cream blush on my cheeks with her fingers that I understood what I’d been missing this whole time.
It wasn’t foundation.
It wasn’t a highlighter.
It was this warm, flushed, lived-in color that made me look like I’d just laughed at something really good.
That’s the whole trick, honestly.
So let’s talk about it.
Why Cream Just Hits Different Than Powder

Okay so here’s the thing nobody tells you about powder blush.
It sits on top of your skin.
Like, literally on top, as a layer.
And cream does the opposite — it kind of melts in.
It blends into your actual skin texture instead of sitting on it like a little painted circle.
When I switched, the first thing I noticed was that my cheeks looked like they were glowing from underneath, not like color had been added on top.
It’s a subtle difference but it changes everything about how “real” your face looks.
Powder can look pretty in photos, sure.
But in person, under regular light, in the grocery store, on a first date, cream just reads as skin.
And that’s the whole goal, right?
We’re not trying to look like we’re wearing blush.
We’re trying to look like we just got some really good news.
I’m kind of obsessed with how cream catches the light too.
It has this soft sheen that powder can’t fake, no matter how finely milled it is.
If you have dry or mature skin, this difference is even bigger.
Powder can grab onto dry patches and look patchy by noon.
Cream just sinks in and stays soft.
Honestly once you feel that texture under your fingers, it’s hard to go back.
Finding Your Actual Shade (Not Just A Pretty One)

I made this mistake for years, so let me save you the trouble.
I used to pick blush shades because they looked cute in the packaging.
Big mistake.
Huge.
The shade that actually works for you should kind of look like what happens to your cheeks naturally when you’re a little flushed — after a workout, after a glass of wine, after laughing too hard.
For fair, cool-toned skin, a soft petal pink or a cool rose usually does the trick.
If you’re more medium and warm, I’d go for a warm coral or a soft terracotta.
And if you have deeper skin, don’t be shy with color — a rich berry or a deep brick red will look absolutely stunning and won’t disappear the way lighter shades sometimes do.
My personal tip here is to test the shade on your fingertip first, not the back of your hand.
Your fingertip color is closer to your cheek color than your hand is, weirdly enough.
I learned that from a makeup artist backstage at a wedding I was in, and it changed how I shop forever.
So next time you’re deciding between two shades, just dab a little on your finger and hold it up to your cheek in natural light.
You’ll know almost instantly.
The Tool You Use Actually Matters A Lot

I went through a phase where I used a stiff brush for everything, including cream products.
It was a disaster.
Streaky, patchy, way too obvious.
Your fingers are honestly the best tool for cream blush, and I know that sounds too simple to be true.
The warmth from your fingertips actually helps melt the product into your skin as you blend it, which is something a brush just can’t replicate.
When I tap it on with my fingers, using little dabbing motions instead of rubbing, it blends so much more naturally.
If you want something even softer, a damp makeup sponge works beautifully too.
Just bounce it, don’t drag it.
Dragging is where things go wrong.
I also keep a small fluffy brush around for “polishing” the edges after I’ve applied it with my fingers, just to soften any harder lines.
That’s an optional step though.
Honestly, some of my best-looking days have been the ones where I just used my fingers and called it done.
There’s something kind of nice about how low-effort it feels while still looking so put together.
If you’re someone who’s always in a rush in the morning, this is genuinely the fastest part of your whole routine.
Thirty seconds, tops.
Where You Actually Put It Changes The Whole Vibe

This part took me way too long to figure out.
Where you place blush completely changes the mood of your whole face.
If you apply it on the apples of your cheeks, straight on, you get this sweet, youthful look.
Kind of like you just came in from the cold.
If you sweep it higher, up toward your temples, it lifts everything and looks more sculpted and grown up.
I tend to go higher in the colder months and lower and sweeter in the summer, just because of the mood I’m in.
My favorite placement, though, is what I call the “sun-kissed diagonal.”
You start at the apple of your cheek and sweep up and out toward your hairline, following the line your cheekbone naturally makes when you smile.
Try smiling in the mirror before you apply it.
Seriously, do it right now if you can.
Wherever your cheek pushes up the most, that’s exactly where the color should be most concentrated.
And then just let it fade out gently from there.
Don’t stop in a hard line, ever.
A hard line is the number one thing that makes blush look fake instead of natural.
So blend, blend, and then blend one more time past where you think you’re done.
The Order You Apply It In Matters More Than You’d Think

I used to just slap blush on wherever felt convenient in my routine.
Turns out that was kind of ruining the effect.
If you apply cream blush before your powder products, it blends into your skin like a stain and looks incredibly natural.
If you apply it after powder, it tends to sit on top and can look a little cakey or move around during the day.
My routine now goes moisturizer, then a little concealer where I need it, then cream blush while my skin still has some dewiness to it, and then I set everything lightly after.
That order changed everything for me.
It lets the blush really become part of your skin instead of a layer floating on top of it.
If you use cream bronzer or cream highlighter too, I like applying blush last so it sits right on top and stays the star of the look.
An easy trick — press them together where they meet, like on the tops of your cheekbones, so there’s no harsh line between products.
It creates this soft gradient that looks incredibly lit-from-within, which is honestly the whole point of this post.
If your skin is oily, you can lock the cream blush in place with just a whisper of translucent powder over it, applied with a fluffy brush, very lightly.
Just don’t press hard or you’ll undo all that pretty blending you just did.
My Favorite Textures And What They Feel Like

I’ve tried a lot of formulas over the years, from the balm sticks to the little pots to the liquid drops.
Balm sticks are probably my favorite for beginners because you can literally just dot them on and blend with your fingers.
They feel like a lip balm for your cheeks, honestly, soft and a little slippery in the best way.
The little pot formulas tend to be richer and more pigmented, so a tiny bit goes a long way.
I always tell people to start with less than they think they need, because you can build it up, but taking it off once it’s blended in is a whole ordeal.
Liquid drop blushes are fun if you want something really sheer and glowy, almost like a tint rather than a full color.
Those work really well mixed into your moisturizer if you want the most subtle, barely-there flush.
I do that on lazy mornings when I want to look like I have my life together but really don’t.
If I had to pick one texture to recommend to a friend just starting out, I’d say go with a balm stick.
It’s the most forgiving, the easiest to blend, and honestly kind of fun to use.
There’s something satisfying about the little click of opening it and just going for it.
The Mistake Almost Everyone Makes With Cream Blush
I did this one for way too long before someone finally told me.

Applying too much, too fast, before it’s had a second to set.
Cream products need a moment to warm up on your skin before you start blending them.
So dab it on, wait a beat, and then start working it in.
If you rush and start rubbing immediately, you’ll get streaks instead of that soft melted look you’re going for.
Another big one is applying it with cold hands.
I know that sounds silly, but warm hands genuinely blend cream products so much better.
If your hands are freezing, rub them together first like you’re about to tell a ghost story.
It actually makes a difference.
The other mistake is using way too much product at once.
Cream blush is one of those things where a little literally goes such a long way.
Start with an amount about the size of a grain of rice, and build from there if you need more.
I promise you’ll almost never need more.
And the last mistake, which took me forever to notice in my own routine, is blending in only one direction.
Blend up, then blend back down, then blend outward.
Going in multiple directions is what erases any harsh edges and makes it look like your skin just does this naturally.
Making It Last All Day Without Fading

This was my biggest frustration for a long time, so I get it if this is why you’re reading.
Cream blush can fade faster than powder if you don’t set it up right.
My number one hack is applying it to slightly tacky skin, not fully dry, not fully wet.
Right after your moisturizer sinks in but before it fully absorbs is the sweet spot.
That tackiness helps the color grip onto your skin instead of sliding around all day.
Another trick I swear by is applying a tiny bit of setting spray just on my cheeks after blending, almost like sealing it in place.
Not your whole face, just that one area.
I also keep a little of the same blush in my bag for touch-ups, because by early afternoon it can fade, especially if you’re someone who touches your face a lot, like me.
If you’re heading somewhere with a lot of hours ahead of you, like a wedding or a long travel day, apply a very light dusting of a matching powder blush right over the cream once it’s set.
That combo locks it in for hours without looking heavy.
It’s basically a cream-and-powder sandwich, and honestly it’s one of my favorite tricks I’ve ever picked up.
Seasonal And Occasion Variations I Actually Use

I switch up my blush approach depending on the season, and I really think you should too.
In the summer, I go lighter and more sheer, almost like my skin just did this on its own after a day outside.
A peachy coral feels so right against tan skin and warm weather.
In the winter, I lean into deeper berries and rosy plums, applied a little more richly since we’re all a bit paler and could use the extra warmth.
For daytime and work, I keep it soft and diffused, barely-there, just enough to look awake.
For nighttime or a going-out look, I’m not afraid to build it up more and blend it higher toward my temples for something a little more sculpted and dramatic.
For a wedding or a really special event, I actually apply blush in two steps — a sheer layer first for that lit-from-within base, and then a tiny bit more concentrated right on the apples for definition that photographs beautifully.
My mother-in-law asked me what my secret was at my sister’s wedding and it was genuinely just this two-step trick.
If I’m going somewhere really casual, like brunch with my girlfriends, I keep it fast and simple, one swipe with my fingers and out the door.
There’s no wrong way to adjust this, honestly, it’s meant to flex with your life and your mood.
Beyond Cheeks — Multi-Use Tricks I Love

Okay, this is the part that really made me fall in love with cream blush as a category.
You can use it in so many more places than just your cheeks.
I dab a tiny bit on the tip of my nose and the very top of my ears for the softest, most natural sun-kissed effect.
It sounds strange until you try it, and then you’ll never skip it again.
A little bit on your eyelids, blended out with your finger, can double as the easiest lazy-day eyeshadow.
It ties your whole face together in this really cohesive, soft way that separate products sometimes don’t.
I’ve even used a tiny dot on my lips over a lip balm for the softest, most your-lips-but-better tint.
It’s not as long-wearing as an actual lip stain, but for a casual day it’s honestly perfect.
If I’m being truly lazy, which happens more than I’d like to admit, I use one product for cheeks, nose, eyelids, and lips and call the whole face done in under two minutes.
That’s the kind of multitasking beauty product I want in my life at this point.
If you only own one cream blush right now, I really do think it can do more work for you than you’d expect.
It’s not just a blush.
It’s kind of your whole glow-up shortcut in one little pot.