I ruined four nails trying to do a swirl design I saw online, and honestly?
Growing them out? The free nail growth calculator shows how long your nails take to reach the length you want.
I was this close to just slapping on a solid color and calling it a day.
But then I started experimenting — slowly, patiently, on a lazy Sunday with a cup of iced coffee and zero pressure — and something clicked.
Cute nails don’t have to be complicated.
They just have to be yours.
So here’s everything I’ve learned about doing easy, gorgeous nail designs at home, from someone who is absolutely not a nail tech, but is very much obsessed with having pretty hands.
Why I Started Doing My Nails at Home in the First Place

I used to go to the salon every two weeks like clockwork.
It felt like a treat, sure, but it also added up fast — and half the time I’d leave with a design that was almost what I wanted, but not quite.
Doing my nails at home gave me something I didn’t expect: control.
I could take my time.
I could redo a nail three times if I wanted to.
I could pause mid-design to eat a snack (deeply important).
And honestly, the results started getting better the more I practiced — because I knew my own hands.
I knew which fingers shook the most (my right pinky, always my right pinky).
I knew which nail shapes worked best for my nail beds.
If you’ve been scared to try nail art at home, I just want you to know that I was too.
And now it’s one of my favorite little rituals.
The Dotticure: My Easiest Go-To Design

If there is one nail design I come back to again and again, it’s the dotticure.
It sounds fancy, it looks intentional, and it takes about five minutes once your base is dry.
All you need is a dotting tool — or honestly, the back of a bobby pin, a toothpick, or even a pencil eraser.
Dip it into your polish and press lightly onto the nail.
That’s it.
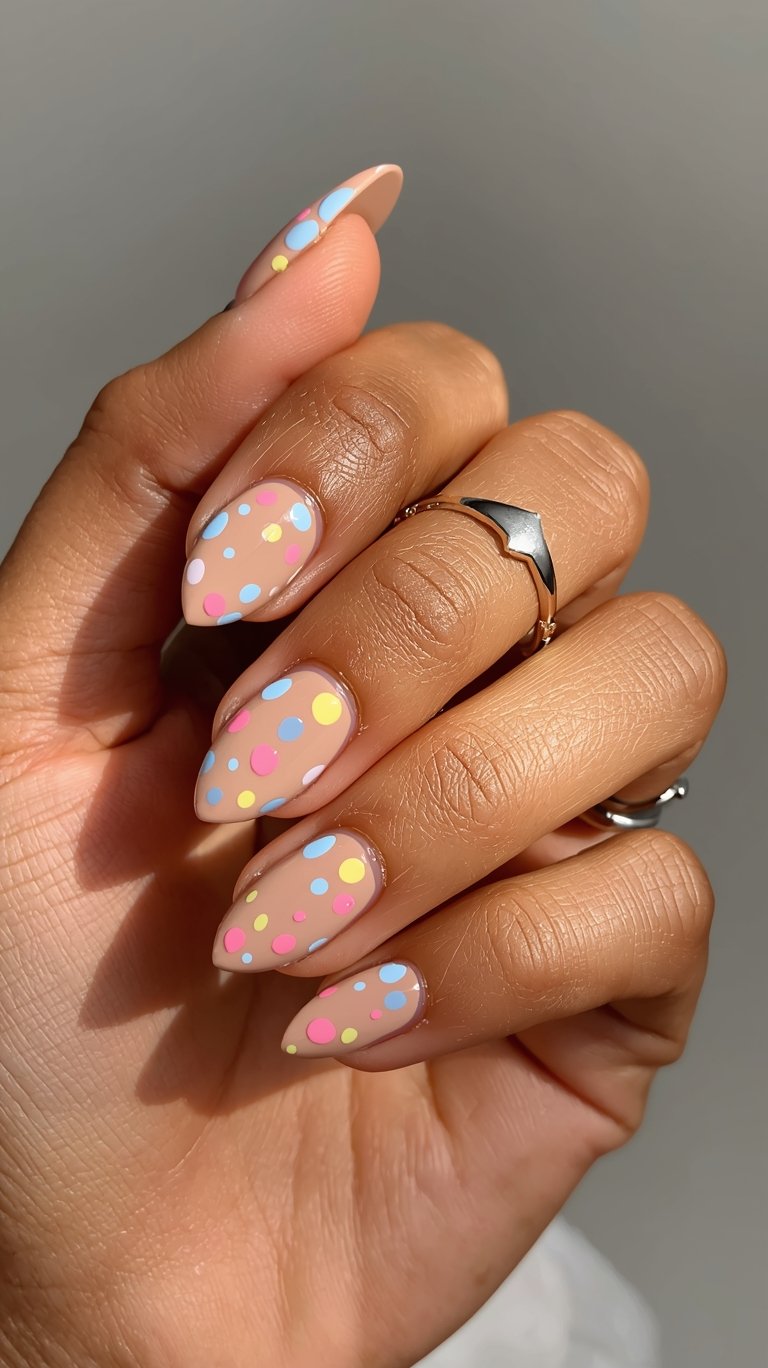
You can do random scattered dots in a contrasting color, or line them up neatly along one edge of the nail for a more graphic look.
My personal favorite is a white base with tiny navy or black dots — very French, very chic.
Or try soft pastel dots on a neutral base for something more summery and sweet.
The beauty of dots is that they’re forgiving.
No two have to be perfectly the same size.
And somehow that imperfection makes them look more handmade and cool.
Modern French Tips (Way Easier Than the Classic)

French tips have had such a glow-up recently, and I am here for it.
The traditional perfect white tip always stressed me out — the line had to be so precise.
But the newer, looser takes on French tips?
So much more fun and so much more forgiving.
Try a colored tip instead of white.
Sage green, dusty rose, lavender — all gorgeous.
Use a striping brush or a regular thin liner brush dipped in polish and just sweep across the tip of each nail in one relaxed stroke.
It doesn’t have to be a perfect line.
A slightly uneven, slightly thick line actually looks really cool and editorial right now.
You can also try the “reverse French” by putting the color at the base of your nail near the cuticle instead of the tip.
When I tried this with a coral orange on a sheer nude base, I got so many compliments.
People thought I had gotten a salon set.
Negative Space Nails for the Minimalist in You

Negative space nails are my love language when I want something that feels cool without being loud.
The idea is simple: you leave part of your natural nail showing intentionally, as part of the design.
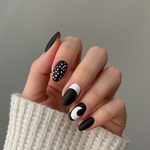
One of my favorites is the half-and-half look.
Paint just the top half of your nail in a solid color, leaving the bottom half bare.
Or paint a thin stripe of color down the center of the nail and leave the sides exposed.
You can use tape to get clean lines — painter’s tape or even scotch tape works.
Press it down firmly before applying your polish, then peel it off immediately after while the polish is still wet.
The result looks so precise and modern.
Negative space designs work especially well with deeper, richer tones — burgundy, forest green, charcoal.
There’s something about the contrast of bold color against bare nail that looks so intentional and stylish.
And this is genuinely one of those designs that looks harder than it is.
Striping Tape Magic (Your New Secret Weapon)

Striping tape is so underrated and I feel like I need to talk about it more.
It’s basically super thin adhesive tape — you can find it at any beauty supply store or online — and it creates perfect geometric lines on your nails with zero freehand skill required.
Apply your base color first and let it dry completely.
Then lay the tape across your nail in whatever pattern you like.
A diagonal line.
A big X.
Two horizontal stripes.
Fill in the sections with a second color, let it dry slightly, and gently peel the tape away.
The lines it leaves behind are so crisp.
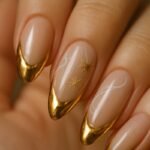
You can leave the tape on as part of the design too — gold or silver striping tape left on the nail looks incredibly glam with zero extra effort.
That’s my lazy-day hack right there.
One coat of sheer pink, a few strips of gold tape, and suddenly my nails look like something out of a fashion editorial.
The Ombre Nail: Soft, Dreamy, and Doable

The first time I heard “ombre nails,” I assumed it was too advanced for me.
But the sponge method changed everything.
You only need two polish colors that are close to each other in tone, a small piece of makeup sponge, and a little patience.
Paint both colors onto the sponge in two overlapping bands.
Then gently dab the sponge onto your nail.
The two colors blend softly where they meet, creating that beautiful gradient effect.
It’ll look a little rough and blotchy at first — don’t panic.
Add two or three more light layers of dabbing, letting each one dry slightly.
Then clean up the edges with a small brush dipped in acetone.
Finish with a glossy top coat and it smooths everything out beautifully.
A soft peachy-nude fading into a warm rose is my absolute favorite combination.
It photographs so well, and it looks like you spent hours on it.
The Accent Nail Trick That Saves the Whole Look

The accent nail is basically the cheat code of nail art.
Instead of doing a design on every single finger, you pick one nail — usually the ring finger — and make it the star.
The rest of your nails can be a simple solid color.
Your accent nail can be a glitter, a bold contrasting color, a tiny floral, a stripe — anything.
This approach completely removes the pressure of doing ten perfect nails.
You only have to nail (pun intended) one design, and everything else just supports it.
When I tried this with a deep merlot on nine fingers and a gold glitter accent nail on my ring finger, I felt like I had the most put-together hands in the room.
It was maybe twenty minutes of work total.
The accent nail is also great for practicing a new technique.
You’re only doing it once, so the stakes are low and it’s a great way to build confidence.
Stamping Plates: The Shortcut I Wish I’d Found Sooner

Nail stamping is one of those things that sounds complicated but is actually incredibly easy once you try it once.
You need a stamping plate (a metal plate with etched designs), a stamper tool, and a scraper.
Apply a stamping polish (regular polish works too, though stamping-specific ones work better) over the design on the plate.
Scrape off the excess.
Press the stamper onto the design to pick it up.
Then roll the stamper gently onto your nail.
The design transfers in seconds.
I’m not even kidding.
I did a floral lace pattern on all ten nails in under fifteen minutes with a stamping kit.
The designs available are endless — geometric, floral, abstract, holiday-themed.
It’s such a low-effort way to get incredibly intricate-looking nails.
If you’re a beginner who wants big results fast, stamping is where I’d point you first.
Floral Nail Art That Doesn’t Require Being an Artist

I used to think floral nails were only for people who could actually paint.
Then I discovered that simple, imperfect flowers are actually the most charming kind.
All you need is a thin brush or a dotting tool.
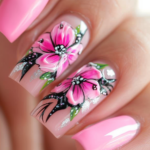
For a five-petal flower, just make five small oval strokes radiating from a center point.
Add a dot of a contrasting color in the middle.
Done.
They don’t have to be realistic or detailed — the looser and more impressionistic, the better.
Try them on a sheer or neutral base for something soft and romantic.
Or do them on a bold color base for something more graphic and fun.
My favorite version is tiny white flowers on a soft sage green base, with yellow dot centers.
It gives me countryside-cottage energy and I absolutely love it.
You can do just two or three flowers on one nail as an accent, or scatter them across all ten fingers.
Either way, it looks like you have a very artistic soul.
Color Blocking: Bold, Easy, and Very on Trend

Color blocking is one of those designs that looks like it requires precision but is actually very beginner-friendly.
You’re basically painting different sections of your nail in different colors.
The simplest way to do this is with tape.
Apply your first color on part of the nail.
Let it dry.
Apply tape to protect that section.
Apply your second color to the remaining section.
Peel the tape, clean up any edges, and top coat.
For a really striking look, pair colors that are unexpected together — cobalt blue and bright yellow, black and cream, terracotta and sage.
You can do diagonal splits, horizontal splits, or even a small triangle of color in one corner.
I tried a half-and-half with deep green and warm gold last winter and I got stopped at the grocery store by someone asking where I got my nails done.
At home, I said.
With tape.
She looked genuinely shocked.
My Top Tips for Making Any Design Last Longer

All this beautiful work means nothing if it chips off by day two.
So let me share what actually works for longevity, from my own trial and error.
Always use a base coat.
Always.
Thin layers dry faster and last longer than thick, gloopy ones.
Seal the tip of each nail — that means running your top coat along the very edge of the nail tip, not just the surface.
This prevents peeling at the tips, which is always the first thing to go.
Reapply top coat every two to three days for a fresh, glossy look that extends your wear significantly.
Avoid getting your hands in water right after painting — let your nails cure for at least an hour.
Use gloves when doing dishes.
And when your nails do eventually start to show wear, don’t just add more polish on top — remove it cleanly and start fresh.
Your nails and your designs will thank you for it.