Nail art has become an increasingly popular way for people to express their style and creativity.
Torn between gel, acrylic and dip? The free manicure type finder picks the type for how long you want it and for your own nails.
For example, simple polish colors , nails with intricate designs allow you to make a statement with your fingernails.
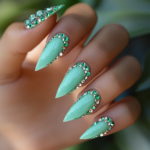
One fun trend that has emerged is featuring shiny studs and rhinestones on nail designs.
The sparkly accents add an elegant yet edgy vibe.
Scattered Round Studs

This first nail idea features round metal studs of various sizes scattered randomly across the nails.
This look is both edgy and chic.
To get this look, first paint your nails with a neutral or colored polish of your choice – a nude or light pink works well as a base for the studs to stand out.
Once the base coat is dry, use a pair of tweezers to pick up each individual stud and place gently onto your nail where desired.
Start with larger studs, using them more sparingly.
Then fill in the gaps with smaller studs.
Apply a topcoat over the studs to seal in your design.
The great thing about this scattered look is it could not be easier!
There is no right or wrong in terms of stud placement.
Go for a symmetric or asymmetric look – anything goes!
This mani is perfect for beginners looking to try out studs for the first time.
Rhinestone Heart Accent Nail


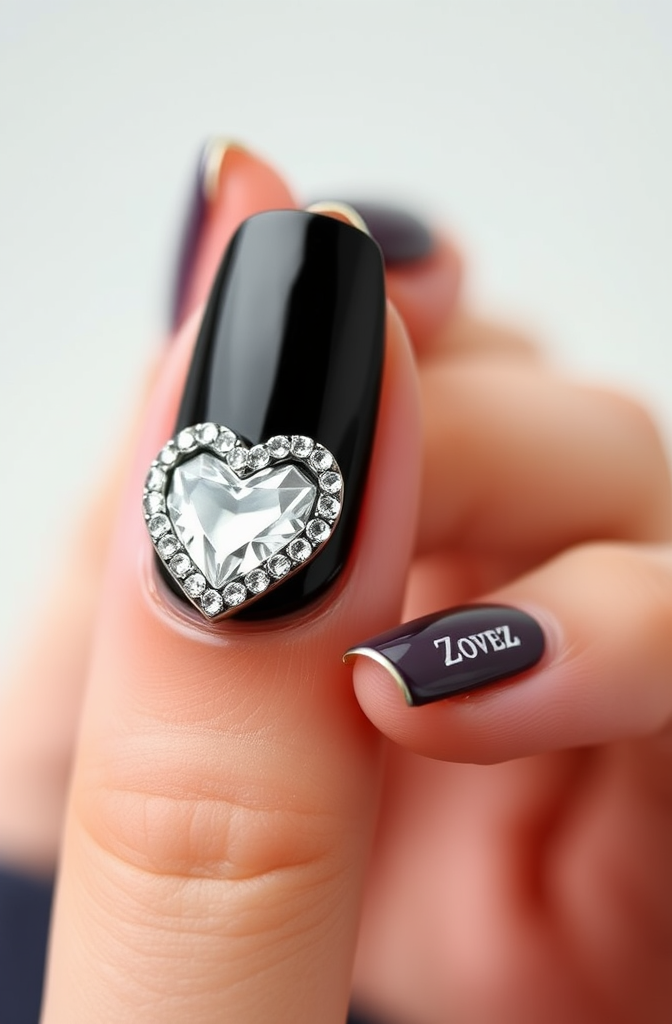
For our next look, we take studs up a notch by using them to create a heart design on one accent nail.
This kid of focused design is great for people who want to subtly incorporate studs without going overboard.
Start by painting your accent nail with your chosen base color.
Once dry, use a heart nail guide sticker or free-hand a heart with tape to section off the design area.
Fill in the heart with an assortment of crystal rhinestones, ranging from large to small.
Feel free to overlap the stones, so they appear clustered together.
Once finished, gently remove the guide sticker or tape.
Complete the look by painting the remaining nails your base color or alternate colors.
The heart accent design is so versatile – you can use it for Valentine’s Day or just because!
Customize it by using different shape studs like stars or triangles instead of traditional rhinestones.
The possibilities are endless!
Geometric Rhinestone Nails

If you want to really make a statement, give this geometric nail look a try.
It uses round and marquis shaped studs to create various geometric shapes on each nail.
This eye-catching design takes studs to the next level.
Start by painting each nail a different color – try using bold or metallic shades that will make the designs really stand out.
Once the polish is dry, tape off each nail into sections using striping tape.
Then fill in each section with rows of coordinating round and marquis studs.
For example, create rows of rounds studs on two nails, lines of marquis studs on two more nails, and rows of alternating shapes on the remaining nails.
Remove the tape to reveal a stunning geometric pattern on each nail.
The mix of shapes and lines makes the overall look mesmerizing.
This mani is guaranteed to get attention!
Just take your time with the placement of the tape and studs to keep the lines looking tidy.
Minimalist Nude & Gold Accents

After seeing those bold geometric designs, let’s scale back to something more minimalist and neutral.
This simple look features nude nails with small gold studs as an accent.
It’s subtly glamorous.
Start by painting your nails with a soft nude or light pink polish color.
Once dry, gently place a few tiny gold studs diagonally down one side of each nail using tweezers.
Keep them in a straight line for consistency.
Only use 2-3 studs per nail – you want to create just a touch of shine.
Finish with a glossy topcoat to really make the metallic studs pop against the nude background.
This is such an easy way to delicately incorporate studs into your manicure.
The nude and gold color pairing is eternally chic as well!
Bold Chevron Design

For a studded mani that makes a splash, try this bold chevron design.
Using black polish as a base, the nails are sectioned off in metallic gold strips and adorned with gleaming rhinestones.
Start by painting your nails black.
Once dry, use tape to section off each nail in chevron stripes – alternating directions on each nail.
Paint the exposed striped sections gold.
While the polish is still wet, carefully place rows of small crystal rhinestones into the gold strips.
Once the polish is dry, gently remove the tape to show off the dazzling chevron pattern.
The lines appear to shimmer and move thanks to the light reflecting off the rhinestones.
Black, gold and sparkle is such an eye-catching color scheme.
The chevron design makes this mani ultra-modern and cool.
Abstract Art Deco Rhinestones
If you want to really bling out your nails, an abstract art deco design is the way to go.
This look is dripping with shiny rhinestones for maximum sparkle.
Begin by painting all your nails with a deep, jewel-toned polish.
Blues, greens and burgundies work beautifully to complement the rhinestones.
Once the base color is dry, begin arranging rows of rhinestones in an art deco inspired pattern on each nail.
Use a combination of sizes, shapes and colors for lots of variety.
Cover the entire nail, embracing a crowded, abstract arrangement.
Feel free to blend geometric lines with organic shapes.
You can also outline certain sections with rhinestones or fill in negative space between lines.
Let your creativity run wild – this style is all about packing on the rhinestones for an opulent, abstract look.
Just be sure to topcoat over all those gems to lock everything in place.
Your bedazzled nails will be the life of the party!
Polka Dot Stud Nails
If you love a classic polka dot print, this studded version puts a fun spin on the timeless look.
Alternating different sized dots and studs creates cool textural dimension.
Begin by painting your nails a cream shade for the base color.
Once dry, use the rounded end of a nail art tool, bobby pin, or toothpick to dot on different sized polka dots with alternating polish colors.
While that top layer is still wet, take silver and gold round studs and gently press them on top of some of the dots.
Once dry, apply a glossy topcoat to smooth and seal the design.
The mixture of matte polka dots and shiny metallic studs makes this familiar print seem fresh and modern.
It’s a great way to incorporate stud detailing while keeping the overall look playful.
Simple Single Stud Accents
Less is more with this basic nail idea featuring a single pyramid stud on each nail as an accent.
The small stud provides just a touch of edge, without going over the top.
Paint your nails a deep plum, slick black, or bright cherry red – something striking to contrast with the metallic studs.
Once the polish is dry, use tweezers to gently place a gold or silver pyramid stud (or shape of your choosing) near the base of each nail on one side.
And that’s it!
The simple addition of one perfectly placed stud elevates the overall look and makes your nails pop.
This is such an easy way to dip your toe into the studded nail trend that requires minimal effort.
A glossy topcoat finishes this look off nicely.
Mixed Metal Bar Studs
If you love a French manicure with a twist, this studded take is for you.
The metallic add a rock n roll vibe to the classic design.
Start by painting the base of your nails a sheer nude or pale pink.
Once dry, paint the nail tips white to mimic a French mani.
Immediately place silver, gold and rose gold bar studs in a row along the tip of each nail while the polish is still wet.
The mix of metals provides visual interest.
Once dry, seal everything in with a shiny topcoat.
The metallic bars give this familiar French manicure idea an unexpected stylish upgrade.
It manages to be edgy yet refined at the same time.
Plus it’s so easy to achieve!
Retro Disco Ball Nails
Bring back the sparkling disco era with these insanely fun and shiny studded nails!
Rows of various sized rhinestones reflect light from every angle for a mesmerizing, dance floor-ready look.
Paint your nails with a dark color like black, deep blue or eggplant purple.
Once dry, use strips of tape to section off each nail into triangular slices.
Fill each section evenly with sticking rhinestones, mixing round, marquis and octagon shapes.
Remove the tape to reveal a row of gleaming gems on each nail.
The retro disco vibe is strong with this mani!
Just add a highlighting topcoat for extra shine.
People will think your nails are an actual disco ball.
This over-the-top look is perfect for the holidays or New Year’s Eve.
Subtle Striped Accents
After those glitzy disco nails, let’s tone it down with this simple striped design featuring small touch of sparkle.
Here, lines of miniature rhinestones are used to faintly accent each nail for delicate dazzle.
Start by painting on your base color, which can be any cream or shimmer shade you like.
Once dry, tape off a thin strip across the center of each nail.
Fill in these sections with a clear polish, then press the mini rhinestones gently into the wet polish.
Remove the tape to reveal subtle sparkly striped accents on each nail.
Seal the stones in place with a glossy topcoat.
This is a great way to subtly incorporate stud detailing in a clean and classy way.
Just a touch of shine goes a long way!
Glamorous Rhinestone French Tips

Take your traditional French manicure up a notch with the addition of dazzling rhinestones along the tips!
This glamorous look is perfect for a wedding or formal event.
Begin by painting the base of your nails in a nude, pale pink, or beige.
Once dry, paint the nail tips white, extending the color slightly down the nail edge.
While the white polish is still wet, gently press small clear or iridescent rhinestones into the white portion of each nail in a single row.
Once dry, top coat to seal in the rhinestones.
This ultra-feminine look is so chic and elegant, but also flashy thanks to the shiny crystals.
It’s the ideal stylish mani for brides or formal occasions like prom.
The sparkly tips put a glamorous spin on the classic French.
New Year’s Eve ball drop nail idea
Finally, have some festive fun with this New Year’s Eve ball drop nail idea.
Each nail is designed to look like the famous ball dropping in Times Square at midnight on NYE.
Start by painting each nail black to represent the night sky.
Once dry, place a round gold stud near the tip of each nail to create the ball.
In strips above the ball, fill in rows of iridescent square studs to represent glittery confetti.
You can layer the rows close together or leave gaps.
Finish with a topcoat for shine.
Every nail will look like a miniature Times Square ball drop scene.
This design is so perfect for your NYE party manicure.
Friends and family will get a kick out of it.
The simple shapes studs make it easy to recreate, but the effect is bold and dynamic.
The possibilities are endless when you incorporate shiny studs and rhinestones into your nail art!