I’ll never forget the morning I looked in the mirror and didn’t recognize my own makeup.
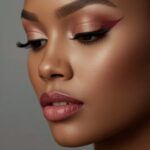
Start from your eyes: the free eye color makeup chart picks the shadows that make your eye colour stand out.
I’d been doing the same winged liner and matte lip combo for years, but suddenly it looked… harsh.
Wrong.
Like I was wearing someone else’s face.
That’s when I realized: my skin had changed, and my makeup routine hadn’t caught up.
If you’ve ever felt like your old makeup tricks aren’t working anymore—or worse, like they’re aging you instead of enhancing you—I get it.
I’ve been there, standing in front of my bathroom mirror with fifteen products that suddenly felt all wrong.
But here’s what I learned: beautiful makeup for older women isn’t about covering up or fighting time.
It’s about working with your gorgeous, lived-in skin to create looks that make you feel radiant, confident, and completely yourself.
Let me share everything I’ve discovered.
My Go-To Hydrating Base That Changes Everything

The single biggest game-changer in my makeup routine?
Switching to a luminous, hydrating primer.
I used to think matte was the goal, but matte foundations and powders can actually settle into fine lines and make skin look flat.
Now I start every makeup look with a primer that has hyaluronic acid or glycerin.
It creates this soft, dewy base that makes everything else glide on like butter.
My favorite trick is mixing a drop of facial oil right into my foundation.
Sounds weird, I know.
But it gives you this lit-from-within glow that powder just can’t replicate.
When I first tried this, I was honestly shocked at how much younger and fresher my skin looked.
The key is using a lightweight foundation—something with buildable coverage rather than full coverage right off the bat.
You can always add more where you need it (around the nose, under eyes), but starting light keeps things looking natural and skin-like.
And here’s my personal rule: if I can’t see my actual skin texture through my foundation, I’ve applied too much.
Your skin has a beautiful story to tell.
Let it show through a little.
The Cream Product Revolution I Wish I’d Known About Sooner

Powder products and mature skin?
Not the love story we thought it was.
I spent years loyally using powder blush, powder bronzer, powder everything.
Then I switched to creams and it was like someone turned on a ring light.
Cream blush especially is just… chef’s kiss.
It melts into your skin instead of sitting on top of it, giving you that natural flush that looks like you just came in from a cold walk.
I apply mine with my fingers (warmth helps it blend) on the apples of my cheeks and blend upward toward my temples.
Same goes for highlighter—cream or liquid versions give you that subtle luminosity without looking glittery or emphasizing texture.
My technique is to tap a tiny amount on the high points of my cheekbones, down the bridge of my nose, and on my cupid’s bow.
The difference between cream and powder is honestly night and day.
Creams just work with your skin’s natural movement instead of cracking or settling into lines.
Even cream eyeshadow sticks have become my best friends.
They’re so easy to blend with just your finger, and they don’t crease if you use a good eye primer first.
The Eyebrow Trick That Takes Off Years

I’m kind of obsessed with this one.
Fuller, softly defined brows instantly lift your whole face.
But here’s what I learned the hard way: the heavy, Instagram-style brow doesn’t work for most of us.
It can look too severe.
What does work is using a brow pencil or powder that’s one shade lighter than your natural brow color (or current hair color if you dye it).
Fill in any sparse areas with soft, hair-like strokes—not a solid block of color.
I focus especially on the tail end of my brows, which got super thin over the years.
Then I finish with a tinted brow gel to brush everything up and set it in place.
That brushed-up look creates a subtle lift that’s so flattering.
When I skip this step, I notice my whole face looks more tired.
It’s wild how much brows matter.
Also, resist the urge to overpluck.
I know we all went through that thin-brow phase in the ’90s, but fuller brows really do make you look more youthful and awake.
If your brows are permanently sparse from years of plucking, a good brow serum can help them grow back.
My Favorite Eye Makeup That Actually Opens Things Up

Here’s a secret I wish I’d known at 30: black eyeliner on your waterline makes your eyes look smaller.
I know, I know—I did it for decades.
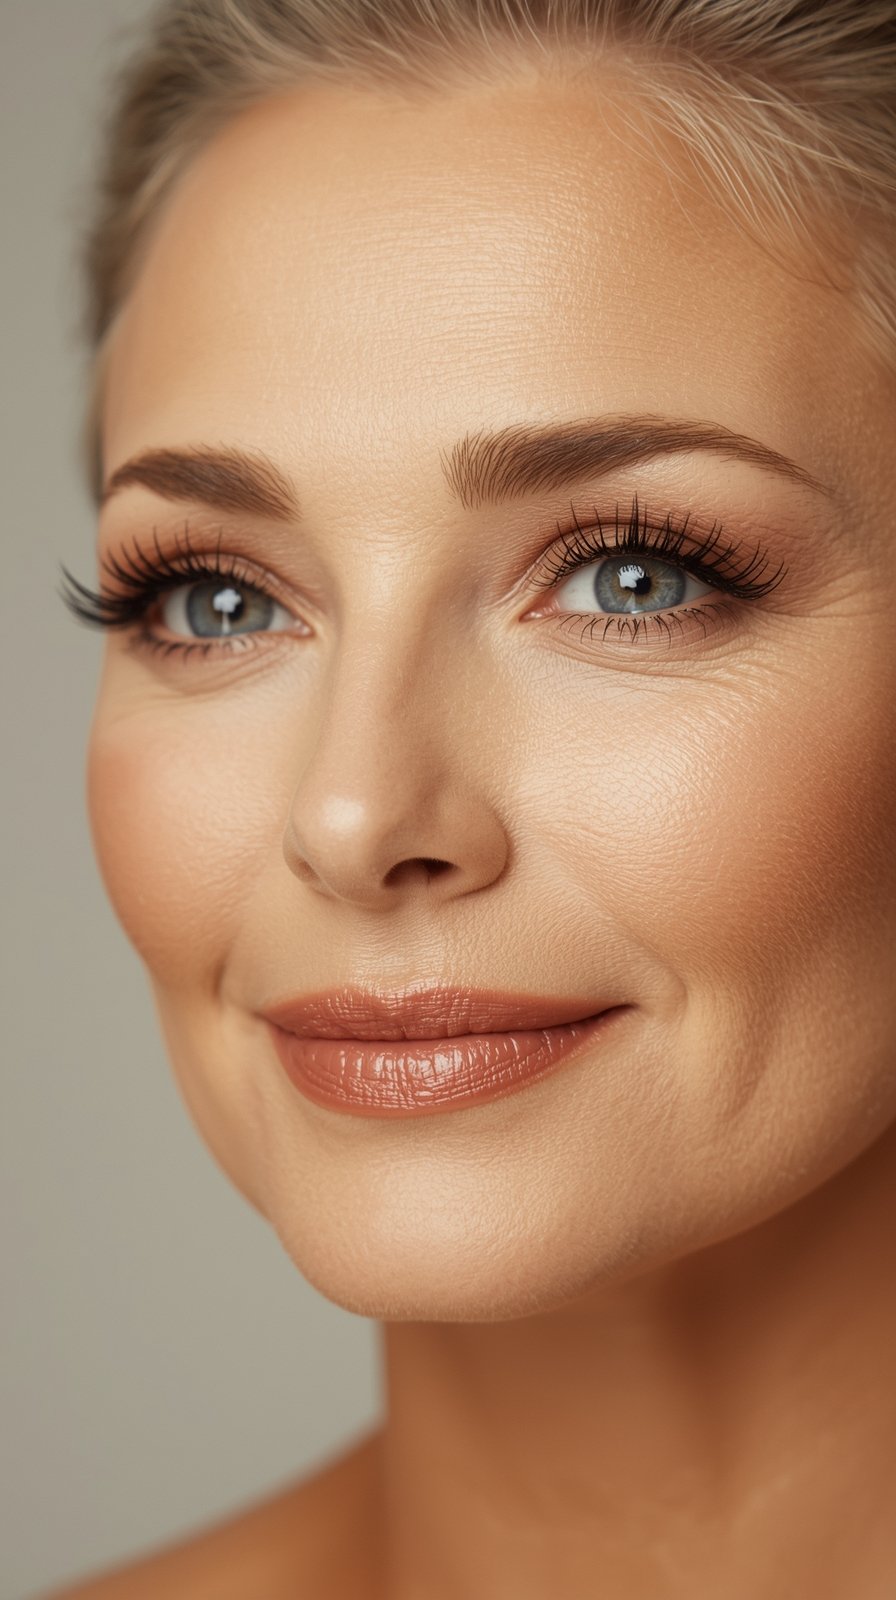
But switching to a nude or champagne-colored eyeliner on the waterline is genuinely transformative.
It makes your eyes look bigger, brighter, and more awake.
For the actual eyeliner on my lash line, I’ve switched to softer colors—brown, charcoal, even deep plum.
They define without looking harsh.
And instead of a sharp wing, I do a soft, smudged line that’s thicker in the outer corner.
This creates a gentle lift without the precision anxiety of a perfect wing.
For eyeshadow, I stick to matte or satin finishes in the crease and socket.
Shimmery shades are gorgeous, but I save them for the inner corner and center of the lid.
My go-to palette has warm neutrals—taupes, soft browns, peachy tones.
They warm up my complexion and make my eyes pop without looking overdone.
I also always use an eyeshadow primer.
Always.
It prevents creasing and makes the colors last all day, which is a must when your eyelids have a little more texture than they used to.
The Foundation Formula That Doesn’t Settle Into Lines

This one took me forever to figure out.
For years, I’d apply my foundation and think it looked great… until two hours later when it had migrated into every fine line on my face.
The solution isn’t using less foundation.
It’s choosing the right formula and application method.
I now use either a serum foundation or a lightweight liquid with a radiant finish.
Full coverage matte foundations are the enemy here.
They look cakey almost immediately.
My application technique matters just as much as the product.
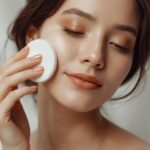
I use a damp beauty sponge and press the foundation into my skin rather than rubbing or dragging it.
This creates an airbrushed effect and prevents disturbing the primer underneath.
I also don’t apply foundation everywhere.
I focus on the center of my face (where I need evening out) and blend outward, letting my natural skin show through at the edges.
And here’s my weirdest trick: I set my under-eye area with a tiny bit of loose powder, but I leave the rest of my face dewy.
Setting everything makes you look flat.
Letting some areas stay luminous keeps things looking alive and dimensional.
The Lip Colors That Make Teeth Look Whiter

I had to completely rethink my lip game.
My beloved deep burgundies and brown nudes?
They were making my teeth look more yellow and my face look washed out.
Now I gravitate toward pinks, mauves, roses, and berry tones with cool or neutral undertones.
These shades have a magical way of making your teeth look whiter and your complexion brighter.
I also avoid super matte liquid lipsticks.
They’re drying, they emphasize lip lines, and they can feel uncomfortable.
Instead, I go for creamy lipsticks or tinted lip balms with a satin or glossy finish.
The slight shine plumps up your lips and keeps them looking hydrated.
Before applying any lip color, I make sure my lips are properly prepped.
I exfoliate gently with a lip scrub (or just a soft toothbrush), then apply a nourishing lip balm.
Let that sink in for a minute before applying your color.
For a polished look, I use a lip liner in a shade that matches my natural lip color.
I line and then fill in my entire lip with it before applying lipstick.
This prevents feathering and makes the color last so much longer.
The Concealer Strategy That Actually Works

I used to think more concealer = better coverage.
Wrong.
So wrong.
Piling on concealer under your eyes just emphasizes creases and can look heavy.
Here’s what I do instead: I use a liquid concealer that’s one shade lighter than my foundation, and I apply it in an inverted triangle shape under my eye.
Not just in the dark circles—the whole under-eye area.
Then I blend it out with a damp sponge using gentle tapping motions.
No rubbing, no dragging.
The skin under your eyes is delicate, and rough application can actually make darkness worse over time.
I also color-correct before concealing if I have really dark circles.
A peachy or salmon-toned corrector neutralizes the blue or purple tones first.
Then the concealer goes on top and actually works.
For spots or redness elsewhere on my face, I use my regular foundation first, then spot-conceal only where needed.
This prevents that mask-like, overdone look.
And I never bake my under-eyes with powder.
That trend needs to stay with the twentysomethings.
A light dusting is enough.
The Blush Placement That Creates an Instant Lift

Where you put your blush matters more than the color itself.
I used to apply blush on the apples of my cheeks when I smiled.
But that can actually drag your face down visually.
Now I apply blush on the apples and then blend it up and out toward my temples, almost like I’m creating a diagonal line.
This lifts everything.
I also bring a tiny bit of that same blush onto my temples and even lightly across the bridge of my nose.
It creates a cohesive, fresh-faced look that seems effortless.
The color I choose depends on my skin tone, but I’ve found that peachy-pink shades are universally flattering.
They give you that “I just went for a walk” glow without looking overly made up.
I avoid orange-toned blushes (they can look muddy) and super bright pinks (they can look costume-y).
When I’m feeling fancy, I’ll layer a cream blush first, let it set for a minute, then dust a powder blush in a similar tone on top.
This creates dimension and makes the color last all day.
But honestly, most days I just use cream and call it done.
My Lash Routine That Doesn’t Look Spidery

Thick, clumpy mascara is not our friend anymore.
I learned this after one too many photos where my lashes looked stuck together and spiky.
Now I use a lengthening mascara with a smaller brush that separates each lash.
I wiggle the wand at the roots and then sweep up through the lashes in a zigzag motion.
This coats every lash without clumping.
I also curl my lashes before mascara, which makes a huge difference.
It opens up my eyes and makes me look more awake.
But here’s my secret weapon: I focus more mascara on my upper lashes and barely touch my lower lashes.
Just a light coat on the very tips.
Heavy mascara on bottom lashes can emphasize under-eye bags and make your eyes look smaller.
For special occasions, I’ll add a coat of lash primer before mascara.
It makes my lashes look fuller and helps the mascara stay put all day.
And I always replace my mascara every three months.
Old mascara gets clumpy and can harbor bacteria.
Fresh mascara applies smoothly and looks so much better.
The Highlighter Hack That Doesn’t Look Glittery

I’m all about glow, but chunky glitter on mature skin?
Not the vibe.
The key is using a finely-milled, champagne or pearl-toned highlighter with a satin finish.
Nothing with visible sparkles or shimmer chunks.
I apply it only on the highest points of my face: tops of cheekbones, brow bone, inner corners of eyes, and cupid’s bow.
A tiny amount goes a long way.
The goal is to look luminous, not disco ball.
I’ve also started using liquid highlighter mixed right into my foundation for an all-over subtle glow.
It’s my favorite trick for days when I want to look polished but not obviously made up.
For application, I use a small, fluffy brush and tap off the excess before applying.
Then I blend it in with light, sweeping motions.
I never stripe it on or apply it heavily.
And I avoid putting highlighter on areas where I don’t want to draw attention—like the center of my forehead or down my nose (unless I’m doing the full strategic highlighting thing).
The right highlighter in the right places just makes you look healthy and radiant.
Like you’re naturally glowing from within.
The Makeup Setting Trick That Keeps Everything Fresh

I used to skip setting spray because I thought it was just a gimmick.
Then I tried it and realized it’s the secret to makeup that actually lasts.
After I’ve applied everything, I hold a hydrating setting spray about arm’s length away and mist my entire face in an X and T pattern.
This melts all the layers together so they look like skin, not like separate products stacked on top of each other.
It also helps everything last longer without getting shiny or sliding around.
I avoid mattifying sprays because they can make skin look flat.
I want a natural, slightly dewy finish that looks alive.
For powder, I use it very sparingly and only in my T-zone if I need it.
I dip a fluffy brush in loose powder, tap off most of it, and dust it lightly over my forehead, nose, and chin.
That’s it.
Over-powdering is the fastest way to age yourself.
If I start to look shiny during the day, I use blotting papers instead of adding more powder.
They absorb oil without disturbing your makeup or adding more product.
The Tools That Make Application So Much Easier

Good brushes and sponges changed my whole makeup game.
I used to use whatever came free with my products, and the results showed.
Now I invest in quality tools, and I actually enjoy applying my makeup.
A damp beauty sponge is essential for foundation and concealer.
It creates an airbrushed finish that brushes just can’t replicate.
I wet mine, squeeze out the excess water, and then bounce it over my skin.
For powder products, I use a large fluffy brush that doesn’t pick up too much product at once.
This prevents over-application.
I also love a small, dense brush for cream blush because it gives me more control over placement and blending.
And a spoolie brush for my brows is non-negotiable.
It brushes them up and makes them look naturally fuller.
I clean my tools weekly with gentle soap and warm water.
Clean brushes apply makeup better and don’t harbor bacteria that can cause breakouts.
It’s kind of a pain, but it’s worth it.
Good lighting matters too.
I do my makeup near a window or under bright, natural-toned lighting so I can see what I’m actually doing.
Some days you just don’t have time for a full routine.
On those mornings, I stick to my essentials: tinted moisturizer, cream blush, brow gel, mascara, and tinted lip balm.
That’s it.
Five minutes, max.
The tinted moisturizer evens out my skin tone without feeling heavy.
I apply it with my fingers and blend quickly.
Cream blush goes on my cheeks and gets blended up toward my temples with my fingertips.
Brow gel brushes my brows up and keeps them in place.
Two coats of mascara on my upper lashes only.
And a swipe of tinted lip balm that I also dab on my cheeks if I want a little extra color.
This minimal routine still makes me look polished and put-together, just more natural.
It’s perfect for running errands, casual lunches, or days when I’m working from home but have a video call.
The key is having good skin prep underneath.
If I’ve been taking care of my skin (moisturizing, using SPF, staying hydrated), this simple makeup routine looks fresh and glowing.
So skincare really is the foundation of any good makeup look.