I used to stare at my makeup bag like it was some kind of puzzle I’d never solve.
Start from your eyes: the free eye color makeup chart picks the shadows that make your eye colour stand out.
Foundation that looked cakey, eyeliner that made me look like a raccoon, and don’t even get me started on contouring.
But here’s what changed everything for me: I stopped trying to copy what influencers were doing and started understanding the why behind each step.
Now?
My morning routine feels less like a chore and more like a little act of self-care that actually makes me feel put-together.
And honestly, you don’t need a million products or fancy brushes to look polished.
You just need the right order, a few solid techniques, and maybe a little confidence.
So let me walk you through my exact process—the one that finally made makeup click for me.
Start With A Clean, Prepped Canvas

This is the step I used to skip, and wow, did it show.
Your skin needs to be clean and moisturized before you even think about foundation.
I wash my face with a gentle cleanser, then apply a lightweight moisturizer that sinks in fast.
If your skin is on the oily side, use something gel-based.
Dry skin?
Go for something creamier.
Then I wait about two minutes—I know, it feels like forever—but it lets everything absorb so your makeup doesn’t just slide around.
After that, I dab on a primer.
I used to think primer was just extra, but it genuinely makes your makeup last longer and look smoother.
I focus it on my T-zone where I get the most shine, but if you have large pores, pat it into those areas too.
It’s like giving your makeup something to grip onto.
Trust me, this step is the difference between makeup that fades by noon and makeup that stays fresh all day.
Apply Your Base (Foundation Or Tinted Moisturizer)

Foundation used to intimidate me because I’d always end up looking like I was wearing a mask.
The trick?
Less is more, and the right tools matter.
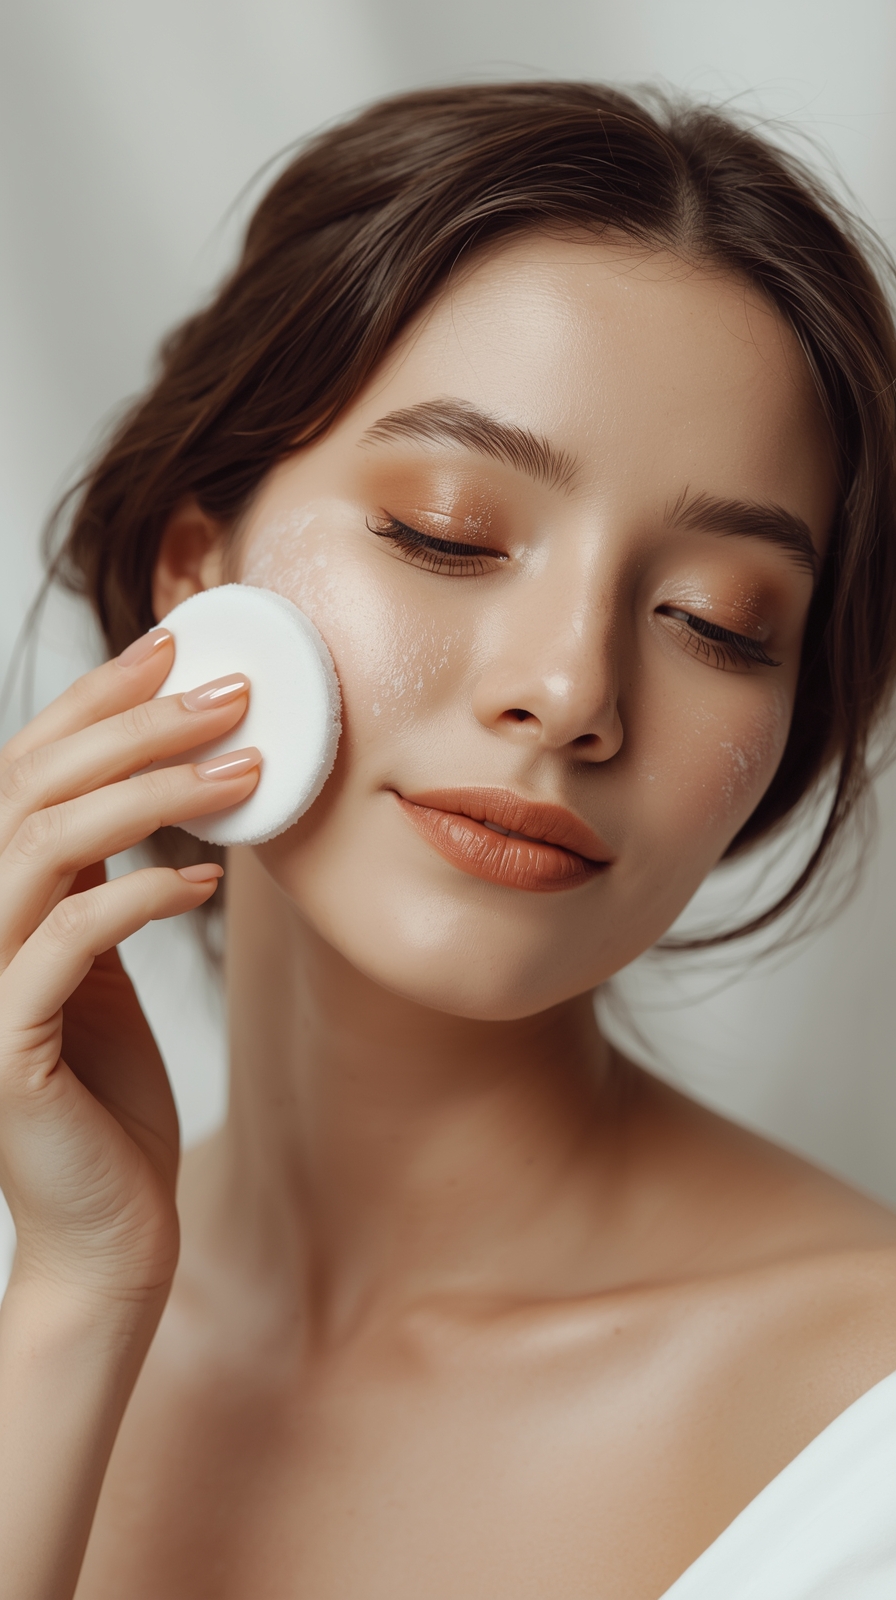
I use a damp beauty sponge now, and it changed everything.
Start with a small amount—you can always build up, but you can’t easily take away.
I dot the foundation on my forehead, cheeks, nose, and chin, then blend outward with the sponge.
Bounce it, don’t drag it.
That bouncing motion gives you a natural, airbrushed finish instead of streaky lines.
If you have areas that need more coverage, add a tiny bit more product just to those spots.
I also blend down my neck a little because no one wants that dreaded foundation line.
And here’s a hack I learned the hard way: match your foundation in natural light, not those harsh store lights.
I keep my foundation one shade lighter in winter and switch to a slightly deeper one in summer.
Your skin tone changes, and that’s totally normal.
Conceal Strategically (Not Everywhere)

Concealer is your secret weapon, but you gotta use it right.
I used to slap it under my entire eye area and wonder why I looked so heavy and cakey.
Now I only apply it where I actually need it—usually in an inverted triangle under my eyes to brighten, and on any blemishes or redness.
Choose a concealer that’s one or two shades lighter than your foundation for under the eyes.
For spots and redness, match it to your foundation exactly.
I use a small brush for precision on blemishes, and my ring finger for under the eyes because it’s the gentlest.
Pat, don’t rub.
Rubbing just moves everything around and can irritate that delicate skin.
Then I blend the edges with my damp sponge so there’s no harsh line where the concealer stops.
If you have really dark circles, try a peachy or orange-toned color corrector first, then your regular concealer on top.
It sounds extra, but it genuinely neutralizes that bluish tone better than just piling on more concealer.
Set It (But Don’t Bake It)

Setting powder used to confuse me because I’d either use too much and look dusty, or skip it and get super shiny.
The key is using just enough in the right places.
I use a fluffy brush and a translucent powder, focusing only on my T-zone and under my eyes.
These are the areas that tend to crease or get oily throughout the day.
I lightly press the powder in with the brush, then sweep away any excess.
Some people love the “baking” technique where you pack on a ton of powder and let it sit, but honestly?
That’s overkill for everyday wear.
It can actually age you if you’re not careful.
For my cheeks and outer face, I either skip powder entirely or use the lightest dusting possible.
You want your skin to still look like skin, not a matte mask.
If you have dry skin, you might skip powder altogether or just use it under the eyes to prevent concealer from creasing.
Play around and see what makes your skin look the most natural and radiant.
Add Dimension With Bronzer

Bronzer is what makes you look alive and sun-kissed, not flat.
I sweep it on the areas where the sun would naturally hit: along my hairline, temples, and the hollows of my cheeks.
Think of drawing a “3” shape on each side of your face—that’s your roadmap.
Start at your forehead, curve around your temple, go into your cheekbone hollow, then sweep along your jawline.
Use a light hand at first.
You can always add more, but it’s harder to take away.
I prefer matte bronzers for a more natural look, but if you like a little glow, a satin finish works too.
Just avoid anything super shimmery unless you’re going for a glam night-out look.
And here’s something I wish someone told me earlier: your bronzer should only be two to three shades deeper than your skin tone.
Any more and it starts looking muddy or orange.
I also tap off excess product from my brush before applying it to my face.
That simple move prevents those harsh, patchy lines.
Blush For That Fresh, Healthy Glow

Blush is my absolute favorite step because it instantly makes you look more awake and youthful.
I smile and apply it to the apples of my cheeks, blending upward toward my temples.
For a more lifted, editorial look, you can apply it slightly higher on your cheekbones.
Cream blushes give a really pretty, dewy finish and blend into the skin seamlessly.
Powder blushes are easier to control and last longer, especially if you have oily skin.
I honestly switch between both depending on my mood.
The color matters too—peachy tones look gorgeous on warmer skin tones, while pink and berry shades pop on cooler tones.
If you’re not sure, a soft rosy pink works on basically everyone.
Don’t be scared to play around with placement either.
I’ve started bringing my blush across my nose bridge too for that sun-kissed, “I just came back from a beach walk” vibe.
It’s subtle but so pretty.
And if you accidentally apply too much, just blend it out with a clean sponge or dust some translucent powder over it to tone it down.
Highlight Where Light Naturally Hits

Highlighter is that magic finishing touch that makes your skin look luminous.
I apply it to the high points of my face: tops of my cheekbones, bridge of my nose, cupid’s bow, and brow bone.
Just a little dab goes a long way.
I use my finger or a small brush and tap it on gently, then blend the edges so it looks seamless.
The goal is to look glowy, not like a disco ball.
Champagne and gold tones look stunning on warm undertones, while icy pinks and silvers complement cool undertones.
When I really want that lit-from-within glow, I mix a tiny drop of liquid highlighter into my foundation before applying it.
Game changer.
But if you prefer powder highlighters, they’re easier to control and less likely to move around throughout the day.
Just make sure you apply highlighter after you’ve set your base with powder if you’re using powder products.
Otherwise it won’t show up as well.
And skip highlighting areas you don’t want to emphasize, like an oily T-zone.
Define Your Brows (They Frame Everything)

Your eyebrows literally frame your entire face, so this step is kinda huge.
I used to overpluck mine in high school, so now I’m all about that fuller, natural look.
I use a brow pencil that matches my hair color and lightly fill in any sparse areas with short, hair-like strokes.
Don’t draw solid lines—that’s the fastest way to look harsh and unnatural.
Then I go over everything with a tinted brow gel to set it and add a bit more fullness.
The gel also keeps those little hairs in place all day, which is a must.
If your brows are already pretty full, you might just need the gel and maybe a little pencil on the tail end to extend the shape.
The key is to follow your natural brow shape and just enhance it, not create a completely different brow.
I also brush them upward first before filling them in—it shows you where you actually need product.
And here’s a tip: clean up any mistakes or harsh lines with a bit of concealer on a small brush along the bottom edge of your brow.
It sharpens everything up.
Define Your Eyes With Eyeshadow

Eyeshadow is where you can really have fun and experiment.
For an everyday look, I stick to neutral tones—taupes, soft browns, and creamy beiges.
I start with a light transition shade in my crease to create dimension.
Use a fluffy brush and blend it in windshield-wiper motions.
Then I pack a slightly darker shade onto my lid with a flat brush.
If I’m feeling fancy, I’ll add a deeper shade to the outer corner and blend it into the crease.
The secret to gorgeous eyeshadow?
Blending, blending, and more blending.
There should be no harsh lines anywhere.
I always start with less product and build up gradually.
It’s way easier than trying to remove excess shadow.
A little shimmer on the inner corner and center of the lid makes your eyes pop and look more awake.
And if you have hooded eyes like me, bring your crease color slightly above your actual crease so it’s visible when your eyes are open.
That was a total revelation for me.
Master Your Eyeliner (Don’t Let It Master You)

Eyeliner used to be my nemesis, but now I’ve figured out what works for me.
I use a pencil liner for my waterline and a gel or liquid liner for my upper lash line.
For a natural look, I skip the dramatic wing and just tightline my upper lashes.
That means getting the liner right into the base of your lashes, which makes them look fuller without obvious liner.
If you want a wing, here’s my trick: use a piece of tape angled from your lower lash line toward the end of your brow as a guide.
Or look straight ahead in the mirror and draw the wing where your eye naturally creases when you smile.
That way it won’t disappear into your crease.
Start with a thin line and build it up gradually.
And if you mess up, a cotton swab dipped in micellar water fixes it fast.
I also always do my eyeliner before mascara so I can fix mistakes without ruining my lashes.
Brown liner looks softer and more natural for daytime, while black is great for drama.