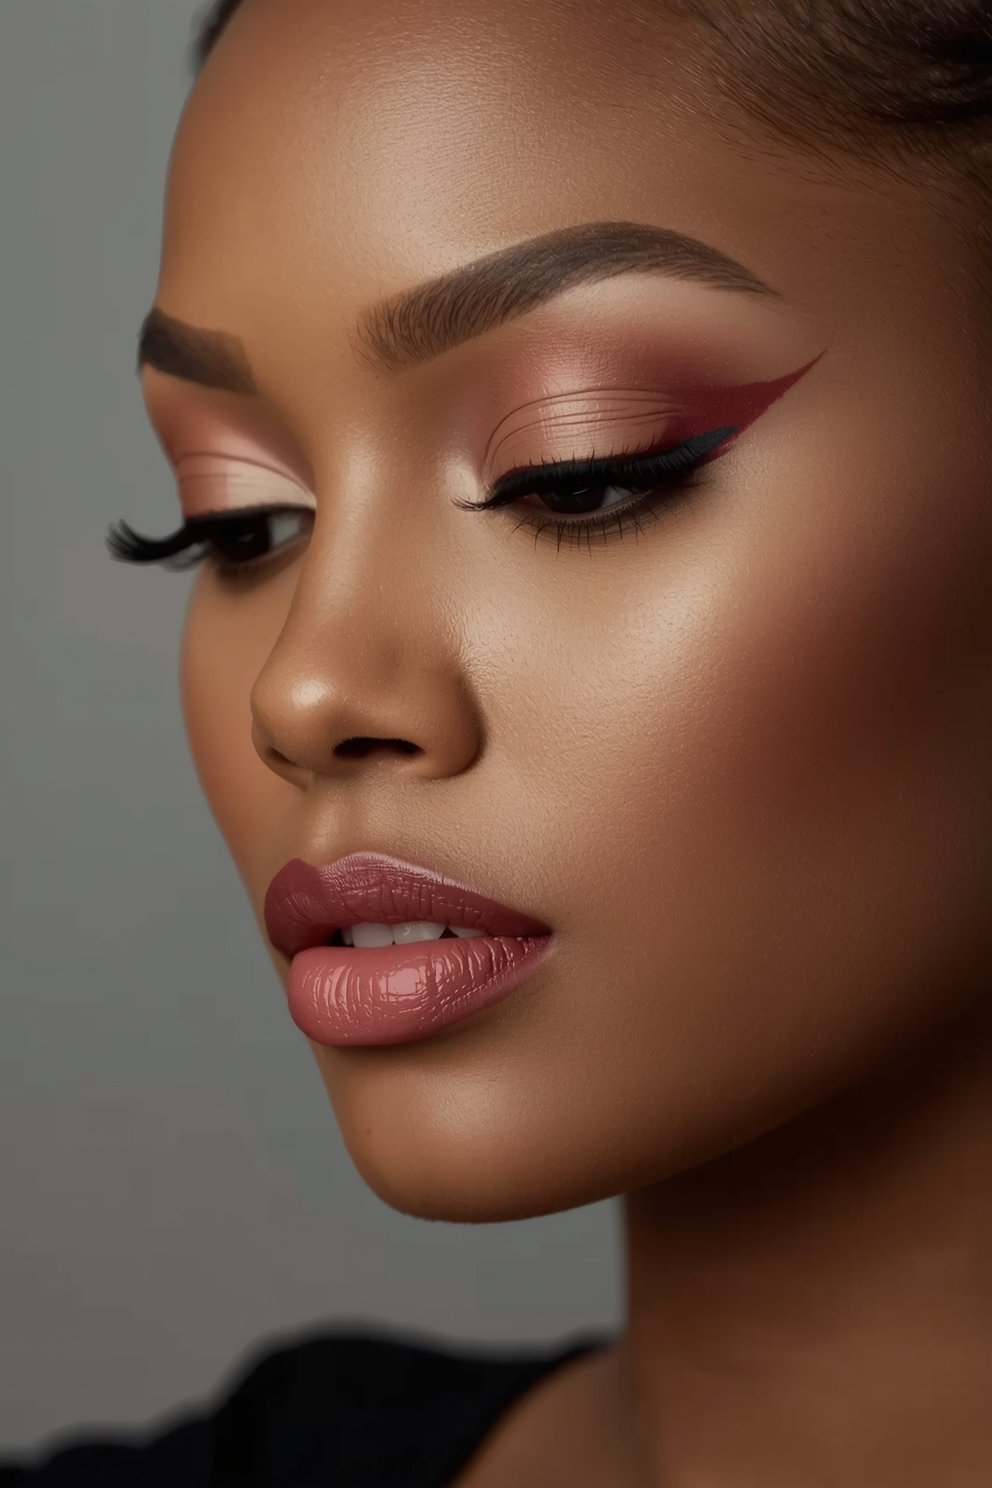
I used to stare at my makeup in the mirror and just know something was off.
Not sure which shape your eyes are? The free eye shape finder tells you in three mirror checks and shows where the liner goes.
Not wrong, exactly.
Just… unbalanced.
Like one eye looked slightly heavier, or my blush was pulling my whole face in the wrong direction.
Then a makeup artist friend sat me down at her vanity and started talking about placement — not products, not formulas, just where things go on your face.
And honestly?
It changed everything.
These aren’t complicated techniques.
They’re soft, intuitive little secrets that make your face feel more like you — just a more pulled-together, symmetrical version.
So here’s everything I’ve learned, tested on my own face, and genuinely fallen in love with.
Why Symmetry in Makeup Is More About Feeling Than Perfection

Before I get into the actual placement tips, I want to say something that took me a long time to understand.
Symmetry in makeup isn’t about having a perfectly even face.
Nobody does.
It’s about creating the visual feeling of balance — so your whole look reads as harmonious and intentional.
When I first started learning this, I kept trying to make both sides of my face identical.
And it looked stiff.
Kind of flat, actually.
What makeup artists actually chase is perceived symmetry — where the eye travels across your face smoothly, without getting stuck on one feature.
That cozy, put-together feeling you get when someone’s makeup just works?
That’s placement doing its job.
It’s not the eyeshadow palette.
It’s not the expensive concealer.
It’s knowing where to put things so everything feels balanced and soft and right.
Once I understood that, the whole game changed for me.
The Eyebrow Rule That Anchors Your Whole Face

Okay, I’ll start here because brows are genuinely the most underrated symmetry tool in your entire kit.
When my brows are even — not identical, but balanced — my whole face calms down.
The biggest placement secret I learned is about the arch.
Most of us arch both brows in the exact same spot.
But the thing is, our facial muscles are asymmetrical, so one brow naturally sits a little lower or higher than the other.
What you want to do is adjust your arch height slightly to compensate — not the shape, just the peak placement.
Lift the lower brow’s arch just a touch higher to visually even them out.
I spent one afternoon doing this in natural window light, and the difference was genuinely a little emotional.
My face just looked more… settled.
Also — tail length matters so much.
Keep both tails at the same horizontal level (use a thin brush held flat as a guide), and your eyes will automatically appear more even.
If I had to pick one single placement habit to start with, it would be this one.
Where You Place Your Concealer Changes Everything

I used to apply concealer wherever the darkness was.
Which seems logical, right?
But a makeup artist showed me that how you shape your concealer application actually sculpts your face and creates symmetry.
The classic upside-down triangle under the eye is a staple for a reason — it bounces light back up and creates the illusion of lifted, even eyes.
But the placement of that triangle matters.
If you drag it too far out toward your temple, it can make tired eyes look worse.
If you bring it in too close to the nose, it can make the inner corner look shadowy and heavy.
I now start my triangle right at the inner corner tear duct and angle it down to about the middle of my cheek.
Same shape, both sides.
The light reflects evenly, and my eyes look like they match.
It’s such a small shift, but it genuinely makes both eyes read as the same size — which is the whole symmetry goal.
The Contour Placement Secret for a Balanced Nose

Nose contouring gets so much attention, but the placement is where most people go wrong — and I was definitely in that group for a long time.
The secret isn’t about making your nose smaller.
It’s about centering it visually on your face.
If your nose naturally sits slightly to one side (and most of ours do, honestly), you can use contour placement to gently “move” it back to center.
What I do is shade just slightly heavier on the side the nose tilts toward.
Just a whisper more product.
Not dramatic, not obvious — just enough to create a subtle shadow that visually shifts the nose toward the center of your face.
I learned this technique from a behind-the-scenes video of a professional shoot, and I’ve never done my nose makeup the same way since.
It also helps to keep your highlight strip perfectly centered — even if it means it’s not exactly on the highest part of your nose bridge.
Centered always reads as more symmetrical than anatomically accurate.
Blush Placement Is Your Secret Weapon for Lifting the Face

I’m obsessed with blush.
Like, genuinely, deeply obsessed.
But for years I was placing it wrong, and it was actually making my face look more uneven.
The rule I now live by: blush should always be placed symmetrically in relation to your pupils, not your cheekbones.
Your cheekbones may sit at slightly different heights (mine definitely do), so using them as your guide means your blush ends up uneven.
Instead, look straight into the mirror and use your pupil position as your anchor point.
Apply blush starting just below the outer edge of each pupil and sweep back toward the ear at the same angle on both sides.
When I started doing this, my whole face looked more awake, more lifted, and so much more balanced.
The color pulls the eye across your face in a smooth, horizontal way instead of drawing attention to any unevenness.
Soft, peachy, warm blush placed this way?
Absolutely the coziest, most flattering thing you can do for yourself.
The Eye Shadow Placement Trick That Makes Both Eyes Match

Eye shadow is where asymmetry really shows up, and it used to drive me a little crazy.
I’d blend one eye, look at the other, and they’d just never quite match.
The trick I learned is called “mirroring from the socket crease.”
Instead of starting your shadow from the lid and working up, you identify the socket crease on both eyes first — and mark it as your ceiling.
Then you build up from below, keeping both shadows at exactly the same depth.
Because here’s the thing — one of your eyes likely has a deeper-set socket than the other.
If you blend up from the lid, you’ll naturally blend further on the deeper eye to make it visible, and then the eyes end up reading at different intensities.
Starting from the crease and blending downward keeps both eyes at the same visual height.
I tested this on one of those low-key Sunday mornings when I had nowhere to be, and I was honestly a little amazed.
Both eyes looked identical in intensity.
Soft and even and warm.
Eyeliner Angles Are Everything (And Most of Us Are Drawing Them Wrong)

Can I be honest with you?
My liner wings were chaos for years.
One would be this elegant, delicate flick.
The other looked like it was trying to escape my face.
The placement secret that fixed everything: your liner angle should always follow your lower lash line, not point toward your brow.
Mentally extend your lower lash line outward toward your temple — and that’s where your wing should point.
But here’s the symmetry part.
Because your eyes may sit at slightly different angles on your face, your wings might need to flick in slightly different directions to look even.
This sounds weird but it works.
I hold a thin brush against each lower lash line, note where it points, and draw my wing in that exact direction on each side.
When I step back, both wings look perfectly matched.
Even if technically they’re pointing in slightly different places.
That’s perceived symmetry doing its thing.
Lip Liner Placement Can Rebalance an Uneven Mouth

I have one side of my upper lip that’s slightly fuller than the other.
For so long I just… ignored it.
Then I started overdriving my liner just a touch on the thinner side — not dramatically, just a hair’s width outside my natural line.
And I matched it with a slightly more restrained line on the fuller side.
The result is a mouth that looks even, pillowy, and perfectly balanced.
The Cupid’s bow is the most important placement point for lip symmetry.
Keep your two peaks of the bow at exactly the same height — use a dot of liner to mark each peak before you connect them, so you’re not freehanding and guessing.
I also apply a tiny bit of highlighter right in the center of my upper lip, centered perfectly between the two bow peaks.
That centered light creates an instant symmetry anchor for the whole mouth.
It’s one of those small touches that makes your makeup look polished in a way people notice but can’t quite name.
Foundation Sheerness at the Edges Makes Everything Look Even

This one surprised me when I first heard it.
But hear me out, because it genuinely works.
If your foundation is the same opacity from the center of your face all the way to the edges, it can actually flatten your features and make asymmetries more obvious.
What creates the appearance of symmetry is keeping full coverage in the center of your face — around your nose, inner cheeks, center forehead — and letting it sheer out naturally toward the hairline and jaw.
This creates a soft vignette effect.
The eye gets drawn to the brightest, most even center of your face — and that’s where all the symmetry work is happening.
The edges, where your bone structure naturally creates shadow anyway, fade into a soft blur.
I blend my foundation with a damp sponge everywhere, but I use almost no product near my hairline — just what’s left on the sponge after I’ve done the rest of my face.
It gives the most natural, skin-like finish, and my whole face looks more balanced every single time.
Highlight Placement: The Centered Line That Ties It All Together

Okay, this is one of my absolute favorite secrets and I talk about it constantly.
If you place a thin strip of highlighter down the very center of your nose, center of your forehead, and center of your chin — perfectly in line — it creates a vertical axis of light on your face.
And that vertical axis tricks the eye into reading your whole face as symmetrical.
Even if things aren’t perfectly even on either side, the centered line of light says “this face is balanced.”
I use a fine brush for this — not a fan brush, not my fingers.
Just a small, precise brush loaded lightly with a soft champagne or pearl highlight.
I dot it down the center of my nose first, then tap a little on the center of my forehead, and finish with the tiniest touch on my chin.
When I look in the mirror after this step, everything just feels like it comes together.
Warm, glowing, even.
It’s the last thing I do, and it’s the thing that makes my whole face feel finished.
Setting Spray Application Affects How Symmetrical Your Makeup Looks

This one is so underrated and nobody really talks about it.
How you apply setting spray can either preserve your symmetry work or blur it.
The mistake I was making for years was just spraying my face randomly — pointing the bottle toward one side, then the other, in no particular order.
What actually works is a deliberate X-and-T pattern: spray in an X motion first (corner to corner), then a T motion (across the forehead and down the center of the face).
This distributes the mist evenly across your entire face.
It keeps both sides of your makeup equally set and equally dewy — so one side doesn’t end up shinier or more matte than the other by the end of the day.
Because uneven texture is its own kind of asymmetry, and it undoes all that careful placement work.
I hold my spray bottle about a foot from my face and do the full pattern with my eyes closed.
It takes maybe three seconds.
But it keeps everything looking balanced and intentional for hours.