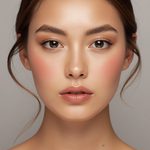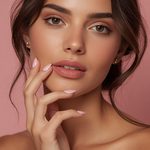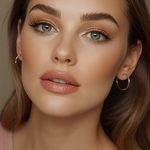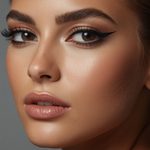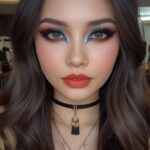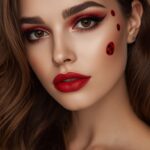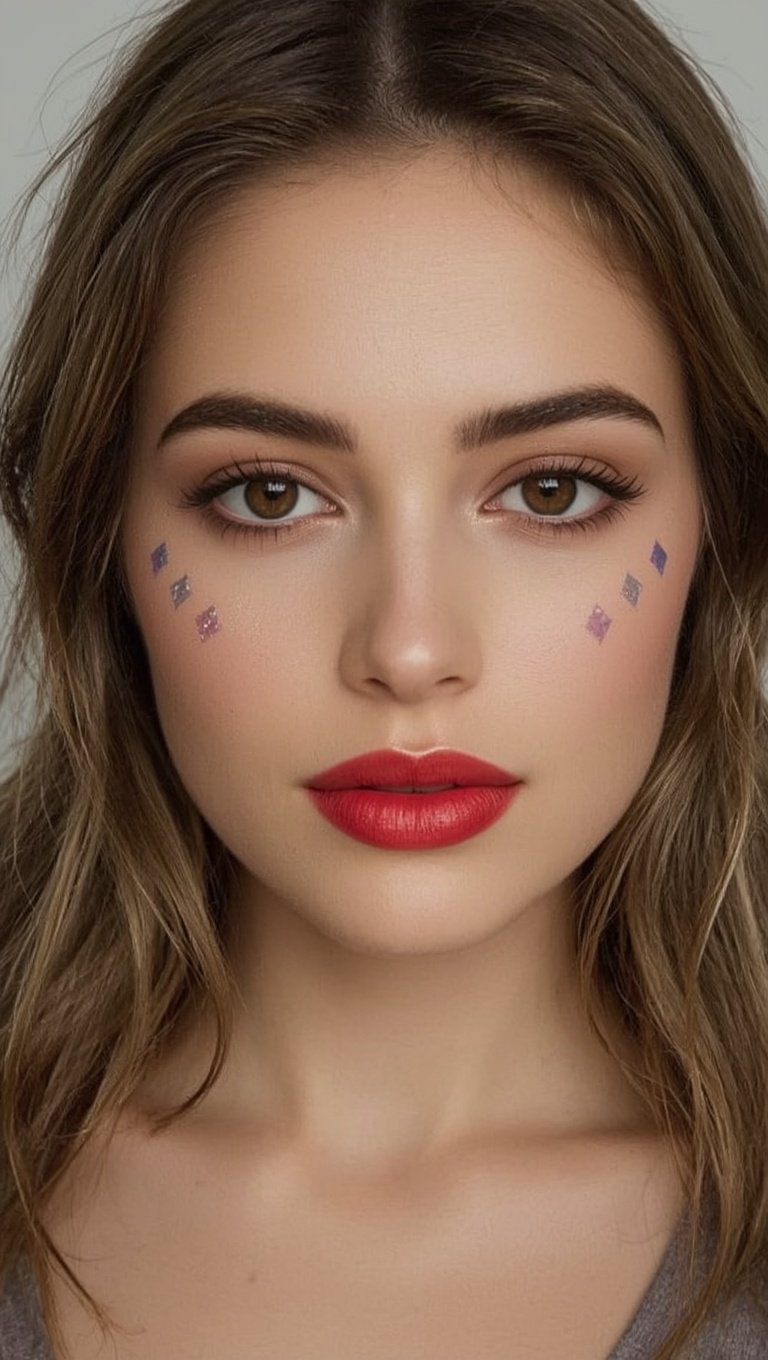
Jester makeup isn’t trying to be pretty in the traditional sense.
It’s trying to be interesting.
It’s trying to make you feel something.
And I think that’s exactly why it’s everywhere right now.
We’re all a little tired of the same soft glam look on repeat.
There’s only so many times you can do the same neutral eye before you crave a little chaos.
Jester makeup gives you permission to play.
No rules, no perfect symmetry required.
Honestly, the slightly imperfect lines are part of the charm.
When I first tried it, I kept apologizing to myself for the “mistakes.”
But the mistakes were the best part.
They made it feel alive, not printed off a template.
There’s also a theater kid energy to it that I just love.
It reminds me of getting ready backstage for a school play.
That feeling of transforming into someone bigger than yourself for a night.
If you’ve ever wanted to feel like a character instead of just yourself, this is it.
And honestly, we could all use a little more drama in our beauty routines.
Not the bad kind.
The fun kind.
The kind that makes strangers stop and ask where you’re headed.
My No-Fail Prep Routine

Okay, so prep matters more here than with almost any other look.
You’re going to be working with sharp lines and bold color, so your canvas needs to be smooth.
I always start with a light, hydrating moisturizer.
Nothing heavy, just enough so my skin isn’t thirsty under all that pigment.
Then I go in with a thin layer of primer, focused mostly on my lids and cheeks.
This is where the diamonds and color blocks tend to sit.
From there, I do a soft, breathable base.
Not full glam foundation, just enough to even things out.
Because trust me, the makeup itself is going to do all the talking.
I learned this the hard way during my first attempt.
I skipped primer because I was in a rush.
By hour two, my black liner had smudged into a sad little gray smear.
Not the vibe.
So now I never skip it, even for a quick look.
One little tip I swear by, sort of a hack really.
Use a white eyeliner pencil to sketch your shapes first.
It’s so much easier to adjust a white line than to wipe off black paint three times.
Trust me on this one.
The Classic Black and White Harlequin Diamond

This is the look that started it all for me.
Clean black and white diamonds across the eyes, sometimes trailing down the cheek.
It’s structured, it’s graphic, and it photographs so beautifully.
I like using a small angled brush and cream paint for the crispest lines.
Liquid liner works too, but it dries faster than you’d like when you’re still fixing shapes.
Start with your white diamond first, always.
It’s your base, and black corrects so much easier over white than the other way around.
I place mine right at the outer corner, angled toward my temple.
Then I fill in a black diamond right beside it, letting the tips almost touch.
If I had to do my first one over again, I’d go slower on this part.
I rushed and my angles didn’t match on each eye.
Nobody noticed but me, honestly, but I noticed.
A little trick that helps a ton.
Use washi tape or even a strip of tape to guide your straight edges.
Peel it off slowly once the paint sets so you don’t drag color.
This look works for literally any theme, costume party, editorial shoot, or just a bold Friday night.
It’s the little black dress of jester makeup, if that makes sense.
Always right, never boring.
Adding a Pop of Jewel-Toned Color

Once you’ve got the classic down, this is where it gets really fun.
I love swapping black for a deep emerald or a rich burgundy.
It softens the harlequin edge just enough to feel wearable off stage.
My personal favorite combo is a jewel purple with warm gold accents.
It catches the light in a way that photographs like magic at golden hour.
Emotionally, this is the version that feels most “me.”
Bold, but still romantic somehow.
I tend to reach for this palette when I want drama without looking like I’m in costume.
A tip here, and this one took me way too long to figure out.
Match your color story to your outfit’s undertone, not just the color itself.
Cool jewel tones next to warm gold jewelry can clash more than you’d think.
I made that mistake before a shoot and spent ten minutes fixing it in the car.
If you want an easy variation, try just one colored diamond instead of a full face.
One eye done, the other left soft and simple.
It’s a gentler way to dip your toes in without going full theatrical.
I did this version for a friend’s birthday dinner and got so many compliments.
People kept asking where I got it done.
Nowhere, friend.
Just me, my brush, and forty minutes of patience.
The Exaggerated Lip Where the Drama Lives

Honestly, the lip is where a jester look either sings or falls flat.
I like exaggerating my natural lip line by about a third.
Not sloppy, just intentional and a little larger than life.
A dark plum or classic red works best for that theatrical punch.
Line first with a lip pencil, slightly overdrawn, then fill in with a matte formula.
Matte holds its shape so much better than gloss for this kind of precision.
Gloss looks gorgeous but it moves, and moving lines are not what you want here.
One thing I love doing is adding a tiny painted teardrop or star near the corner.
It’s such a small detail but it makes the whole look feel custom.
The first time I tried an exaggerated lip, I went too big too fast.
I looked more clown than couture, and not the chic kind.
So now I build it up slowly, checking in the mirror from a few feet back.
Up close everything looks intense, but distance tells the truth.
If bold lip shapes feel scary, start with just overlining the cupid’s bow.
It’s a subtle way to get that theatrical lift without committing fully.
And if you smudge it, don’t panic.
A cotton swab dipped in a little makeup remover fixes almost anything.
I keep one on my vanity at all times now.
Lesson learned, friend.
Graphic Liner Tricks for Show-Stopping Eyes

Graphic liner is honestly my favorite part of this whole look.
It’s where you get to be a little bit of an artist.
I like doing a double wing, one following my lash line and one floating just above.
The negative space between them is what makes it feel modern instead of costume-y.
Gel liner is so much more forgiving than liquid if your hand isn’t steady yet.
It gives you a few extra seconds to blend or correct before it sets.
I always tell people to rest their elbow on a table while doing this.
It sounds so simple but it stabilizes your whole hand.
Such a small tip, but it makes such a big difference.
For color, don’t be afraid to swap black for deep navy or forest green.
It reads as bold from a distance but feels a little softer up close.
My favorite variation adds tiny painted dots trailing from the outer wing.
Almost like a constellation dripping off your eye.
It takes an extra five minutes but the effect is so worth it.
If you mess up a wing, don’t wipe the whole thing off.
Just clean the edge with a flat brush and a touch of micellar water.
Reshape instead of restart.
That one tip alone has saved me so much time getting ready.
Glitter and Shine My Favorite Finishing Touches

This is the part that turns a good look into an unforgettable one.
I love pressing a fine, loose glitter into the inner corners of my eyes.
It catches light every time you blink, which feels so magical in photos.
A tiny dot of glitter at the cupid’s bow does something similar for your lips.
Just a whisper of shine, not a full sparkle situation.
For application, I always use a damp flat brush, never dry.
Dry glitter goes everywhere and somehow still misses the spot you wanted.
Damp glitter presses on clean and stays put for hours.
I learned this after finding glitter in my hairline for three days straight.
Not my finest beauty moment, honestly.
If you want something more subtle, try a glitter-free version with just a glossy topcoat.
Dab a clear gloss over your black lines for a wet-look finish instead.
It reads as polished and a little editorial, perfect for photos in soft lighting.
My personal rule is one focal point of shine, not five.
Pick your eyes or your lips, not both, so the sparkle actually stands out.
Too much shimmer everywhere and it all sort of cancels itself out.
Less really can be more, even in a look this bold.
Soft Jester A Wearable Everyday Twist

Not every day calls for full theatrical face paint, and that’s completely okay.
This is the version I actually reach for most often.
Take the core idea, the diamond shape and graphic line, and shrink it way down.
A tiny painted diamond at the outer corner of one eye is so chic.
Pair it with your regular everyday makeup and suddenly you look intentional and a little edgy.
I did this version for a coffee date and felt so put together.
Nobody read it as costume, just as a fun little styling choice.
That’s the beauty of taking a big trend and softening it for real life.
For this version, skip the paint and use a gel liner instead.
It’s quicker to apply and easier to remove before you head out the door.
I like adding a single small star instead of a full diamond for even more subtlety.
It’s barely there but it makes people look twice.
My favorite thing about the soft version is how versatile it feels.
Work meeting in the morning, dinner with friends at night, same look, zero effort added.
If you’re new to theatrical makeup, honestly start here.
Build your confidence with the small version before you go big.
It’s so much less intimidating that way.
Bold Jester Full Face Fantasy for Parties

Okay, this is the version for when you really want to commit.
Full face coverage, dramatic color blocking, maybe even a painted teardrop under one eye.
This is your Halloween party, your masquerade, your big theatrical night out look.
I like starting with a colored base instead of my normal skin tone.
A soft lavender or pale gray base sets the stage for everything else.
From there, I map out my color blocks with a white pencil before committing to paint.
Symmetry isn’t the goal here, expression is.
One side can be moody and dark, the other bright and playful.
That contrast is honestly what makes this version feel so alive.
I did a full version like this for a friend’s costume party last fall.
I felt like a completely different person walking through that door.
In the best way possible, obviously.
People remembered me the whole night because of that look.
A tip that saved me here, work in small sections and let each dry before moving on.
Wet paint touching wet paint turns into a muddy mess so fast.
Patience really is everything with a look this involved.
Give yourself way more time than you think you need.
I always block off a full hour for this version, no rushing allowed.
Tools and Products I Swear By

You really don’t need a huge kit to pull this off well.
A few good brushes make all the difference though.
I keep a small angled brush just for lines and diamonds.
A flat shader brush for color blocking larger areas of the lid or cheek.
And a tiny detail brush for dots, stars, or any little extra flourish.
For color, cream and gel formulas are so much easier to control than powder.
They blend into each other smoothly instead of sitting patchy on top.
A setting spray at the very end is non-negotiable for me now.
It locks everything in place so your masterpiece doesn’t melt by hour three.
I also always keep cotton swabs nearby for quick corrections.
They’re basically my emergency eraser for any little slip.
One product I didn’t expect to love, a clear brow gel.
It keeps stray hairs in place so they don’t distract from all that eye drama.
Small detail, big difference in how polished the final look feels.
If you’re building a kit slowly, start with liner, white pencil, and setting spray.
Those three alone will get you through most beginner looks.
Everything else you can add as you get more comfortable experimenting.
Mistakes I Made So You Don’t Have To

Let’s be honest for a second, my first jester look was rough.
I rushed the symmetry and ended up with two totally different eyes.
I didn’t set my liner and it smudged within the hour.
I used way too much glitter and found it on my pillow for a week.
So here’s what I’d tell past me if I could.
Slow down, seriously.
This look rewards patience more than any other makeup style I’ve tried.
Also, practice your lines on the back of your hand first.
It sounds silly but it saves so much product and so much stress.
Another mistake, not taking a step back to check my work.
Up close, every line looks intense and a little scary.
From a few feet away, it usually reads exactly how you wanted.
I also used to skip setting spray because I was impatient to leave.
Big mistake, huge.
My whole look would soften and blur within an hour or two.
Now it’s the very last step, no matter how late I’m running.
If there’s one thing I want you to take from this section, it’s grace.
Give yourself permission to mess up a little.
That’s honestly half the charm of this whole look anyway.
Making It Your Own With Personal Variations

Once you’ve got the basics down, this is where the real fun starts.
I love swapping the classic diamond for a heart shape instead.
It softens the whole theatrical edge into something a little more romantic.
For a moodier take, try charcoal gray instead of true black.
It feels editorial and a bit more grown up, if that makes sense.
You can also play with placement, moving your diamond toward your temple or down your cheekbone.
Little shifts like that completely change the personality of the look.
My personal favorite variation adds a single painted mask shape around one eye.
It leans more masquerade than traditional jester, but the spirit is the same.
I did this version for a themed dinner party and got asked about it all night.
If you love color, try an ombre diamond instead of a solid block.
Blend two shades together with a damp brush for a softer, dreamier effect.
It takes a bit more blending but the payoff is so pretty.
Honestly, the best version of this look is the one that feels like you.
Don’t be afraid to break away from any tutorial, including this one.
Some of my favorite looks happened when I just started improvising halfway through.
That’s when it stops feeling like a costume and starts feeling like art.
Removing It Without Wrecking Your Skin

This part matters just as much as the application, promise.
Bold pigments and glitter can be rough on your skin if you rush the removal.
I always start with a gentle oil-based cleanser first.
It breaks down the paint and glitter way faster than water ever could.
Massage it in slowly instead of scrubbing, especially around your eyes.
That area is delicate and doesn’t need extra tugging after a long night.
For stubborn glitter, a damp cotton pad works better than trying to wipe it dry.
Dry wiping just pushes it around your face instead of lifting it off.
Once the bulk of the color is gone, I follow with a gentle foaming cleanser.
This gets rid of any leftover residue and resets your skin completely.
A hydrating mask afterward feels so good, especially if you wore a full face look.
Your skin worked hard tonight too, so give it a little love back.
I learned to slow down on removal after waking up with glitter in my eyebrows.
Twice, actually.
So now removal is its own little ritual, not just an afterthought.
Take your time here.
Your skin will thank you tomorrow, and so will your future self getting ready again.