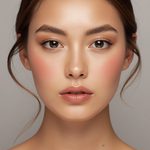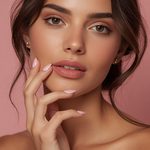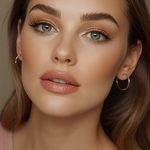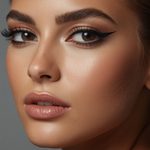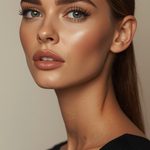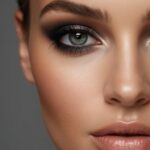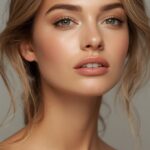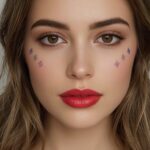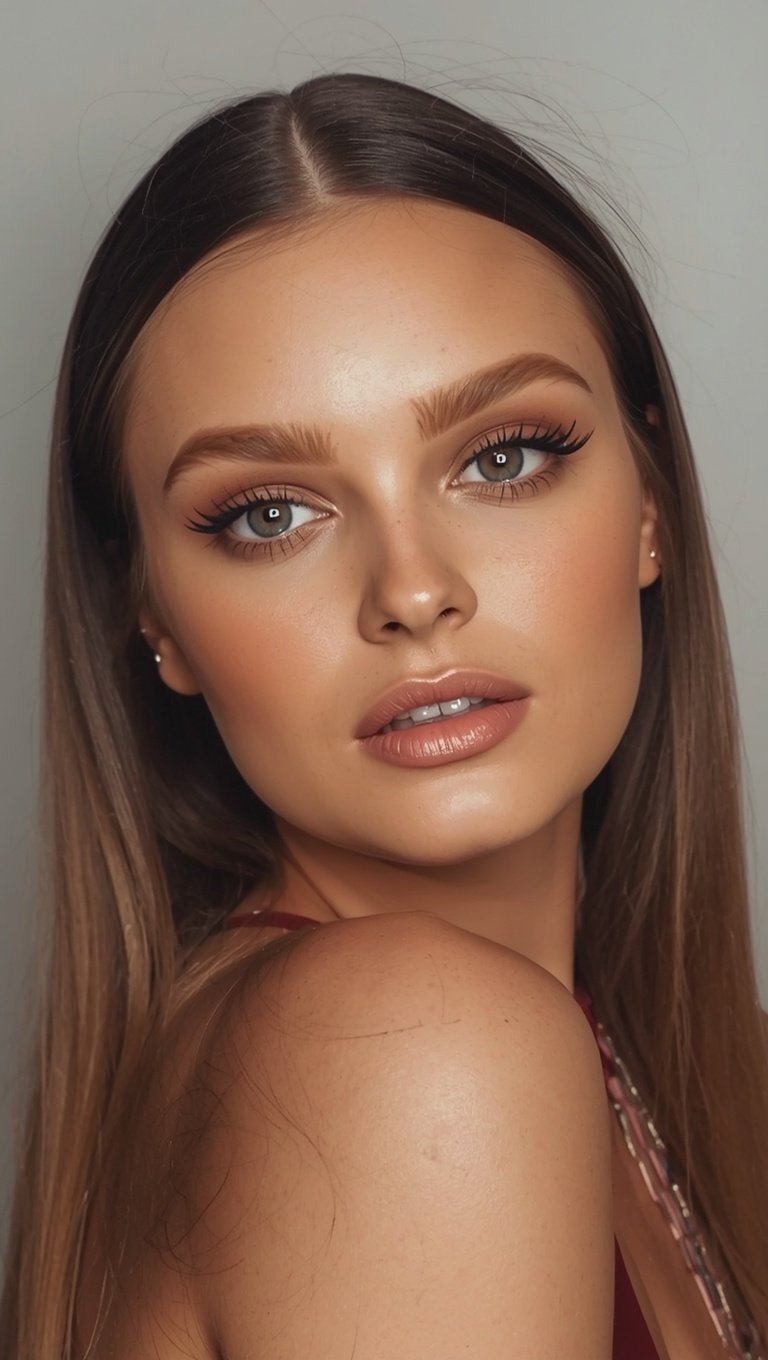
I cried a little the first time I got this look right.
Not because it was sad.
Because I finally looked like the softest, prettiest version of myself I’d ever seen in a mirror.
I’d tried a hundred makeup trends before this one.
Most of them made me look like I was trying too hard.
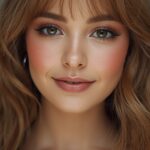
But this Slavic doll thing, the big glassy eyes, the flushed apple cheeks, the glossy little pout, it just felt different.
It felt like me, but rested.
Like me on my best sleep, best skin, best mood day.
So grab your coffee, because I’m telling you everything I know.
What This Look Actually Is, In My Own Words

Okay so let’s get on the same page first.
Slavic doll makeup isn’t about looking fake or plastic.
It’s the opposite, honestly.
It’s about looking impossibly soft, luminous, almost porcelain.
Think big round eyes, barely-there contour, and cheeks that look like you just came in from the cold.
I like to describe it as “your face, but rested and a little in love.”
When I first saw this trend, I assumed it would take forever to do.
And look, some days it does take me a little longer.
But most mornings, once I got the hang of it, it’s maybe fifteen extra minutes.
The whole point is softness over sharpness.
Round over angular.
Dewy over matte.
If you’ve been living in harsh contour and sharp cat-eye energy, this is going to feel like a little vacation for your face.
I promise you, once you try it, you’ll get why people are so obsessed.
It’s not a costume.
It’s not “doll” in a scary way.
It’s doll in a “wow, her skin is glowing and her eyes look huge and soft” kind of way.
And honestly, that’s the kind of pretty I want on my worst days too.
The Skin Prep That Makes Or Breaks This Whole Look

I’ll be honest with you, this look lives or dies on skin prep.
You can have the best products in the world.
But if your skin isn’t hydrated, none of it sits right.
When I first tried this look, I skipped this step and my foundation looked kind of patchy by noon.
So now I never skip it, ever.
I start with a hydrating toner, patted in with my hands, not cotton rounds.
Then a plumping serum, something with hyaluronic acid.
I let that soak in while I make my coffee, honestly.
Then a rich moisturizer, a little heavier than what I’d normally use.
The goal is skin that looks like it’s glowing from underneath, not on top.
If your skin is on the dry side like mine, add a facial oil, just a few drops.
Press it in gently around the cheeks and forehead.
For oilier skin types, a lightweight gel moisturizer works just as well.
The trick either way is patience.
Give your skin a solid five minutes to really absorb everything.
I know, I know, mornings are rushed.
But this one step changes everything else that comes after it.
Kindda like building a house on a good foundation instead of sand.
Once your skin feels bouncy and soft to the touch, you’re ready for the fun part.
Getting That Porcelain, Almost-Glass Complexion

This is where a lot of people go wrong, myself included at first.
We think more coverage equals more doll-like.
It’s actually the opposite.
You want your skin to look like skin, just better.
So I use a lightweight, dewy foundation, or sometimes just a tinted moisturizer on lazy days.
I apply it with a damp sponge, bouncing it in instead of dragging.
That bouncing motion keeps it looking skin-like instead of cakey.
Concealer only goes where I actually need it.
Under the eyes, a little on the lids, maybe a blemish or two.
I never do full face concealer for this look anymore.
It flattens everything and takes away that glassy quality.
For setting, I only powder the T-zone, and even then, just a whisper of it.
The cheeks and under-eyes stay dewy on purpose.
If I had oilier skin, I’d probably add a touch more powder there.
But even then, I’d keep it minimal.
The goal is skin that catches the light softly, like you just splashed cold water on your face.
Not shiny, not matte, just glowy in this in-between way that’s honestly hard to describe until you see it on yourself.
Once I nailed this step, the rest of the look basically fell into place.
Your skin really is the canvas here.
Everything else is just decoration on top of it.
My Foolproof Doe-Eye Technique

Okay, this is the part everyone asks me about.
The eyes are really the whole soul of this look.
Here’s my honest method, no fancy tools needed.
I start with a soft brown eyeshadow, blended just into the crease.
Nothing sharp, nothing with a hard edge.
I use my finger sometimes instead of a brush, just to keep it soft and diffused.
Then I take a white or champagne shadow and pat it right in the inner corner.
This alone makes your eyes look instantly bigger and more awake.
For liner, I skip the harsh wing completely.
Instead, I tightline along the upper lash line, staying close to the roots.
On the lower lash line, I use a soft brown pencil, smudged out, never a hard black line.
This is the biggest secret, honestly.
Black liner on the bottom makes eyes look smaller and harder.
Brown, smudged, keeps them soft and round.
I also add a tiny bit of white or nude pencil on my lower waterline.
It sounds simple but it opens the whole eye up.
If I had smaller eyes like my sister does, this is the first trick I’d tell her to try.
It works on basically every eye shape I’ve tested it on.
Give yourself grace here, it takes a few tries to get the blending soft enough.
Mine looked a little raccoon-ish the first time, ha.
But practice really does make it look effortless eventually.
Soft, Round Blush Placement, The Doll Flush

This is my favorite part to talk about, no joke.
Blush placement changes your whole face shape, I swear.
For this look, you want the blush high on the apples of your cheeks.
Not swept back toward the ears like a contour blush.
Round, soft, almost like you just laughed really hard outside in the cold.
I use a cream blush first, patted in with my fingers.
Something in a soft pink or peachy tone, whatever looks natural against your own skin.
Then I go over it with a powder blush in a similar shade, just to help it last.
The double layer gives this really pretty, lit-from-within flush.
I always blend a tiny bit onto my nose too.
It sounds weird, but it gives this sun-kissed, just-came-in-from-outside feeling.
If you have a rounder face like mine, keep the blush high and circular.
If your face is longer, you can pull it slightly wider toward the temples.
Either way, more is kind of more here, within reason.
This is not the trend for a subtle, barely there blush.
You want cheeks that look flushed and healthy and a little bit like a Russian winter portrait, honestly.
I remember the first time I did this heavier blush and felt so self-conscious walking into work.
But three different coworkers stopped me to ask what I was doing differently.
That’s when I knew I was onto something good.
Brows: Fluffy But Never Overdone

Brows are so easy to overdo with this look, I’ve learned the hard way.
You do not want sharp, drawn-on, Instagram-brow energy here.
You want fluffy, soft, almost like you just brushed them up and walked out the door.
I start by brushing my brows straight up with a spoolie.
Then I use a brow pencil that matches my natural color, never darker.
I fill in any gaps with tiny, hair-like strokes, nothing solid or blocky.
After that, I go back over with the spoolie again to soften any harsh lines.
Sometimes I skip pencil completely and just use a tinted brow gel.
Honestly, on lazy days, that’s my favorite version.
It keeps things looking effortless and a little undone in the best way.
If your brows are naturally full like mine, you barely need product at all.
Just brush them up, add a little gel, and you’re done.
If they’re on the sparser side, take your time filling gaps softly.
The key word here is soft, I really can’t say it enough.
This look is not about structure or sharp lines anywhere on the face.
It’s about looking naturally pretty, like your best features on their best day.
Fluffy brows do so much of that heavy lifting without you even realizing it.
Once I stopped over-filling mine, my whole face looked younger and softer instantly.
It’s such a small change that makes a genuinely big difference.
The Glossy, Bitten Lip Trick

Lips are where this whole look gets its final, dreamy touch.
You want lips that look soft, a little swollen, glossy, and slightly stained.
I start with a lip liner in my exact natural lip shade.
I blur the edges slightly with my finger instead of keeping a crisp line.
Then I add a tinted lip balm or a sheer rosy lipstick over top.
The final step, and this is non-negotiable for me, is a clear or slightly tinted gloss.
I dab it mostly in the center of the lips.
That center highlight gives this really pretty, plump, bitten-lip effect.
I sometimes even use my finger to press a tiny bit of blush onto my lips first.
It gives the color this really natural, just-been-kissed kind of tint.
If your lips are on the thinner side, overline just slightly with the liner.
Nothing dramatic, just a hair outside your natural line.
If you have fuller lips already, lucky you, you barely need to do anything.
I avoid matte lipstick completely for this look.
Matte anything fights against that soft, dewy doll energy we’re going for.
Gloss is really the whole point here, don’t skip it.
The first time I did this lip combo, my husband actually asked if I’d gotten filler.
I hadn’t, obviously, it was just gloss and good lip liner placement.
That’s honestly the magic of this whole trend.
Highlighter Placement For That Doll-Like Glow

Highlighter is where you add that final, glassy, porcelain finish.
But less is more here, I learned that one the hard way too.
I apply a cream highlighter first, right on the high points of my cheekbones.
Then a tiny dot on the very tip of my nose.
And just a whisper along my cupid’s bow.
I blend it in with my fingers, using the warmth of my hands to melt it into the skin.
For extra glow, I sometimes add a drop of liquid highlighter into my moisturizer beforehand.
This gives an all-over glow instead of just spots of shine.
I avoid heavy shimmer or glitter highlighters completely for this look.
You want glow that looks like skin, not glow that looks like makeup.
If I had to pick one product that makes this whole trend work, it’s honestly a good cream highlighter.
It just melts into skin in this way powder highlighters never quite manage.
I keep mine in my bag at all times now, no joke.
A little dab midday and I look refreshed again instantly.
This is one of those steps people notice without knowing why.
They’ll just say you look really pretty today, glowing even.
And that’s exactly the reaction you’re going for.
Mascara And Lash Tips For Big, Soft Doll Eyes

Lashes are the finishing touch that ties the whole eye look together.
You want big, fluttery, wide-open lashes, but not spidery or clumped.
I always curl my lashes first, holding the curler for a few seconds at the base.
Then I apply a lengthening mascara, wiggling it at the roots before pulling through.
I focus most of the product on the outer and center lashes.
This opens the eye up and gives that rounder, doll-like shape.
On days I want more drama, I add a few individual false lashes just to the outer corners.
Nothing full strip, just a few subtle clusters.
It makes such a difference without looking obviously fake.
I always add a coat of mascara to my lower lashes too, very lightly.
It grounds the eye and keeps everything looking soft and open.
If your lashes are naturally straight like mine, definitely don’t skip the curling step.
It genuinely changes the whole shape of your eye.
I used to skip it out of laziness and always wondered why my eyes looked smaller in photos.
Now it’s non-negotiable, even on my most rushed mornings.
Big, soft, fluttery lashes really are the exclamation point on this entire look.
Common Mistakes I Made Along The Way

I want to be honest with you about where I went wrong at first.
Because I think it helps more than just seeing the finished, perfect version.
My first mistake was way too much powder everywhere.
It killed all the dewiness and left me looking flat and matte instead.
My second mistake was black eyeliner on my lower lash line.
It made my eyes look smaller instead of bigger, the opposite of what I wanted.
My third mistake, and this one’s embarrassing, was contouring way too hard.
Sharp contour completely fights against the soft, rounded doll aesthetic.
I looked more sculpted than soft, if that makes sense.
My fourth mistake was skipping skin prep on rushed mornings.
The makeup just never sat right, no matter how good my products were.
And my last big mistake was matte lipstick, which just drained all the softness from my whole face.
Once I fixed these five things, the whole look finally clicked for me.
So if your first attempt feels a little off, don’t give up.
I promise it’s not you, it’s just one of these small details.
Adjust one thing at a time and you’ll get there.
Variations: Warm-Toned Versus Cool-Toned Doll Looks

One thing I love about this trend is how customizable it really is.
There’s a warmer version and a cooler version, and both are so pretty.
For warm-toned doll makeup, I lean into peachy blush and golden highlighter.
Brown eyeliner instead of black, and a warm caramel brow.
This version feels sunny, soft, like a golden hour kind of glow.
For cool-toned doll makeup, I switch to pink or rosy blush instead.
A silvery or champagne highlighter, and a cooler taupe brow shade.
This version feels a little more porcelain, almost winter-morning soft.
If I had fair, cool-toned skin, I’d lean cool every time.
If your skin has warmer golden undertones like my sister’s, the warm version will look incredible on you.
I actually switch between both depending on my mood and the season.
Summer me loves the warm, golden version.
Winter me is all about the cool, rosy porcelain look.
Neither is more “correct,” it’s really just about what makes your own skin tone shine.
Try both before deciding which one is your favorite.
You might be surprised which version makes you stop and stare at your own reflection a little longer.
The Products I Personally Reach For Every Time

I get asked this constantly, so let me just lay it all out.
For skin prep, I reach for a hydrating serum and a rich, dewy moisturizer.
For base, a lightweight dewy foundation or tinted moisturizer, applied with a damp sponge.
For blush, a cream formula first, then a powder in the same shade over top.
For eyes, a soft brown shadow, a champagne inner corner shade, and a smudgy brown pencil liner.
For brows, honestly just a tinted brow gel most days.
For lips, a natural lip liner, a sheer rosy balm, and a clear gloss on top.
For highlight, a cream stick that I can blend with my fingers.
And for lashes, a good curler and a lengthening, non-clumpy mascara.
None of these need to be expensive, by the way.
I’ve done this whole look with drugstore products plenty of times.
The technique matters so much more than the price tag ever will.
If you’re just starting out, don’t feel like you need to buy everything at once.
Start with the blush and the brown eyeliner, those two alone will get you eighty percent of the way there.
Add the rest slowly as you fall in love with the process, the way I did.
Wearing This Look By Day Versus By Night
The beauty of this trend is how easily it shifts from morning to evening.

For daytime, I keep everything light and barely-there.
Sheer base, soft blush, a little mascara, gloss on the lips.
It reads as effortless, like you woke up already looking soft and pretty.
For nighttime, I intensify a few key things without losing the doll softness.
A touch more blush, a deeper gloss shade, maybe a few extra individual lashes.
I might add a subtle shimmer just on the center of the lid too.
But I never add sharp liner or heavy contour, even at night.
That would break the whole soft, rounded feeling we’ve built this whole look around.
Instead, everything just gets a little richer, a little more saturated.
Think candlelight instead of daylight, if that makes sense.
I’ve worn this look to brunch and to actual weddings, and it works beautifully both times.
It’s honestly one of the most versatile looks I’ve ever added to my routine.
And once you’ve practiced the technique a few times, it genuinely takes no extra thought at all.
It just becomes part of your regular, everyday glow.