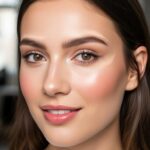
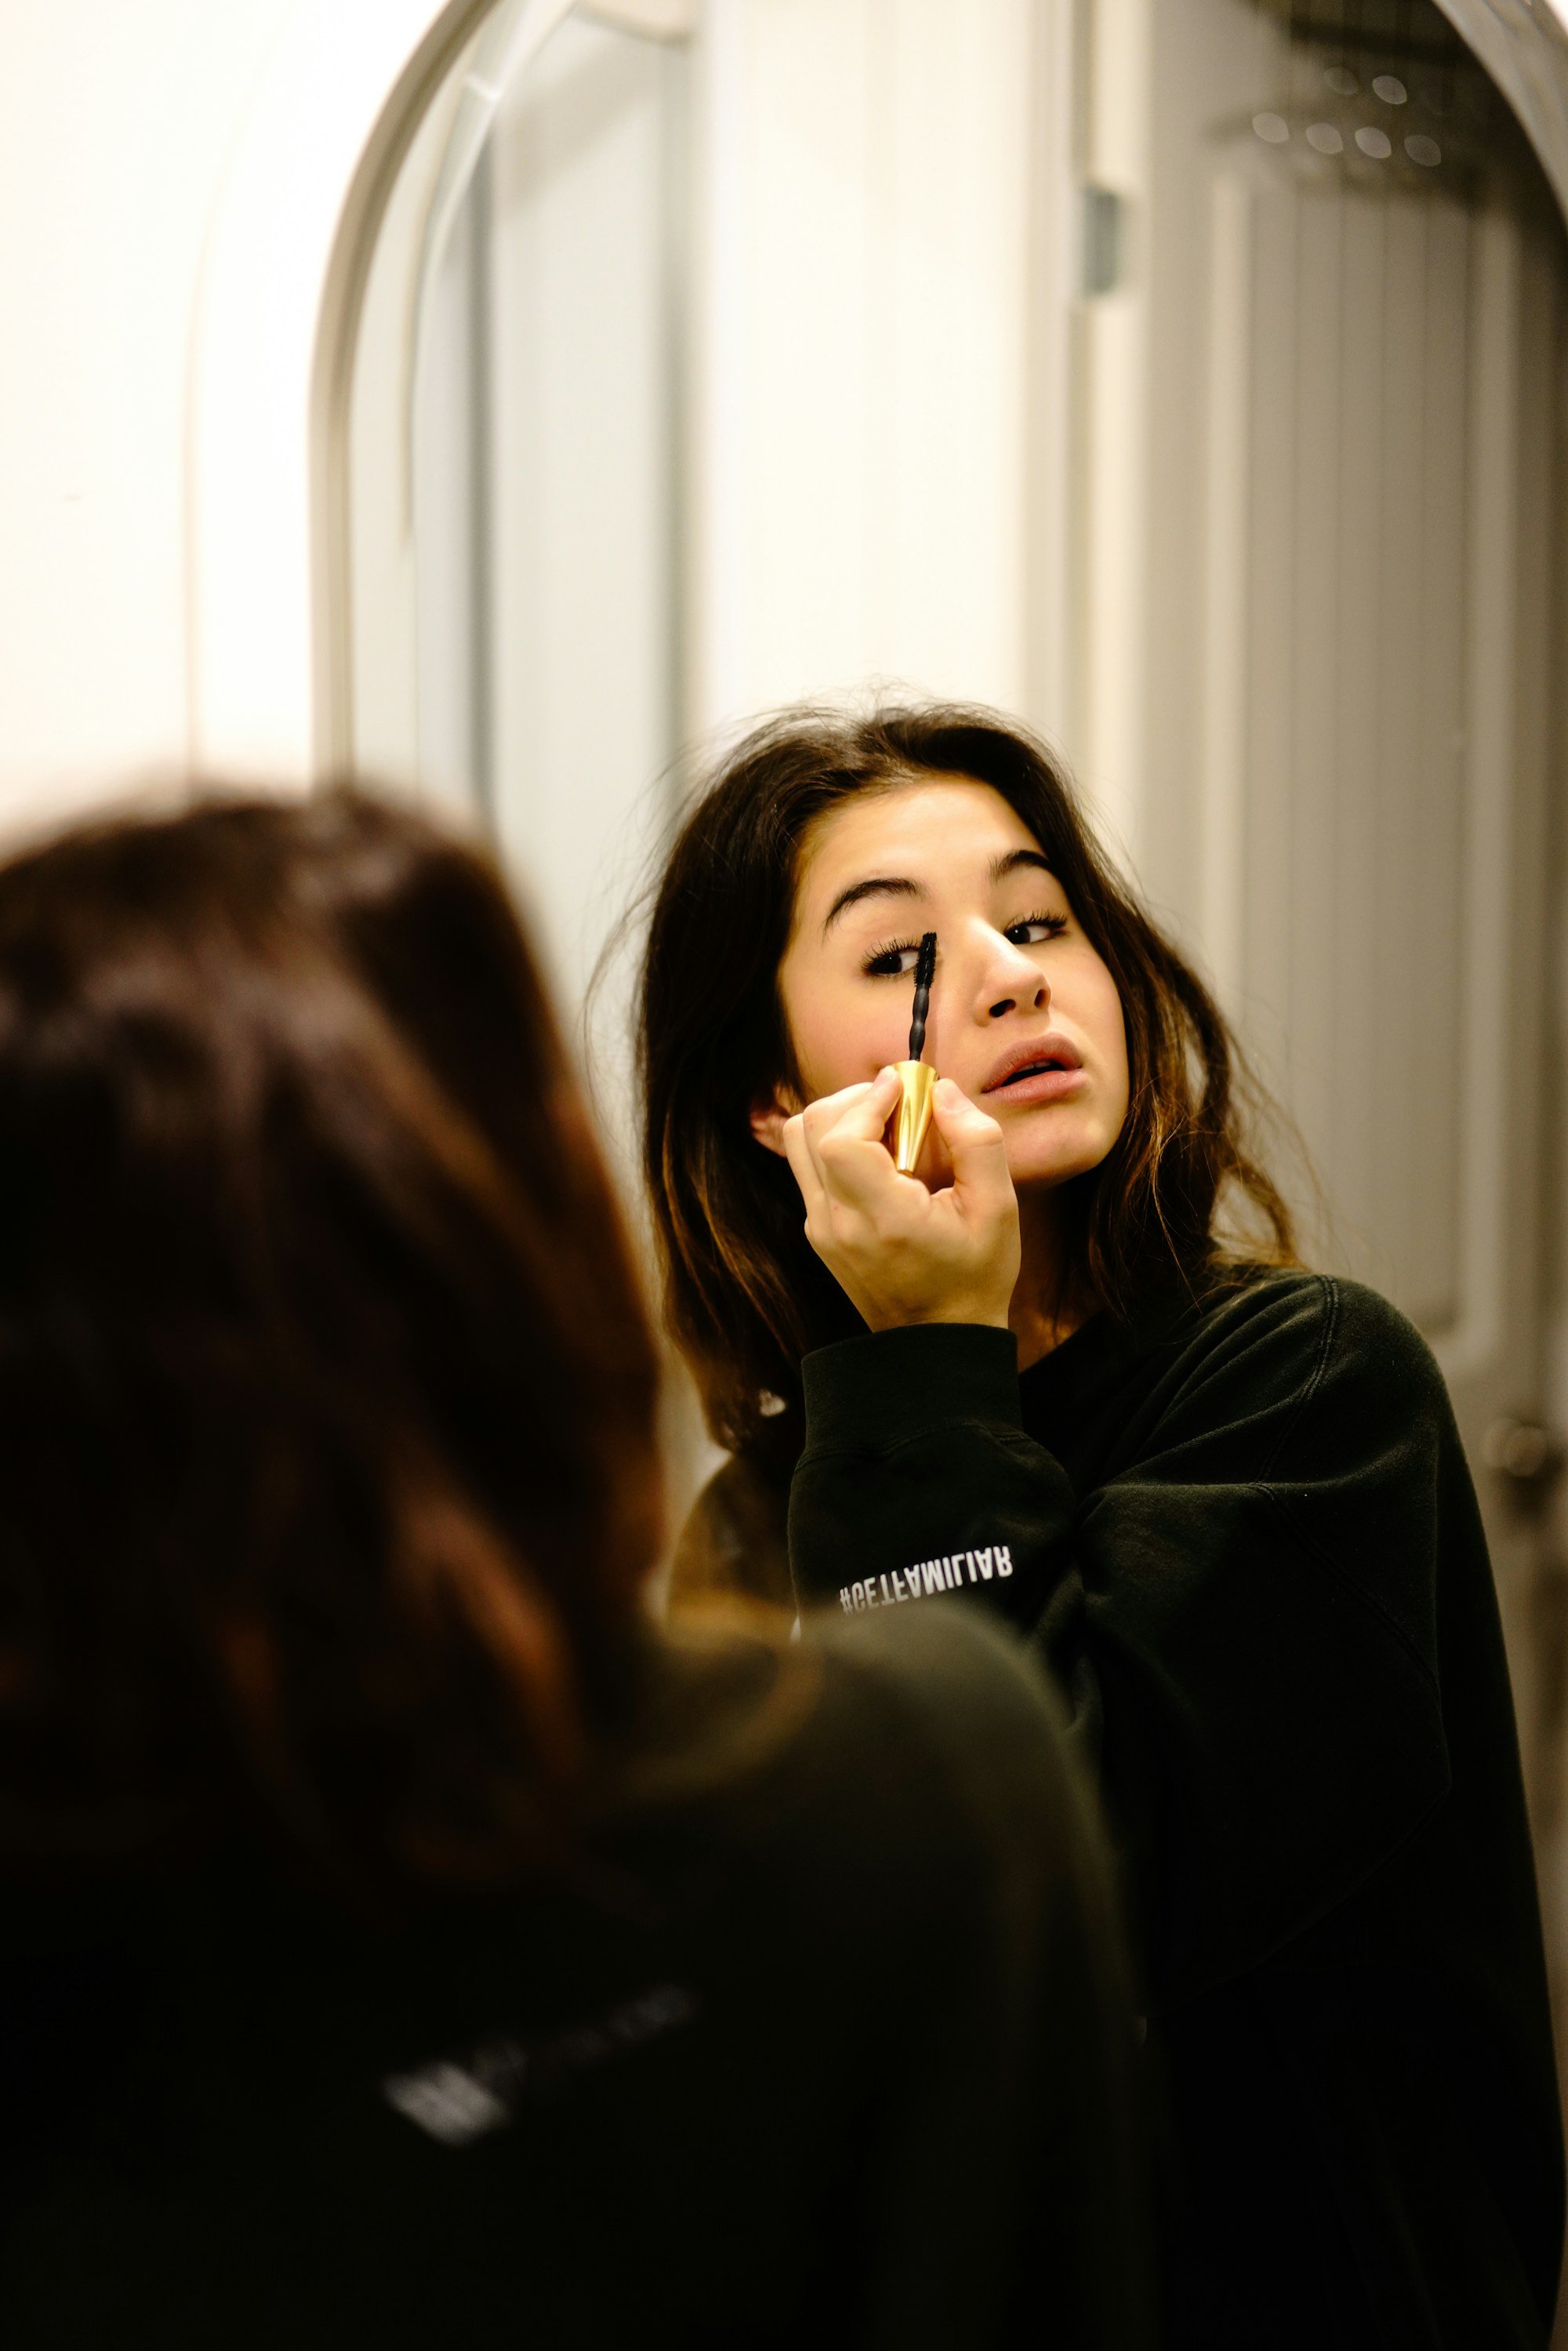

Most mornings I have about 10 minutes for my face, a bathroom mirror with terrible light, and a coffee going cold on the edge of the sink.
That’s the real setting for everyday makeup.
Not a ring light.
So this is the routine I actually use on work days and errand days.
It’s more than the bare no-makeup look, with some color on the cheeks and lips, but it’s nowhere near a full glam.
And it’s built to last until dinner, because a face that looks great at 7:45 and patchy by 11 isn’t a good face.
Here’s the order, the timing, and what I skip on the days I’m running late.
My Ten-Minute Order, Minute by Minute

The order matters more than the products.
Skin first, then the stuff that evens it out, then color, then the eyes, then lips last so they don’t get smudged while you’re doing everything else.
I set everything out the night before, lined up left to right in the order I’ll use it.
Sounds fussy.
It saves me a solid two minutes of digging through a bag with my eyes half open.
The photo up top is way more makeup than I’d use on a Tuesday, but that’s the idea: everything out where you can see it, nothing buried.
And do it by a window if you can.
My bathroom bulb is so yellow it makes everything look fine, and then I step outside and the concealer is two shades off.
Daylight tells the truth.
Running late?
Concealer is the first thing to go, and plain SPF becomes tinted SPF.
Brows and blush stay no matter what, because those two do the most for the least time.
The five-minute version is at the very bottom.
Skin and Sunscreen First, Then Let It Sit

Moisturizer, then sunscreen.
Dot it on in stripes like the photo, then blend it all the way out to your hairline and jaw.
The American Academy of Dermatology says to pick one that’s SPF 30 or higher and broad-spectrum, and to put it on before you go outside, because it takes about 15 minutes for your skin to absorb it.
That wait is why this step goes first.
I put on SPF, then go brush my teeth and do my hair with a couple of bobby pins.
By the time I’m back at the mirror, it’s sunk in and the next layer won’t slide around on top of it.
One shortcut I love: a tinted sunscreen.
The AAD notes that a tinted one with iron oxide also helps protect against dark spots, because iron oxide blocks some visible light.
On a lazy day it’s my whole base.
Done.
If your skin’s dry in winter, give the moisturizer a minute before the SPF goes on.
Pilling, those little rolled-up flakes, usually means you stacked them too fast.
Skip Full Foundation and Spot-Conceal Instead

Here’s my unpopular opinion.
You probably don’t need foundation every day.
What most of us actually want to hide is three or four things: under the eyes, around the nose, a spot on the chin.
So put concealer only there.
Dot it on, wait ten seconds so it gets a little tacky, then tap it in with your ring finger.
Tap, don’t rub.
Rubbing just moves it somewhere else.
One dot about the size of a lentil covers both eyes for me.
Any more than that and it’s sitting in the creases by 11.
Under the eyes, keep it to the inner corner and a little triangle below.
In the photo she’s dotting product right under the eye, which is the zone I mean.
Swiping it all the way out to the temple is how it ends up creasing into every line by lunch.
Swatch a new concealer on your jaw, not your hand, and check it at the window.
The back of your hand is a different color than your face.
Ask me how many bottles I’ve wasted.
Brows Get Brushed Up, Not Drawn On

Clear or tinted brow gel, brushed up and slightly out.
That’s it on most days — about 30 seconds, honestly.
And it does more for your face than anything else here, because brows frame everything.
If you’ve got sparse spots, a pencil in a shade lighter than your hair, in tiny hair-like flicks, fills them in without looking drawn on.
The woman in the photo is going in with a pencil, which is fine for sparse spots: light hand, tiny flicks.
Go lighter than you think.
Dark brows read harsh in daylight even when they looked fine in the bathroom.
Our guide to brow shapes goes deeper if you’re working out what yours want to do.
Cream Blush Does Double Duty

If you only buy one color product, make it a cream blush.
It goes on with fingers, it melts into skin instead of sitting on top, and you can use it on your lips and eyelids too.
One product, three jobs.
Those are two powder blushes in the photo, both dropped and shattered.
A cream blush in a pot or a stick doesn’t crack like that, which is one more reason mine lives in my bag.
Smile, dab it on the apples of your cheeks, then blend it up and back toward your temples.
Stop smiling before you blend, or it ends up too low once your face relaxes.
I learned that one from the photos at a friend’s wedding, where I looked kinda sunburned in every single shot.
Start with less than you think.
You can always add a second tap.
Taking it off means starting that cheek over.
For more on where it goes for different face shapes, see our blush placement guide.
Curl Your Lashes Before One Coat of Mascara

Curl first, always.
Curling after mascara can tug the lashes and leave clumps.
Squeeze at the base for about five seconds, then once more halfway up, and your eyes look more awake before you’ve touched a wand.
The close-up in the photo shows what a good curl does: the top lashes lifted and separate, nothing spidery.
Then one coat, wiggling the wand at the roots and pulling up.
Top lashes only on busy days.
Bottom-lash mascara is the first thing to smudge, and it’s the thing that makes you look tired by 3 p.m.
Mascara is also the one product I’m strict about replacing.
The FDA says manufacturers usually recommend tossing it two to four months after you buy it, because every time you use it, the wand brings bacteria back into the tube.
If it dries out, throw it away.
Don’t add water to it, and definitely don’t spit in it.
Yes, people do that.
Lips Last: A Tinted Balm With SPF

Lips go last so they don’t smudge while you’re doing the rest.
For every day, I like a tinted balm, or a sheer lipstick that’s a shade or two deeper than my natural lip color.
Look for SPF on it.
The AAD’s advice for protecting your lips is a lip balm with an SPF of at least 30.
Honestly, it’s the spot I forget most.
A sheer formula is forgiving.
You can put it on without a mirror in the car, and when it wears off it fades evenly instead of leaving a ring around the edge like a bold matte does.
Save the bold red for nights out with heels and a good neckline.
A plain balm stick like the one in the photo works too.
Swipe, smile, done.
I keep one in my coat pocket, one in the car and one by the bathroom mirror (yes, three, and I still lose them).
Make It Last Past Lunch

This is where most quick routines fall apart.
They look good for the mirror and gone by noon.
A few things help a lot.
Thin layers wear better than thick ones, so don’t pile on concealer.
If you get shiny, press a blotting paper on your nose and forehead before adding powder, because powder on top of oil goes cakey.
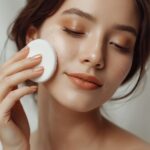
Then, if you carry one, a light press from a compact like the one in the photo, and you’re back.
And keep a tiny touch-up bag in your purse with only what you’d actually use.

That bag is four things for me.
Mine looks a lot like the one in the photo above, just with fewer fancy compacts in it.
I tried carrying my whole makeup kit once and used none of it, same as the nail polish I swore I’d use to fix chips at my desk.
My nails stayed chipped.
The little bag actually gets used.
On the days I only have five minutes?
Tinted sunscreen, brow gel, cream blush on cheeks and lips, mascara.
That’s the whole face.
It’s not much, but it holds up from the morning meeting to the drive home, and that’s the test that counts.
If your skin routine needs a reset before any of this, start with our skincare routine for beginners, and if you’d rather go even barer, there’s always no-makeup makeup.