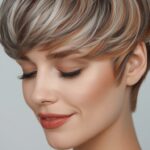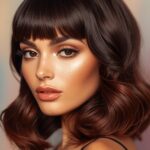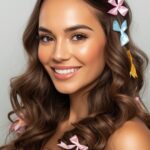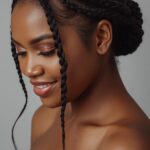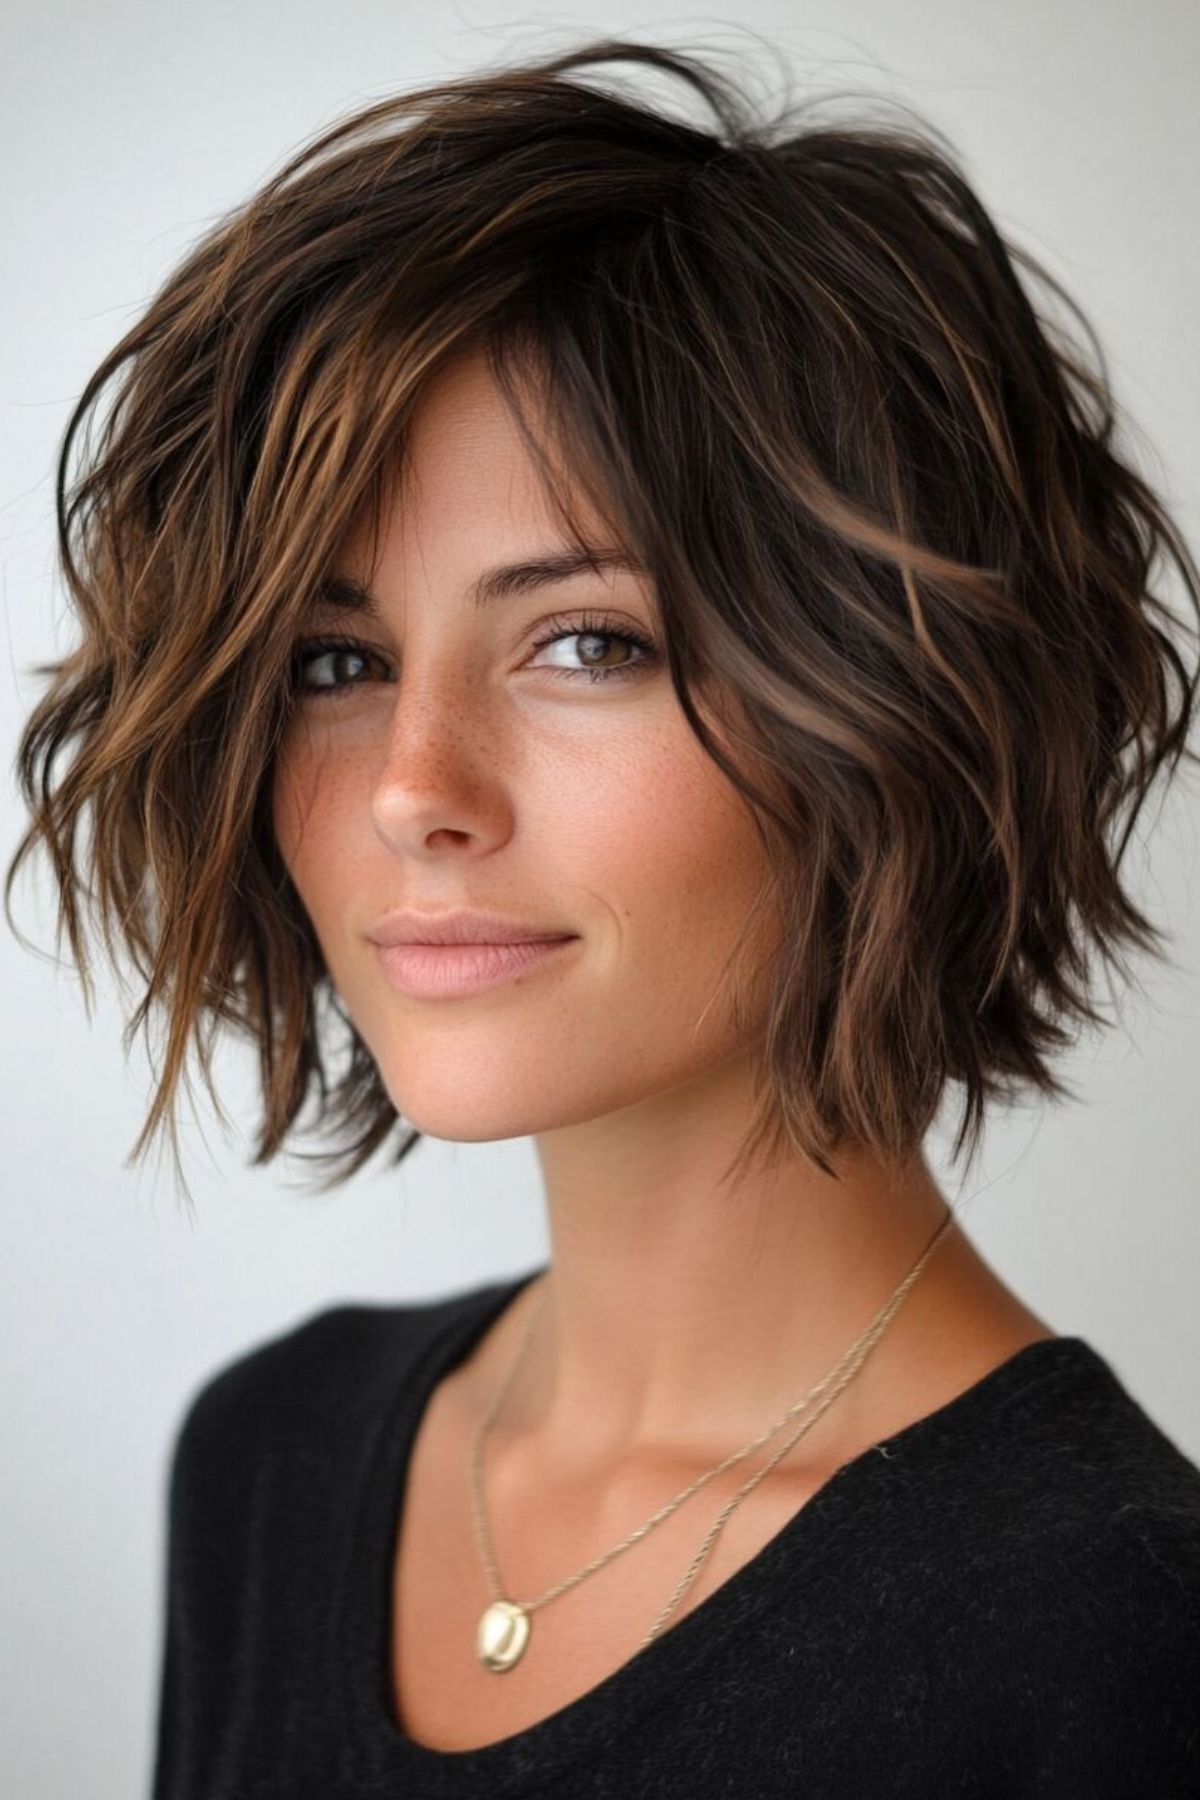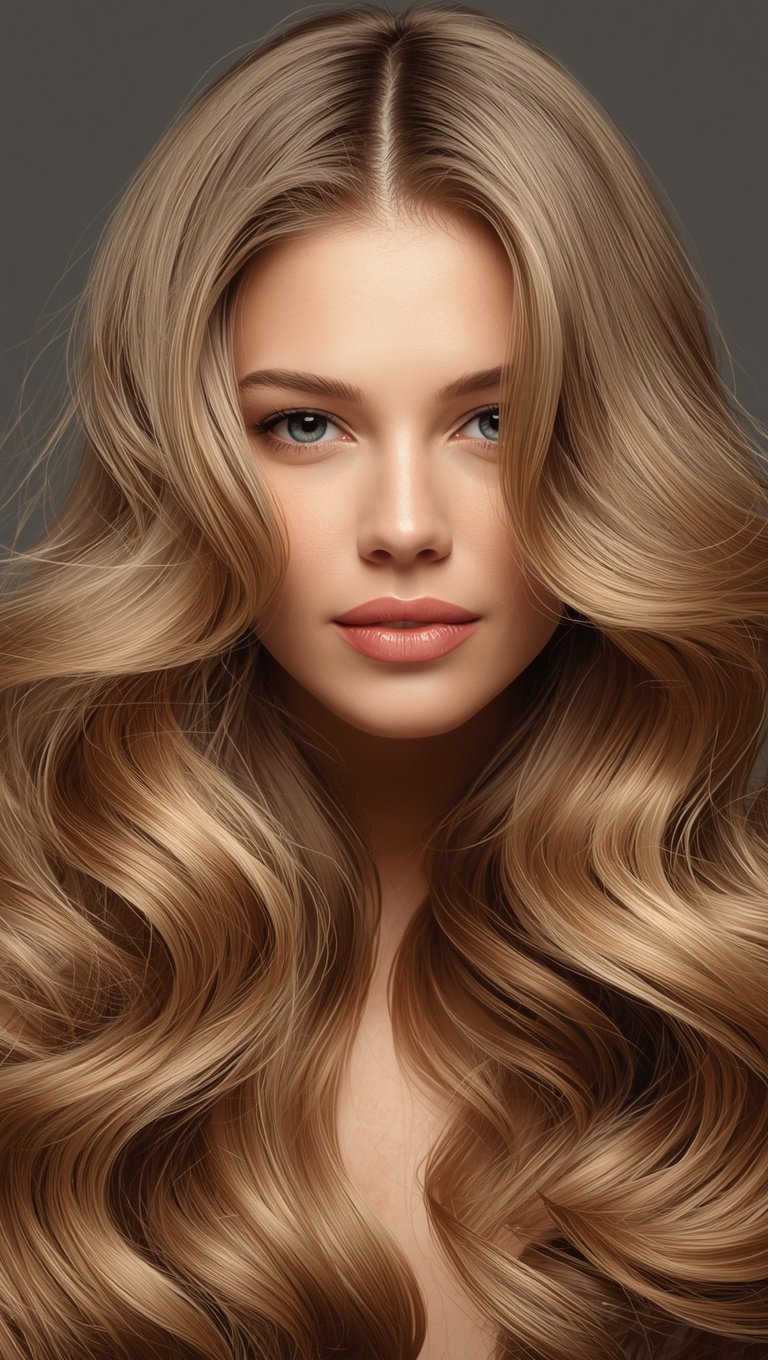
I sat in the salon chair two years ago and almost cried when my stylist said “just a trim.”
Because I didn’t want a trim.
I wanted something to change, even a little, without going full chop-it-all-off drama.
And that’s the day she cut my first set of face-framing layers.
I remember watching pieces fall around my cheekbones and thinking, oh, there I am.
It sounds dramatic, but you know that feeling when a haircut just clicks?
That’s what this is about.
Not a whole new you, just a softer, brighter version of the one you already like.
What Face-Framing Layers Actually Are (No Salon Jargon, Promise)

Okay so let’s break this down like we’re actually talking, not reading a textbook.
Face-framing layers are shorter pieces cut around the front of your face, usually starting near your cheekbone or chin.
They’re not bangs, though they can flirt with that territory a little.
Think of them as soft brackets around your face.
They move when you move.
They catch light in a way blunt ends just don’t.
I always describe it to friends as the difference between a curtain that’s pulled shut and one that’s slightly parted, letting a little light in.
That’s the vibe.
The rest of your hair stays basically the same length, so it’s low commitment, which I love.
You’re not sacrificing length for this.
You’re just adding movement and a little sparkle right where people look first, which is your face.
Honestly, that’s why I recommend this cut to almost everyone who says they’re bored but scared of scissors.
It’s the “I want change but I’m not ready to be brave” haircut, and there’s zero shame in that.
I’ve had mine for two years now and I still get compliments on “what did you do differently,” and it’s just this.
Small cut, big feeling.
That’s kind of the whole magic trick.
How to Know if You Actually Need Them
So here’s a little gut check I do with myself before any haircut, and I think you should too.

Do you feel like your hair is just sort of there?
Not bad, not great, just existing?
That’s usually the sign.
I felt that exact way before my cut, like my hair had become wallpaper instead of an outfit.
Another clue is if you find yourself pulling pieces forward with your fingers to “frame” your face manually.
I used to do that constantly without realizing it, tucking strands around my cheeks like I was trying to create the exact cut I eventually got.
If you catch yourself doing that in the mirror, girl, that’s your hair telling you something.
You can also tell by photos.
Flip through your camera roll and look at your face-on shots.
Does your hair sort of just hang there, flat and uniform?
That flatness is what layers fix immediately.
I’m not saying everyone needs them, because some people genuinely love the sleek, one-length thing and that’s beautiful too.
But if you’ve been feeling like your hair needs a little personality injected into it, this is usually the gentlest way to do that.
It’s the difference between a sentence and a sentence with feeling behind it.
Same words, different energy.
Best for Round Faces: What to Ask For

If your face is on the rounder, softer side, I want you to lean into layers that hit right around your chin or slightly below.
This length creates a subtle vertical line, which visually elongates things without you doing a thing.
I have a friend, Rachel, with the most gorgeous round face, and for years she avoided layers because someone once told her “layers will make it look wider.”
Total myth.
We tried chin-length face-framing layers on her last spring and she texted me a selfie an hour later just full of exclamation points.
The trick is keeping the layers longer rather than short and choppy.
Short, blunt layers around a round face can add width you don’t want.
But longer, softer pieces do the opposite.
They elongate.
They slim.
They flatter without erasing any of your natural softness, because round faces are gorgeous and this isn’t about hiding anything.
It’s about balance.
My personal tip here is to ask your stylist for “long face-framing layers starting at the cheekbone,” and specifically say you want them subtle, not choppy.
That phrasing matters more than you’d think.
Stylists hear “layers” and can interpret that a hundred different ways, so being specific saves you from a result you didn’t picture.
Best for Square Faces: Softening Strong Angles

Square faces have this incredible structure, and honestly I’m a little jealous of that natural definition.
But sometimes you want to soften those strong angles just a touch, and that’s exactly where face-framing layers shine.
For square shapes, I always suggest layers that start a little above the jawline and curve inward.
That inward curve is key.
It creates this gentle wave right at your jaw that pulls attention away from sharp corners.
My cousin has a square jaw and thick, gorgeous hair, and when she got soft curved layers last year, it completely changed how her whole face read in photos.
Not because anything about her bone structure changed, obviously, but because the hair around it started working with her instead of just hanging straight past it.
A small hack here: ask for the ends to be slightly rounded rather than blunt cut.
Blunt ends next to a strong jaw can feel like doubling down on angles.
Rounded ends soften that.
If I had a strong square jaw myself, this is the very first thing I’d try.
It’s such a low-risk, high-reward move.
You keep all your length, all your structure, and just gently round the edges where it counts.
Best for Oval Faces: Basically Anything Goes (Lucky You)

Okay if you have an oval face shape, I have to be honest, you kind of win the haircut lottery.
Almost every layer style looks good on you, which is both wonderful and a little overwhelming when you’re standing in the salon flipping through inspiration photos.
My advice for oval faces is less about “correcting” anything and more about picking layers that match your personality.
Want something soft and romantic?
Go longer, starting around the collarbone.
Want something with a little more edge?
Try shorter layers that hit near the cheekbone for extra movement.
I did the shorter version on myself before a trip and I felt so much lighter, physically and emotionally somehow.
There’s something about shorter pieces bouncing near your face that just feels playful.
The one thing I’d say to avoid, even for oval faces, is going too short and choppy all at once, because that can read more “accident” than “intention.”
Ease into it if you’re nervous.
Ask for one length first, live with it a few weeks, and then go shorter at your next appointment if you’re craving more.
There’s no rush here.
Your oval face shape isn’t going anywhere, and neither is your ability to experiment.
Best for Heart-Shaped Faces: Balancing a Wider Forehead

Heart-shaped faces usually have a wider forehead and a narrower chin, and the goal with layers here is balance, not hiding.
I always tell people with this shape to avoid layers that stop right at the widest part of the forehead, because that can accidentally emphasize it.
Instead, aim for layers that start a bit lower, closer to the cheekbone, and sweep inward toward the chin.
This visually widens the lower half just slightly, which creates that lovely balanced, soft oval illusion.
My sister has a heart-shaped face and thick brows she loves to show off, so we made sure her layers started below her brow line completely.
That was intentional.
You don’t want layers competing with a forehead you’re trying to visually soften.
A cute variation here is adding a slight side part along with the layers.
The side part naturally covers part of the forehead and works beautifully with the inward-sweeping layer shape.
It’s a combo move, honestly, and it works every time I’ve tried it on a heart-shaped face.
Small tip, big payoff.
If you’re nervous about a full cut, even just growing your layers into this shape gradually over a few appointments feels less scary and gives you time to adjust.
Best for Long Faces: Adding Width, Not Length

If your face runs on the longer side, the name of the game is width, not more length.
I know that sounds counterintuitive when we’re talking about a haircut, but hear me out.
Face-framing layers cut at chin length or just below create horizontal visual breaks.
Those breaks interrupt the vertical line your face naturally has, which softens that elongated look in the sweetest way.
I tried this on a friend visiting from out of town who has the most stunning long, elegant face, and she was hesitant because she thought shorter pieces would look “off.”
They didn’t.
They made her whole face feel more proportioned within seconds of drying.
My tip for long face shapes specifically is to also ask for a little extra volume at the sides, not just length variation.
Volume adds width just like the layers do, and together they’re a really powerful little duo.
Blow drying with a round brush, angling the ends outward slightly, makes a huge difference here too.
It’s a small styling habit but it reinforces everything the cut is already doing for you.
Honestly, long face shapes are so elegant already, this is just about adding a little roundness to soften that elegance.
Short vs. Long Face-Framing Layers: How to Choose

This is the question I get asked more than almost anything else, so let’s just sit with it for a second.
Short face-framing layers, the kind that hit around your cheekbone, tend to feel younger and more playful.
They move a lot.
They’re a little wilder, a little more “I don’t take myself too seriously.”
Long face-framing layers, on the other hand, the kind that graze your collarbone, feel more polished and elegant.
They’re subtler.
They whisper instead of shout.
I’ve had both over the years, and my honest, unfiltered opinion is that shorter layers suit low-maintenance, wash-and-go kind of days, while longer layers suit people who like a little more styling in their routine.
Neither is better, it’s just about your actual lifestyle, not some Pinterest board.
Be honest with yourself here.
If you know you’re not going to style your hair every morning, shorter layers that bounce naturally without effort will serve you so much better long term.
If you love a good blowout and have time for it, longer layers reward that effort beautifully.
My personal pick, if I had to choose forever, is somewhere in the middle, landing right around the jaw to collarbone area.
It gives me options on both good hair days and lazy ones.
Curly and Wavy Hair: A Few Things to Know First

If your hair has natural curl or wave, face-framing layers behave a little differently, and I think this gets skipped in a lot of hair advice.
Curls shrink up when they dry, sometimes by a significant amount.
So layers that look chin-length wet might bounce up to cheekbone-length once fully dry and curled.
This is exactly why I always tell curly-haired friends to get this cut on dry, styled hair, not wet hair.
A good curly cutting specialist will know this already, but it never hurts to ask directly before they pick up the scissors.
I learned this the hard way on my own wavy hair years ago, ending up with layers way shorter than I expected once everything dried and sprang up.
It wasn’t a disaster, just a lesson learned.
For looser waves, the shrinkage is less dramatic, but still worth mentioning to your stylist.
A hack I love for curly or wavy face-framing layers is asking for a “curl-by-curl” or “dry cut” technique specifically.
It respects how your individual curls actually fall and cluster, rather than cutting as if your hair were straight.
The end result feels so much more natural and full, instead of oddly triangular or uneven, which is a common curly-cut mistake.
Trust your curls, and trust a stylist who understands them.
Everyday Styling Tips to Keep Them Looking Their Best
Once you have the cut, styling is honestly where the magic either shows up or disappears completely.

My number one tip is a small round brush and a blow dryer, even just for two or three minutes on the front pieces.
Focus the brush right at those face-framing sections and curve them slightly inward toward your cheeks.
That inward curve is what creates the soft, flattering frame we talked about this whole post.
On lazy days, and trust me I have plenty, a quick curl with a small barrel wand on just those front pieces takes under a minute.
You don’t need to curl your whole head.
Just those framing pieces, and suddenly your whole look feels intentional.
A texturizing spray is another little secret weapon here.
Spritz it at the roots of those front layers for subtle lift and movement, especially on humid or flat-feeling days.
I keep a travel-size one in my bag for exactly this reason.
If you’re someone who air dries, try scrunching a little mousse specifically into those framing pieces before they dry.
It encourages them to curve inward naturally instead of drying stick-straight and flat.
Small habits, honestly, make such a big difference with this particular cut.
The Salon Conversation: Exactly What to Say
I cannot stress this enough, the words you use in the chair genuinely change your results.

Bring a photo, always, even if it feels awkward.
Stylists are visual people and a photo says more than any verbal description ever could.
Beyond the photo, be specific about length.
Say things like “I want these pieces to hit right at my chin” rather than just “shorter in the front.”
Vague requests get vague results, and I say that with so much love for stylists everywhere.
Also mention your styling habits honestly.
If you’re not going to blow dry every single day, say that, so they cut layers that work with minimal effort too.
I always ask my stylist to cut it “dry” at the very end, after it’s mostly styled, so we can see exactly how the pieces are falling in real life.
This extra step catches any unevenness before you leave the chair.
Don’t be afraid to speak up mid-cut either.
If something feels off as she’s going, say so gently.
A good stylist wants that feedback, truly, and would rather adjust now than have you go home unhappy.
Maintenance and Growing Them Out Gracefully

Face-framing layers need a little more upkeep than a one-length cut, just being real with you here.
I’d recommend a trim every six to eight weeks to keep the shape crisp, especially for shorter versions.
If you skip trims, the pieces don’t disappear, they just grow into a longer, softer version of the same style, which honestly isn’t a bad thing either.
That’s actually my favorite part about this cut, it grows out gracefully instead of awkwardly.
There’s no weird in-between stage like with bangs.
If you’re trying to grow your hair out overall but still want the framing effect, just ask your stylist to trim only the very tips of those front pieces at each visit.
This keeps the shape alive while your overall length keeps climbing.
I did this for almost a year while growing my hair past my shoulders, and it worked beautifully.
A little leave-in conditioner focused on those ends helps too, since they get more handling from styling tools than the rest of your hair.
I use mine every single wash day without fail.
Healthy ends just look better catching the light, period.
That’s really the whole goal of this cut anyway, catching light and movement right around your face.