I still remember sitting in the salon chair, staring at my own reflection, wondering why my hair looked so flat next to my face.
My colorist tilted my chin up, grabbed two thin sections right by my temples, and said “trust me.”
Forty minutes later I almost cried, and not the dramatic kind of cry, just the quiet “oh, there I am” kind.
That’s what a money piece does.
It doesn’t touch your whole head, it just touches the parts everyone actually looks at.
And honestly, once you see it on yourself, you kind of can’t unsee it.
So let’s talk about it, friend to friend, because I have a lot of feelings about this one.
What Even Is a Money Piece, Really

Okay so let’s start simple.
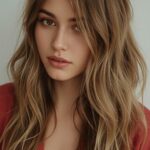
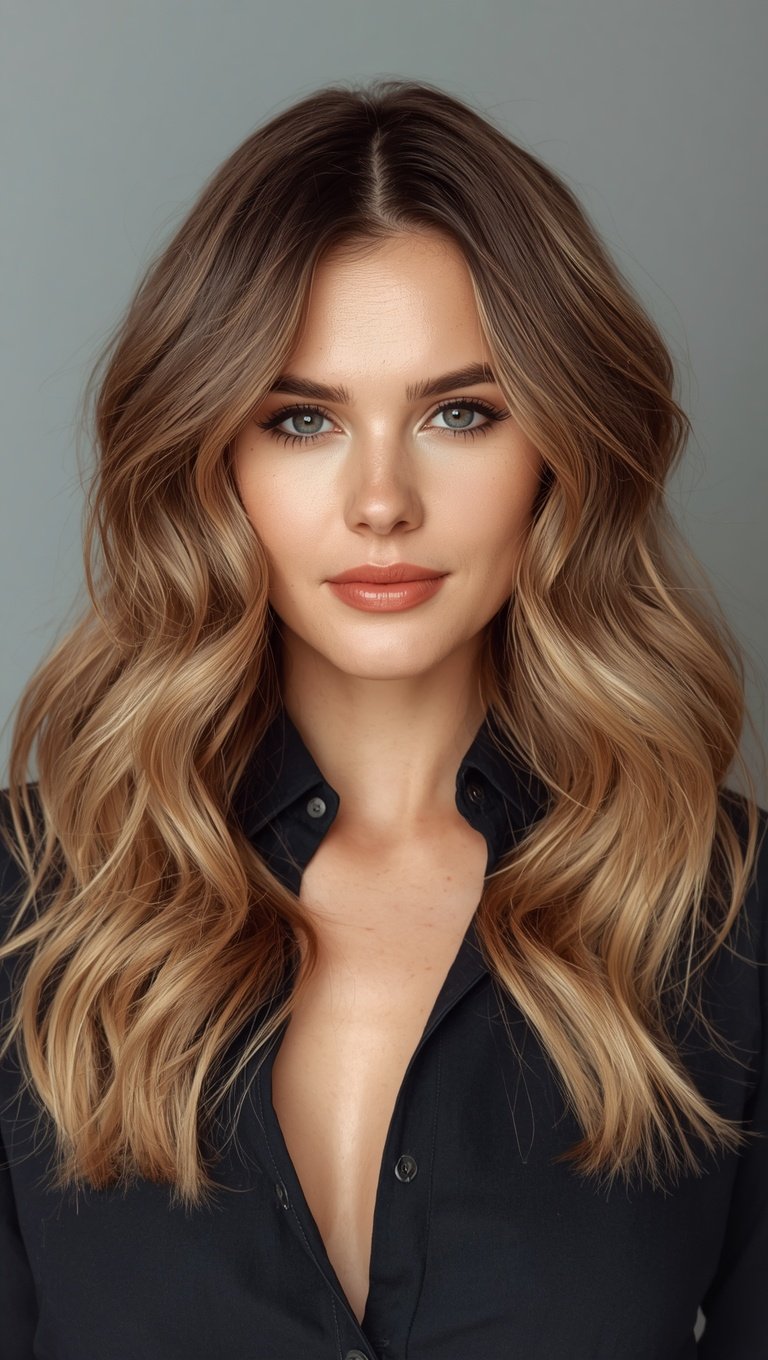
A money piece is just the highlights framing your face, usually right at your part and along your temples.
That’s it, that’s the whole concept.
But the effect is so much bigger than the technique sounds.
Think of it like the difference between lighting a whole room versus just putting a soft lamp exactly where you’re sitting.
Your whole head doesn’t need to be lit up for your face to glow.
I’ve had full head highlights before, and don’t get me wrong, they’re gorgeous.
But there’s something about a money piece that feels more intentional, more “this was made for my face” instead of “this is a general blonde.”
It’s a little bit like the difference between a dress off the rack and one that got tailored just for you.
Same fabric, totally different feeling when you put it on.
I’m kind of obsessed with how personal it feels.
And I think that’s the emotional core of why people love it so much.
It’s not about looking like everyone else with highlights, it’s about looking like the best, brightest version of your own face.
My First Money Piece Experience

I got mine on a random Tuesday, no real occasion, just felt like I needed something.
You know that feeling, right, where your hair just feels tired even though nothing is technically wrong with it.
My colorist asked what I wanted and I basically said “I don’t know, just make me look a little more awake.”
She laughed and grabbed those two face-framing sections.
I sat there for what felt like forever, low-key nervous, wondering if I’d regret it.
Then she rinsed it out, blow-dried it, and turned my chair around.
I genuinely gasped a little.
Not because my hair looked “different,” but because my face looked brighter, like someone had turned up the warmth on a photo.
My eyes looked bigger, my skin looked warmer, and I hadn’t touched a single thing about my makeup.
That’s the moment I became a money piece person for life.
If you’ve never had that little chair-turn-around gasp moment, I really want that for you.
It’s such a specific kind of joy.
And it costs so much less than a full head of foils, which, hi, my wallet loves that detail too.
Who This Actually Looks Good On

Here’s the truth nobody tells you enough.
Money pieces work on basically every face shape, every hair color, every texture.
I know that sounds like a sales pitch, but it’s genuinely just how the technique works.
Round faces get soft, slimming lines right where you want them.
Square faces get softness around the jaw without losing any of that structure.
Long faces get a horizontal-feeling brightness that breaks things up in the best way.
Heart-shaped faces, lucky you, this basically enhances what you already have going on.
I have a more oval face, and for me it just adds warmth without changing the whole vibe of my look.
The placement is what makes it so flexible.
Your colorist can go higher near the part for one effect, or lower near the cheekbone for something softer and more subtle.
If you have a smaller face like mine, I’d personally ask for thinner, more delicate pieces.
If you have fuller features or a bigger face shape, slightly chunkier pieces tend to look more balanced.
There’s no wrong way in, just different ways to make it yours.
Choosing the Right Shade for Your Skin

This is the part where I get a little bossy, sorry not sorry.
Your money piece shade should work with your undertone, not just match a photo you saved.
Warm undertones, honey and caramel and golden blonde tones look incredible and kind of melt into your skin.
Cool undertones, I’d lean toward ash blonde or a soft platinum instead.
Neutral undertones, honestly you get to have the most fun because almost everything works.
I have warm undertones and learned this the hard way after asking for an ashy blonde once.
It looked fine, but it also looked like it was fighting my skin a little, if that makes sense.
The second I switched to a honey-toned money piece, everything just clicked.
My colorist calls it “working with your skin instead of against it,” and I think about that phrase constantly now.
A quick trick, hold a swatch or a piece of fabric close to your face in natural light before committing.
If it makes you look tired or washed out, that’s your sign to go warmer or cooler in the other direction.
Your face will basically tell you what it wants if you pay attention.
Money Piece vs Balayage vs Curtain Bangs Highlights

I get asked this one so often, so let’s clear it up.
Balayage is a hand-painted technique that can go anywhere on your head, it’s about the method.
A money piece is about the placement, specifically your face-framing pieces.
You can absolutely have a money piece done with a balayage technique.
Curtain bang highlighting is similar but it’s specifically designed around bangs that part in the middle.
If you don’t have bangs, a money piece is basically your version of that same face-framing magic.
I’ve had both, and honestly the money piece is more low-key versatile since it works with any bang situation, or none at all.
Think of curtain bang highlights as the money piece’s bangs-specific cousin.
Same family, similar sparkle, slightly different living situation.
If you’re not sure which to ask for, just describe the look you want and let your colorist translate it into the right technique.
That’s genuinely their job and they love doing it.
Trust the process a little here.
How to Actually Ask Your Colorist For It

Words matter so much in the salon chair.
Just saying “money piece” is a great start, most colorists know exactly what you mean.
But I’d also bring a photo, even if it’s not your exact hair color or length.
Point specifically to the placement you like, higher near the part or lower near the cheekbone.
Mention your undertone concerns too, like “I run warm” or “ash always looks weird on me.”
I always say something like “I want it soft, not stripe-y,” and that one sentence has saved me more than once.
If you’re nervous about commitment, ask for thinner pieces to start.
You can always go bolder next time, but it’s harder to undo something too intense.
Also, don’t be afraid to ask how many pieces they’re doing.
Sometimes less really is more here.
I learned that two well-placed pieces can look more expensive than six chunky ones.
Quality placement over quantity, every single time.
Maintenance That Won’t Stress You Out

Okay, the good news first.
Money pieces are honestly one of the lowest maintenance highlight styles out there.
Because the color is concentrated near your face, regrowth is way less obvious than a full head of foils.
I go in for touch-ups every ten to twelve weeks, sometimes longer if I’m being lazy.
A purple or blue toning shampoo once a week keeps brassiness away between visits.
I use mine maybe twice a month, just enough to keep things fresh without turning my hair violet.
Heat protectant is non-negotiable if you’re styling near that lightened piece.
I learned that lesson after a slightly crispy ends situation, never again.
A leave-in conditioner or hair oil on the ends does wonders too.
My hair just feels softer and shinier since I started that little routine.
Honestly, the upkeep feels more like self-care than a chore.
That’s a big part of why I’ve stuck with this style for years now.
Styling Tips to Show It Off

Here’s where the fun really starts.
A middle part or a slight side part shows off your money piece the most.
If you always wear a deep side part, some of that beautiful color might get hidden.
I switched to a looser middle part specifically to let mine breathe a little.
Loose waves make the highlights look like they’re catching actual sunlight.
Even a simple blowout with a round brush brings out so much dimension.
Half-up styles are gorgeous too, since they frame your face while keeping length back.
I personally love tucking one side behind my ear on lazy days, it instantly looks intentional.
Braids near the front, like a small face-framing braid, show off the color in a totally different way.
Even slicked-back looks work, since the shine and dimension still peek through.
The trick is just keeping those front pieces visible somehow.
Cover them constantly and you’re basically hiding the whole point.
Money Pieces for Every Hair Length

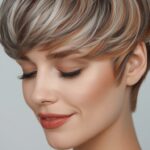
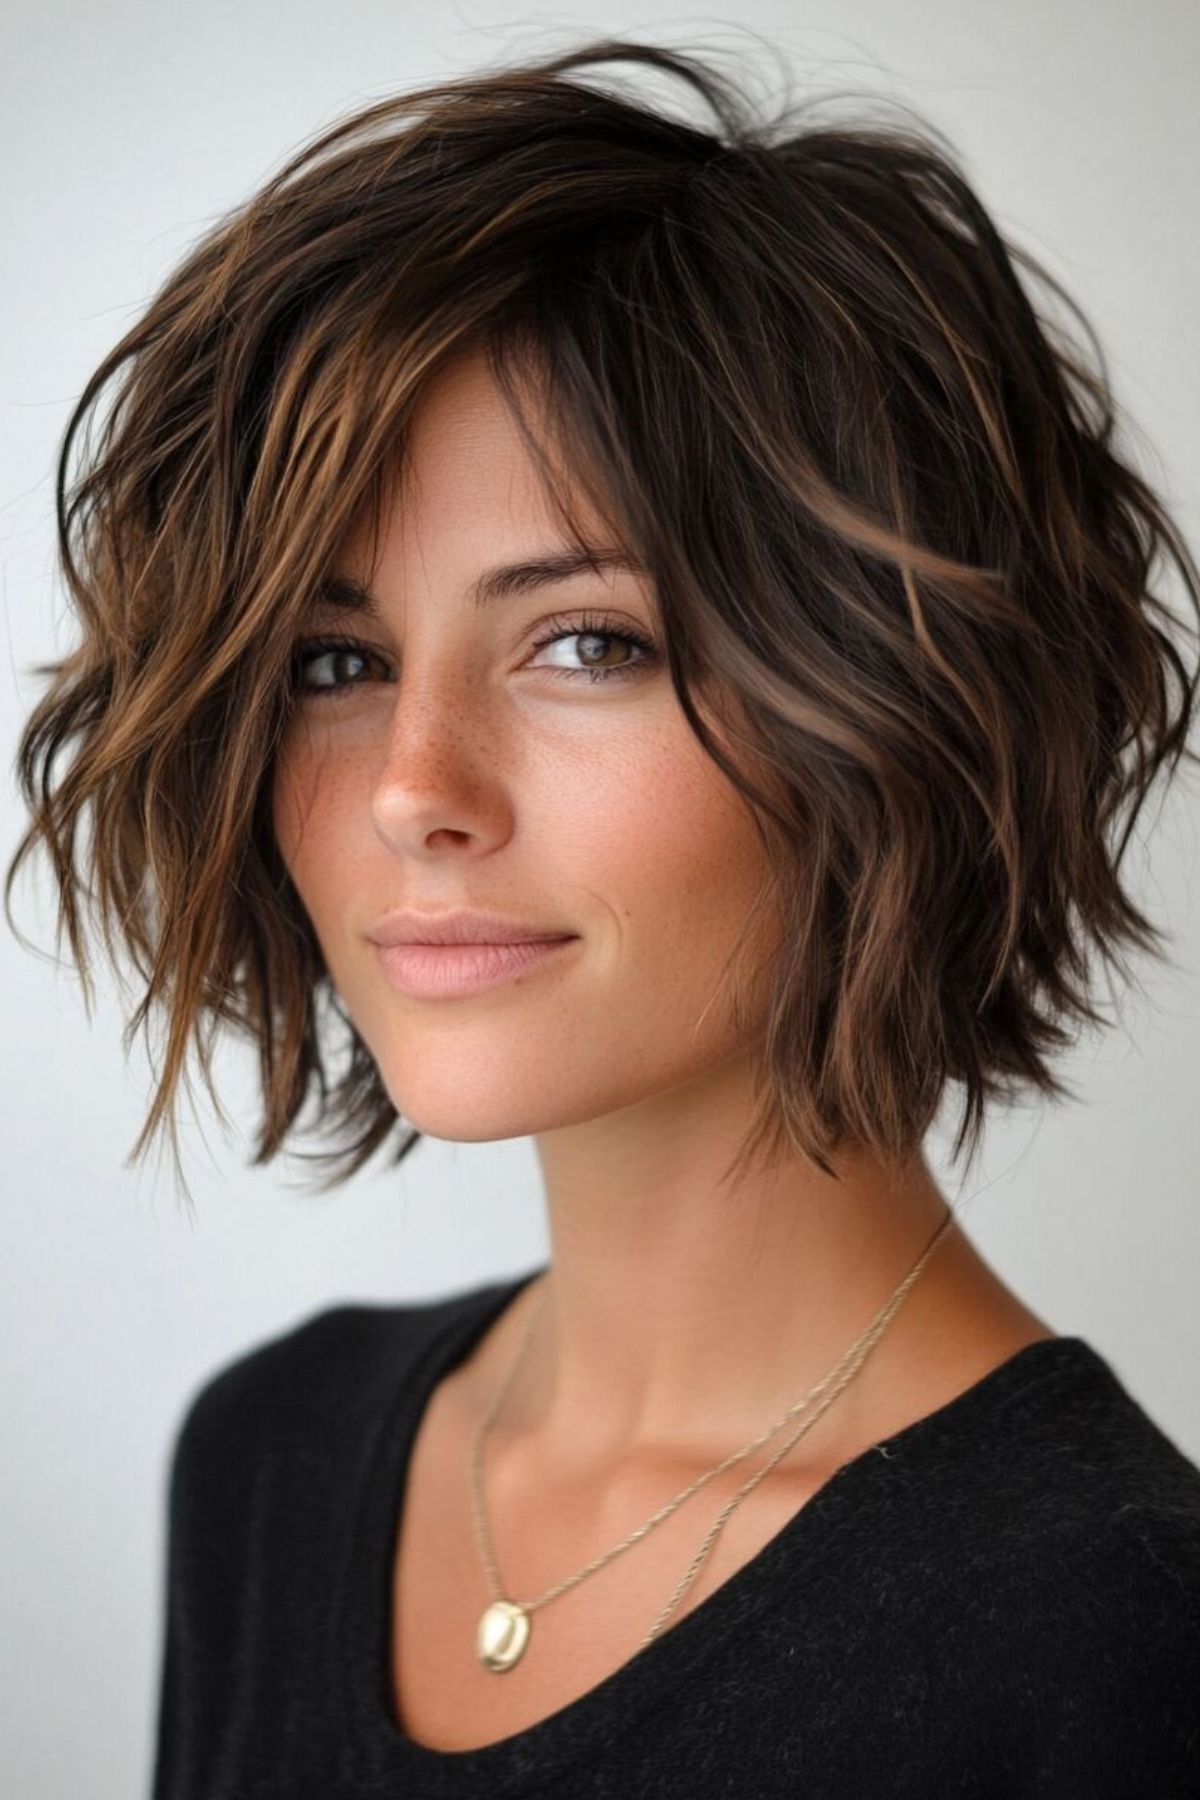
Short hair, honestly this might be my favorite length for it.
The brightness sits so close to your face that it’s basically impossible to miss.
Lob length, this is where I currently live, and it’s just effortless every single day.
Long hair gives you the most room to play with placement and intensity.
I’ve noticed longer hair lets the highlights blend more softly since there’s more length for it to travel through.
Curly hair, this one deserves its own love letter honestly.
The dimension bounces with every curl and it looks incredibly lively.
Pixie cuts, surprisingly stunning, since almost your whole head becomes “face-framing.”
Bob cuts practically beg for a money piece, the shape just works with it.
No matter your length, ask your colorist to adjust the size of the sections accordingly.
Shorter hair usually wants slightly smaller sections so it doesn’t look too heavy.
Longer hair can handle a bit more width without overwhelming anything.
Low Maintenance Variations to Consider
If commitment scares you a little, I completely get it.

A babylights version of the money piece uses super fine sections for the softest possible effect.
This grows out looking more like natural sun-kissed hair than obvious regrowth.
A single money piece, just one side instead of both, is another gentle option.
I did this once during a “testing the waters” phase and loved how subtle it felt.
Face-framing balayage, painted rather than foiled, tends to blend even more naturally over time.
Clip-in money piece extensions exist too, if you want the look with zero commitment at all.
I’ve used these for a big event when I wasn’t ready for the real thing.
Honestly, they photographed beautifully and nobody could tell.
A gloss-only money piece, just a tint with no lightening, adds warmth without any bleach involved.
That’s a great option if your hair needs a break from chemical processing.
There’s truly a version of this for every comfort level.
Mistakes I See (and Made) Way Too Often

Going too thick is probably the biggest one.
Chunky, obvious stripes can look dated fast, and not in the cool vintage way.
Ignoring your natural part is another common miss.
If your colorist highlights the wrong side of your part, it just won’t sit right when you style it.
Skipping the toner conversation is a mistake I made early on.
Toner is what keeps things from turning brassy or yellow-orange over time.
Going too light too fast can also shock your hair and your confidence a little.
I always recommend building up gradually instead of going full platinum in one sitting.
Not communicating your lifestyle is sneaky but important too.
If you swim a lot or color your own roots at home, your colorist needs to know that.
And skipping the at-home care routine, that’s the fastest way to fade your investment early.
A little effort at home really does stretch your salon visit so much further.
My Favorite Combos and Final Little Hacks

My personal favorite is a honey money piece paired with a soft, warm base underneath.
It feels like my hair got sun-kissed on a beach vacation I never actually took.
For anyone with dark hair, I love a caramel money piece, it’s warm without screaming for attention.
For blondes, a slightly lighter, almost champagne piece adds that lit-from-within glow.
A little hack, ask for the money piece to start slightly further back from your hairline.
It grows out so much softer that way and looks intentional even months later.
Another one, use a tinted purple shampoo specifically on the money piece section only sometimes.
That keeps it from getting overly toned compared to the rest of your color.
I also like adding a tiny bit of face oil right along my hairline before events.
It catches the light and makes the highlights look almost glossy on camera.
Honestly, this whole technique just feels like a little secret weapon.
A small, affordable change that somehow makes people ask if you did something different with your whole look.
That’s the kind of beauty trick I’ll always be a little obsessed with.